Neighborhood

Neighborhoods in the Tygron Platform are mutual exclusive spatial areas that divide a city/ village. These areas do not overlap and are, when available, based on real (historical) data. This data is retrieved from CBS at the level of neighborhoods ("buurten"), as opposed to the larger districts ("wijken").
It is possible to build up a project session, by not making all available neighborhoods active in a specific scenario. This would facilitate an area of focus, with a small neighborhood only active, so that users can familiarize themselves with the Tygron Platform in a secluded area of the project, before progressing into the more complex spatial issues at hand.
- Load or create a project with existing Neighborhoods in the editor
- From the Ribbon of the editor, select Multi-Scenario > Scenarios
- On the Left Panel of the Editor, select (expand) the scenario where neighborhoods need to be (de)activated
- On the bottom of the list the just expanded options for the selected level, select 'Events'
- Press the Add button below the list on the Right Panel of the editor to add a new server event.
- Select the event that has been added in the list above.
- In the Bottom Panel, select the LogicEventType NEIGHBORHOOD_SET_ATTRIBUTE.
- For the selected event, select the neighborhood that you want to (de)activate.
- Fill in the attribute ACTIVE for the Valid attribute name.
- Use the Attribute value 0 to deactivate and 1 to activate the neighborhood.
Adding and removing a Neighborhood from a project
Adding a Neighborhood
It is common for the New Project Wizard of the Tygron Platform to read the location of existing neighborhoods from available data. A Project can also involve a new neighborhood (to be constructed) that does not exist in the available data sets yet. In such a case it is possible to add a new Neighborhood to a project. Please note that the new neighborhood will overwrite any existing neighborhoods where they overlap, as the areas are mutual exclusive.
- Load or create a project in the editor
- From the Ribbon of the editor, select Geo Data > Neighborhoods
- On the Left panel of the Editor, click the 'Add' button
- Select the newly appeared 'Neighborhood' entry on (the list of) the Left panel
- Click the 'Adjust area' button on the bottom of the Right Panel
- Use the brush to draw the new neighborhood in the project area
1. Load or create a project in the Editor
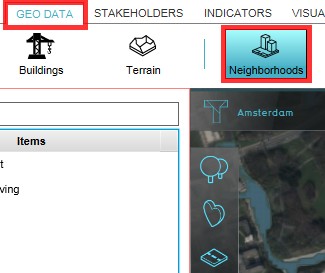
2. Select Geodata > Neighborhoods on the Ribbon of the Editor

3. On the bottom of the Left panel of the Editor click on 'Add'
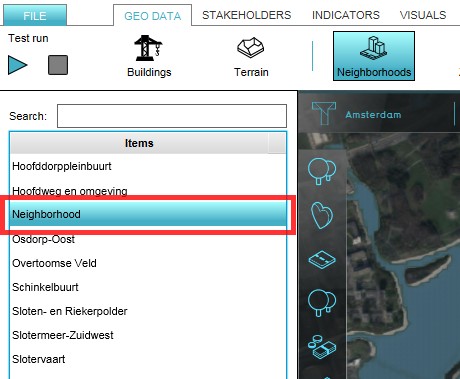
4. Highlight the newly created 'Neighborhood'

5. Click 'Adjust Area' button on the bottom of the Right Panel
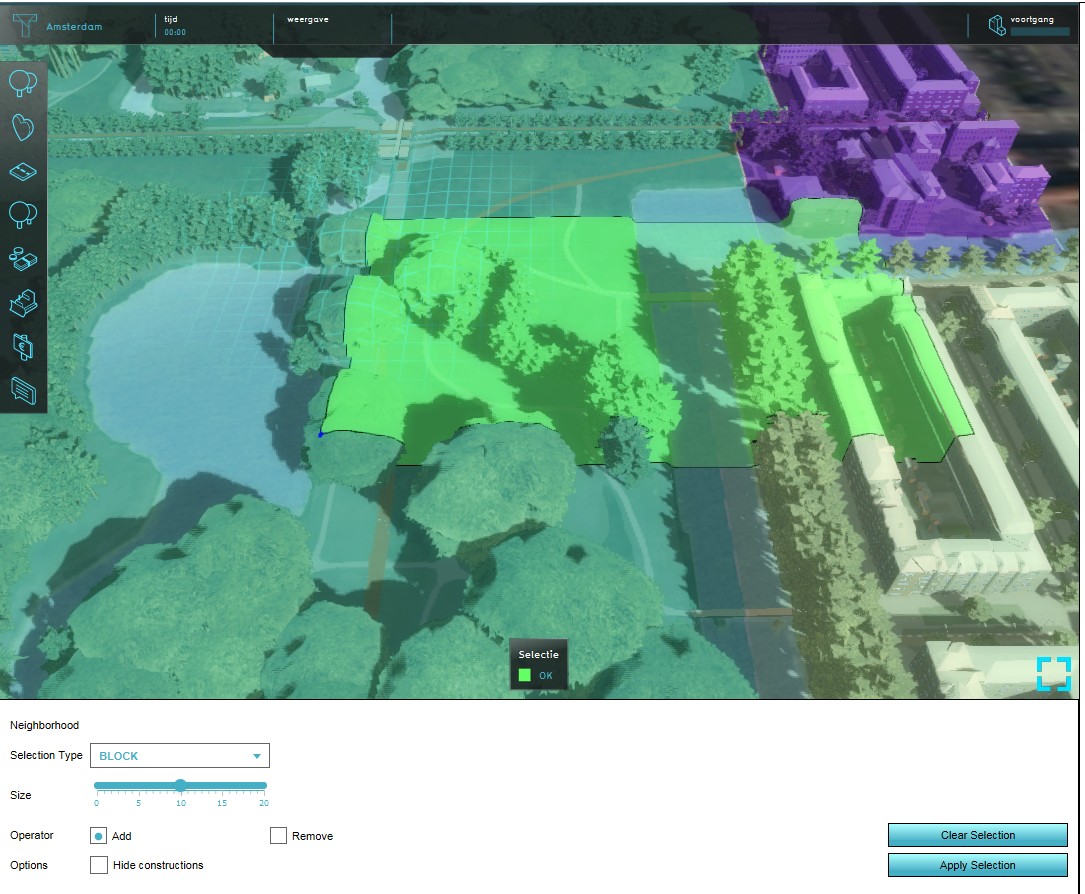
6. Use the brush to draw the new neighborhood


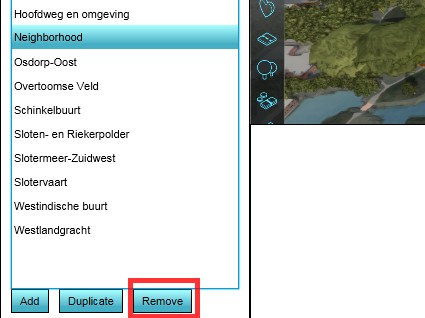
Removing a Neighborhood
In case an existing Neighborhood needs to be removed, the following steps need to be taken:
- Load or create a project with Neighborhoods in the editor
- From the Ribbon of the editor, select Geo Data > Neighborhoods
- On the Left panel of the Editor highlight the Neighborhood to be removed
- Click the 'Remove' button on the bottom of the Left Panel
- Confirm the action on the message pop up
1. Load or create a project in the Editor
2. Select Geodata > Neighborhoods on the Ribbon of the Editor
3. Highlight the Neighborhood to be removed
4. Click 'Remove' button on the bottom of the Left Panel
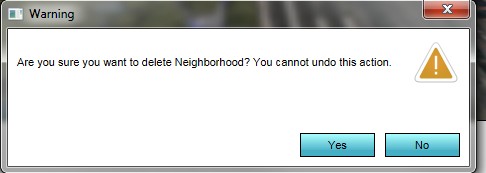
5. Confirm the action on the warning pop up

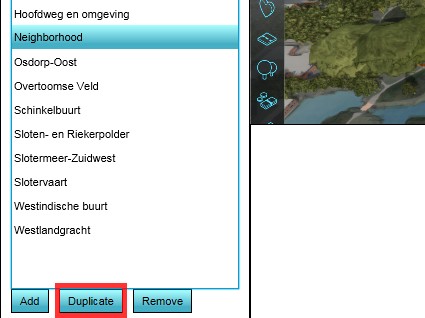
Duplicating a Neighborhood
For convenience purposes it is also possible to duplicate a Neighborhood. This duplicates the neighborhood entry and all its attributes, except the actual location in the project area, since neighborhoods are mutual exclusive areas.
- Load or create a project with Neighborhoods in the editor
- From the Ribbon of the editor, select Geo Data > Neighborhoods
- On the Left panel of the Editor highlight the Neighborhood to be duplicated
- Click the 'Duplicate' button on the bottom of the Left Panel
- Find the duplicated Neighborhood in the list on the Left Panel
1. Load or create a project in the Editor
2. Select Geodata > Neighborhoods on the Ribbon of the Editor
3. Highlight the Neighborhood to be duplicated
4. Click 'Remove' button on the bottom of the Left Panel
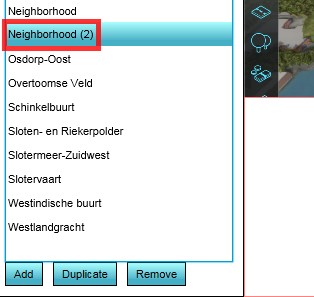
5. Find the duplicated Neighborhood


Editing a Neighborhood in a project
When a Neighborhood is present in a Project area, when selected, it can be edited on the Right Panel of the Editor. On this panel two tabs are available when a Neighborhood is selected - the general tab and a custom attributes tab. On the general tab two standard attributes can be adjusted; the name of the Neighborhood, and its Overlay color. On the Attributes tab custom pairs of an attribute name and its value can be added to the Neighborhood.
- Load or create a project with Neighborhoods in the editor
- From the Ribbon of the editor, select Geo Data > Neighborhoods
- On the Left panel of the Editor highlight the Neighborhood to be edited
- Adjust color and name on the General tab on the Right Panel
- Add or adjust a custom attribute on the Attributes tab of the Right Panel
1. Load or create a project in the Editor
2. Select Geodata > Neighborhoods on the Ribbon of the Editor
3. Highlight the Neighborhood to be edited
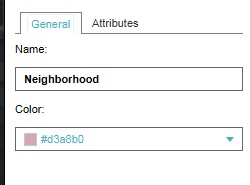
4. Adjust name or overlay color on the General tab
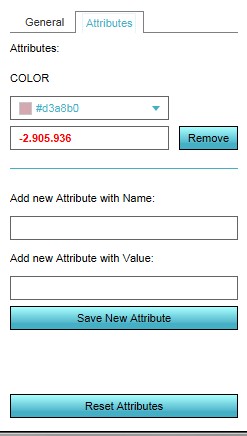
5. Add or adjust a custom attribute on the Attributes tab


- Buildings • Terrains • Administrative • Areas • Networks • Overlays • Indicators • Panels • Globals • Queries • Geo Import
- Buildings
- Function • Function Override • Traffic Units
- Terrain
- Height sector • Elevation model • Elevation GeoTIFF • Elevation Grid Overlay • Ground Price • Terrain Type • Terrain Type Override
- Administrative
- Net Cluster • Net Function • Net Line • Net Load • Net Node • Net Setting
- Editor