How to add and remove an Overlay
Adding and removing overlays is a generic process, however, certain overlays are dependent on other assets being present too, such as indicators, terrains, vacancy, images, etc. For more information please refer to the respective main articles for the specific overlays.
How to add an overlay:
- Select in the editor '3D World' from the ribbon
- Select 'Overlays' > 'Edit overlays' from the ribbon bar
- Select the desired overlay'*' from the drop down menu on the bottom of the left panel
- Select 'Add' from the bottom of the left panel
- Fill in parameters on the right panel, as required for some overlays
- The overlay icon will now appear under the mini map'**'
-
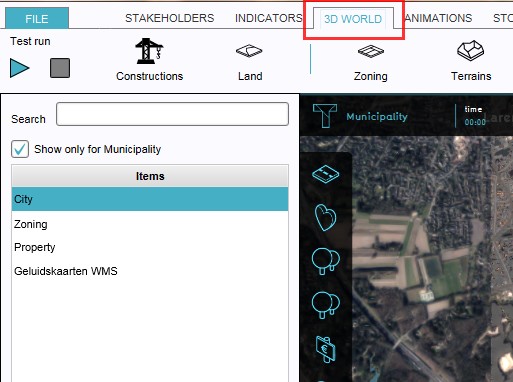 1. Select 3D World
 -
2. Select Overlays > Edit overlays
-
3. Select desired overlay from drop down menu on the bottom of the left panel
-
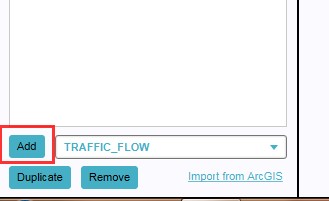 4. Select 'Add' from the bottom of the left panel
 -
5. Fill in parameters on the right panel (required for some overlays)
-
6. The overlay icon will now appear under the mini map


How to remove an overlay:
- Select in the editor '3D World' from the ribbon
- Select 'Overlays' > 'Edit overlays' from the ribbon bar
- Select the desired overlay'*' from the list of active overlays'**' on the left panel
- Select 'remove' from the bottom of the left panel
- Confirm the removal in the pop up confirmation message
-
1. Select 3D World
-
2. Select Overlays > Edit overlays
-
3. Select desired overlay from the list of active overlays on the left panel
-
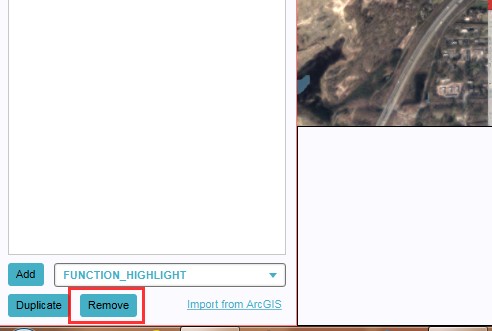 4. Select 'Remove' from the bottom of the left panel
 -
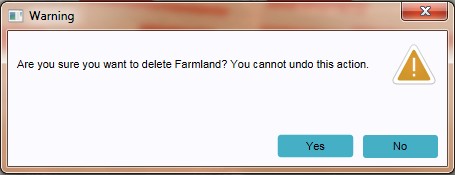 5. Confirm the removal in the pop up confirmation message

Sometimes it can be convenient to duplicate an already existing overlay. To do so, follow the steps for removal, but select 'Duplicate' in stead of 'Remove'.
'*' The default City, Zoning and Property overlays are already present when creating a new project in the editor. However, they can be removed and added again later.