Image Overlay
What is the Image overlay
The Image overlay is a map layer that allows users to upload and display custom images over the project area in the Tygron Engine. Because not everything can be displayed using the available overlays, users can easily upload their own custom image as an overlay in the Tygron Engine.
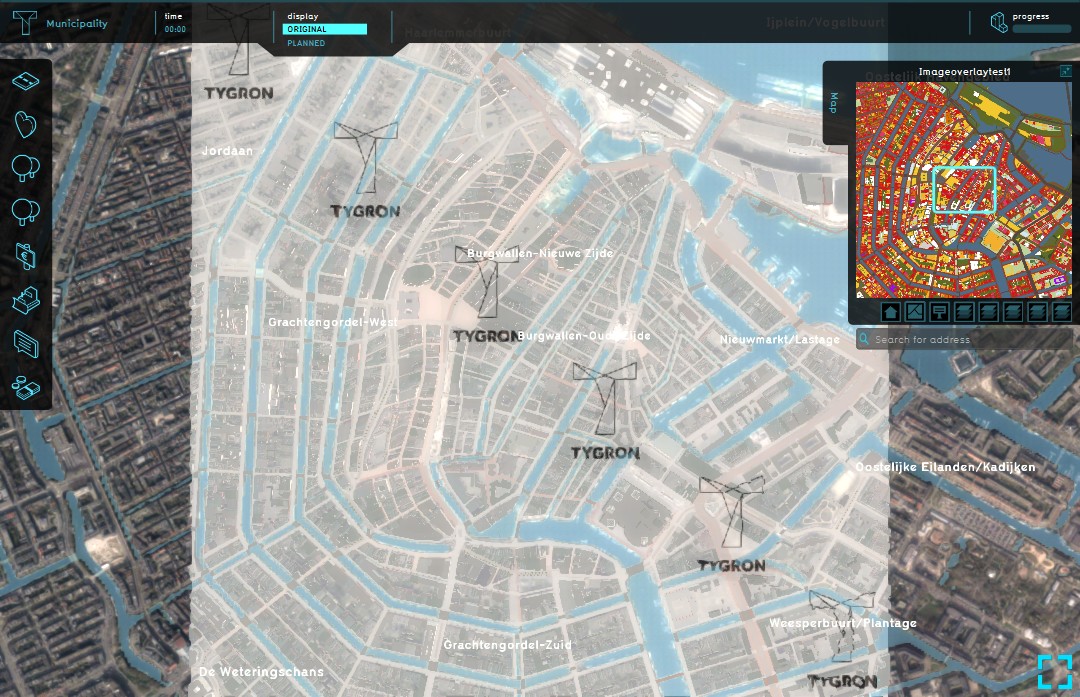
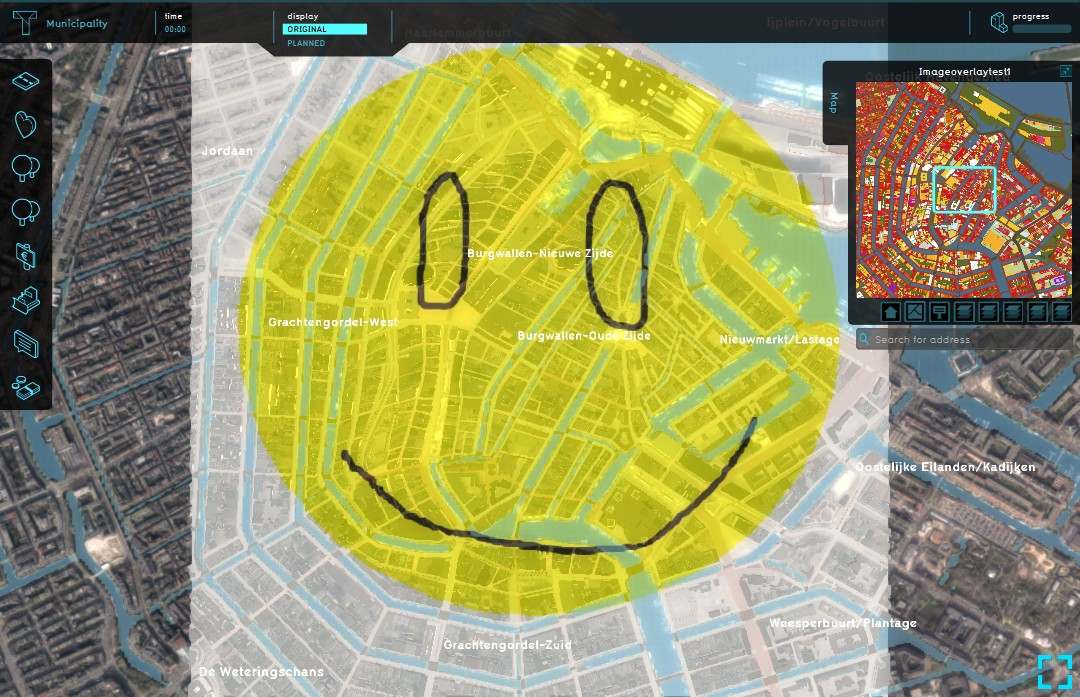
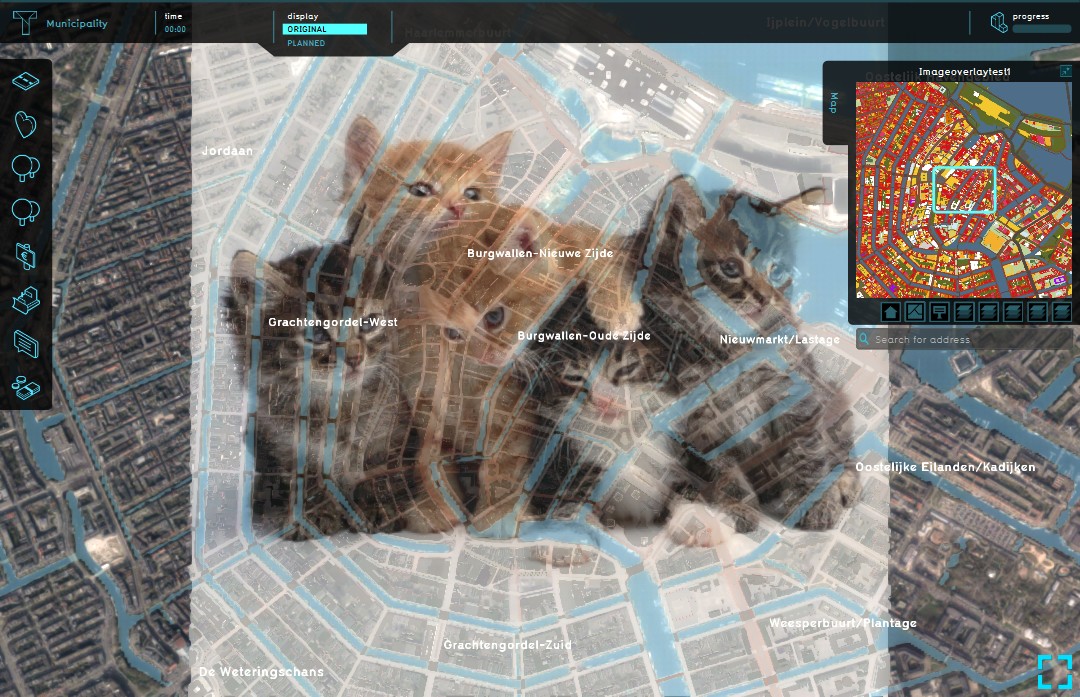
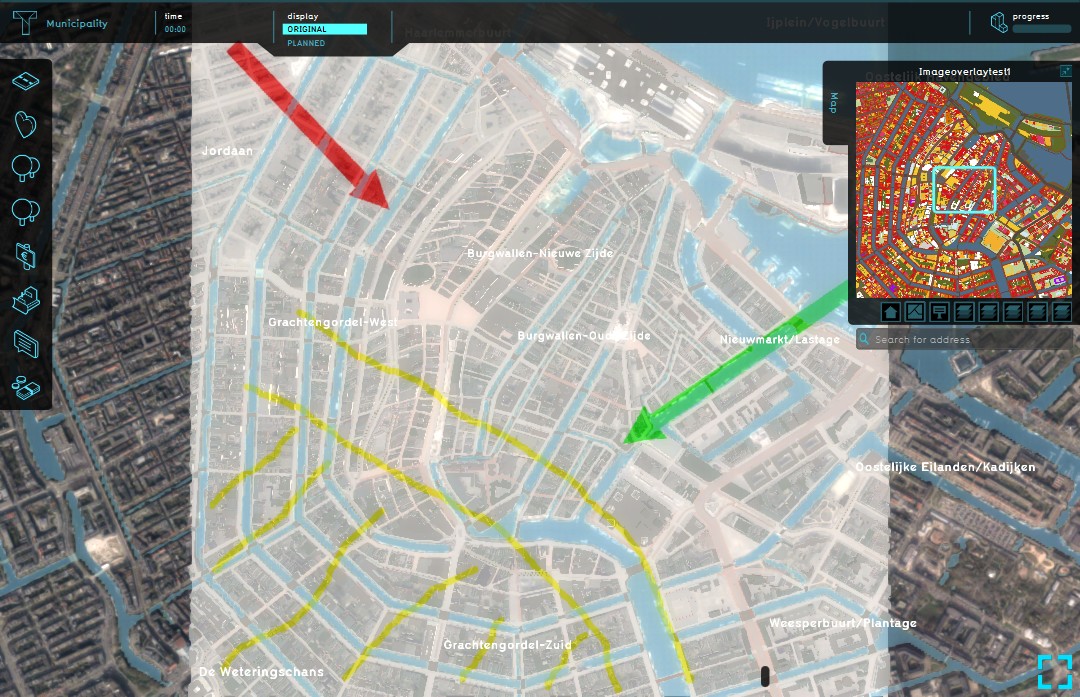
Examples of custom overlays can be: a transparent watermark layer, a large drawn image, a photo realistic image, custom markings, etc.
-
Example of watermark overlay
-
Example of a hand drawn image overlay
-
Example of a photo realistic image overlay
-
Example of a custom image overlay with markings
How to configure the Image overlay
Template:Editor ribbon To display a custom image as overlay in the Tygron Engine, an image must first be available and uploaded when creating the overlay. In order to do so, users have to keep in mind that the allowed image size for custom image overlays is 1024x1024 pixels. Any other format is now allowed. The image must be in the .PNG format, the Portable Network Graphics format, which is a raster graphics file format that supports lossless data compression.
Uploading an image
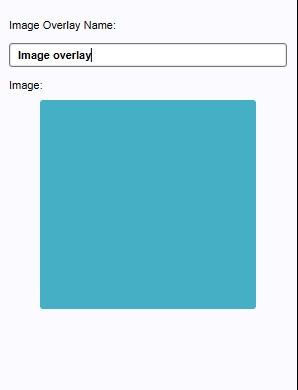
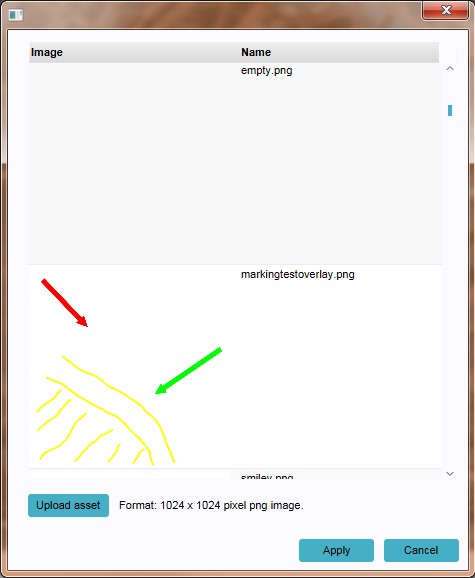
When the default Image overlay has been added to a project, nothing will be displayed, as there is no image assigned to the overlay yet. To assign an image to the overlay, the default overlay needs to be highlighted on the left panel first. On the right panel the overlay properties now become available, consisting of the name and image of this overlay. By clicking on the blue field, the image selection window opens. Here it is possible to use an already present custom image, or to upload a new custom image.
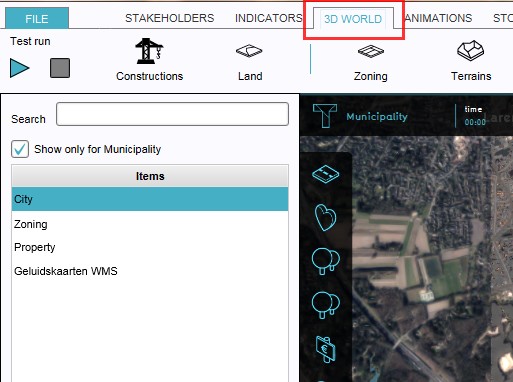
- Select in the editor '3D World' from the ribbon
- Select 'Overlays' > 'Edit overlays' from the ribbon bar
- Select the just added default image overlay from the list of active overlays on the left panel
- Select the blue field on the right panel
- Use the newly opened image selection window to upload and assign a custom image to the overlay
Naming the overlay
Also on the right panel the field 'Image Overlay Name' can be found. Here the user can enter a more relevant name for the overlay being created.
Adding and removing the Image overlay
- Select in the editor '3D World' from the ribbon
- Select 'Overlays' > 'Edit overlays' from the ribbon bar
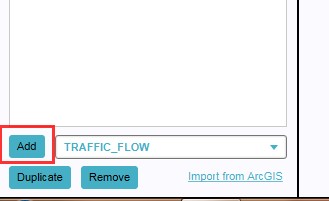
- Select the Image overlay from the drop down menu on the bottom of the left panel
- Select 'Add' from the bottom of the left panel
- Rename the overlay, if required, on the right panel
- Select the blue area on the right panel to upload and/ or select the desired image in the newly opened Image Selection window
- The overlay icon will now appear under the mini map
-
1. Select 3D World
-
2. Select Overlays > Edit overlays
-
3. Select desired overlay from drop down menu on the bottom of the left panel
-
4. Select 'Add' from the bottom of the left panel
-
5&6. Select and configure available properties on the right panel
-
7. The overlay icon will now appear under the mini map
- Select in the editor '3D World' from the ribbon
- Select 'Overlays' > 'Edit overlays' from the ribbon bar
- Select the desired overlay from the list of active overlays on the left panel
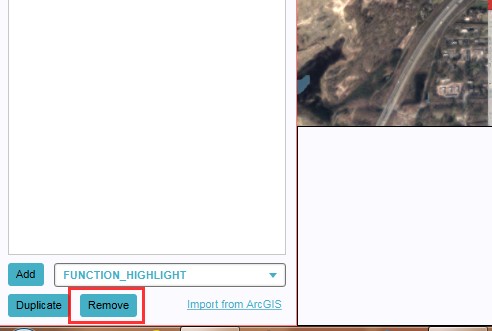
- Select 'remove' from the bottom of the left panel
- Confirm the removal in the pop up confirmation message
-
1. Select 3D World
-
2. Select Overlays > Edit overlays
-
3. Select desired overlay from the list of active overlays on the left panel
-
4. Select 'Remove' from the bottom of the left panel
-
5. Confirm the removal in the pop up confirmation message
Sometimes it can be convenient to duplicate an already existing overlay. To do so, follow the steps for removal, but select 'Duplicate' in stead of 'Remove'.
