Panels (template panels) tutorial
Prerequisites
The following prerequisites should be met before starting this tutorial:
- This tutorial is a continuation of the panels tutorial. If you have not already done so, please complete that tutorial first. If you have not yet followed the tutorials related to those subjects please do so first.
- This tutorial can be followed with any project of any arbitrary location. Recommended is to create or load a project in the editor with 3 or more neighborhoods at least partially within the project area
- Microsoft Excel is required for completing this tutorial.
Preparations
Take the following steps as preparation for following this tutorial:
- Start your project. This can be a pre-existing project, or a newly created project.
- Start Microsoft Excel. Excel will be required in the later stages of the tutorial.
Adding a Template Excel panel
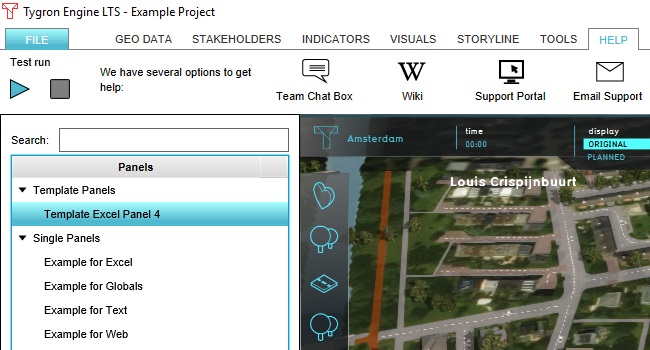
In the editor, go to: Template:Editor ribbon You can add a Template excel either by selecting the "Add Simple Template" option in the ribbon hover menu, or by selecting TEMPLATE_EXCEL_PANEL in the left panel, followed by "Add". The panel will be added in the Template Panels category.

".
Generally, the configuration options for the Template panel are the same as for the other panels, with 2 important differences. It is not possible to open the panel or to place it in the 3D world as a popup. Instead, there are options to apply the template on spatial data, such as neighborhoods or areas. This will create an instance of this panel, based on how you configured the Template Excel panel, for every spatial datum which meets your specification.
===Creating instances of a Template Excel panel===' Click on "Select Excelsheet"