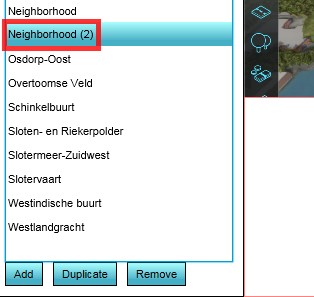
How to add, remove and duplicate a Neighborhood
Adding a Neighborhood
It is common for the New Project Wizard of the Tygron Platform to read the location of existing neighborhoods from available data. A Project can also involve a new neighborhood (to be constructed) that does not exist in the available data sets yet. In such a case it is possible to add a new Neighborhood to a project. Please note that the new neighborhood will overwrite any existing neighborhoods where they overlap, as the areas are mutual exclusive.
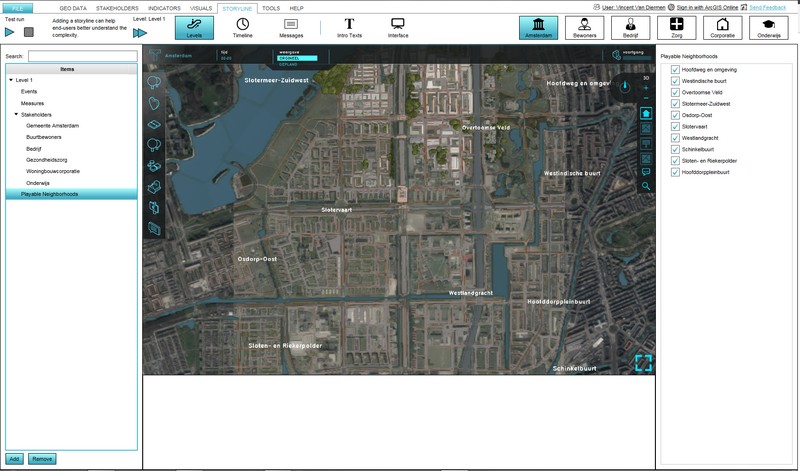
- Load or create a project in the editor
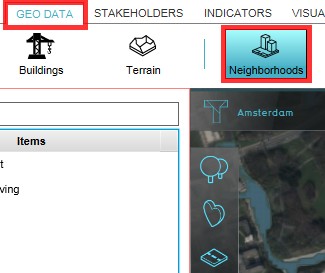
- From the Ribbon of the editor, select Geo Data > Neighborhoods
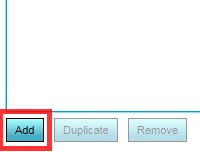
- On the Left panel of the Editor, click the 'Add' button
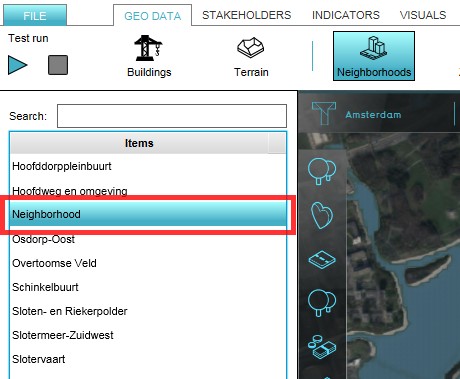
- Select the newly appeared 'Neighborhood' entry on (the list of) the Left panel
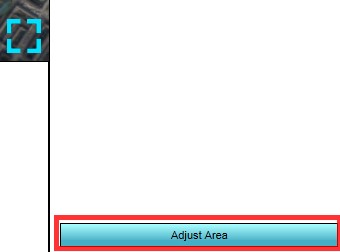
- Click the 'Adjust area' button on the bottom of the Right Panel
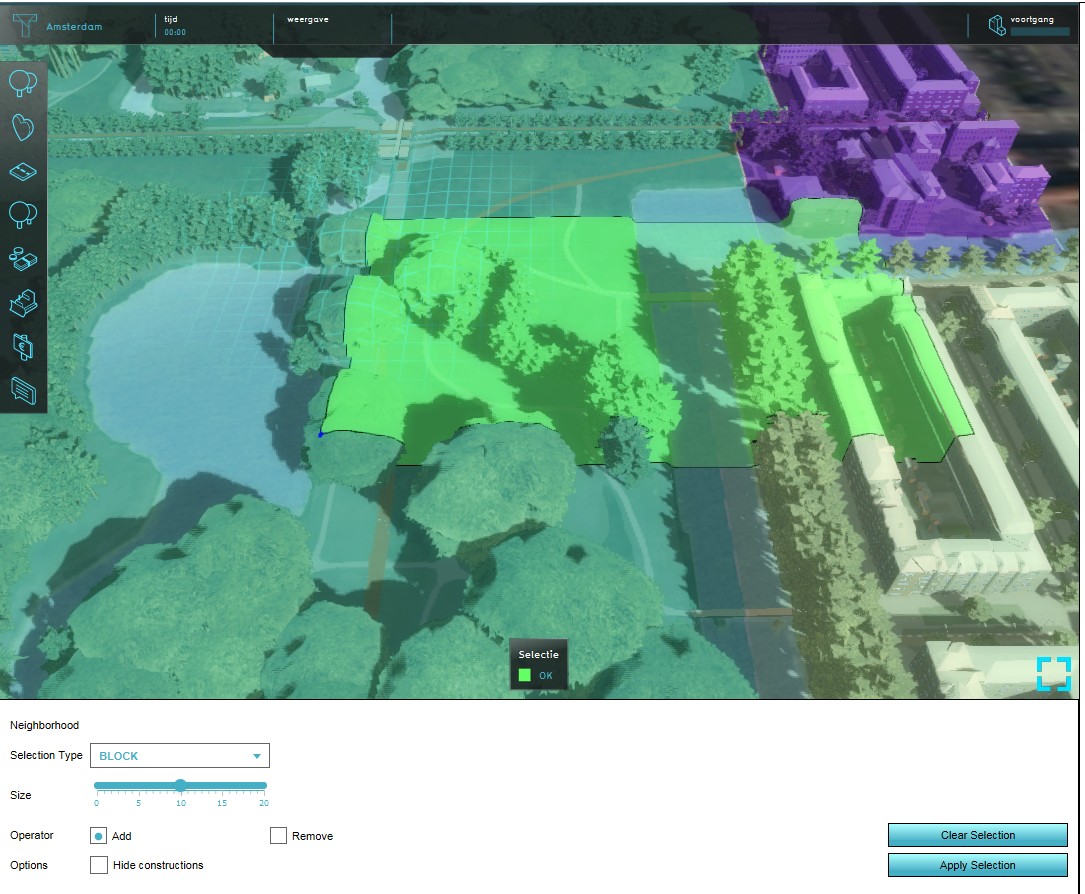
- Use the brush to draw the new neighborhood in the project area
-
1. Load or create a project in the Editor
-
2. Select Geodata > Neighborhoods on the Ribbon of the Editor
-
3. On the bottom of the Left panel of the Editor click on 'Add'
-
4. Highlight the newly created 'Neighborhood'
-
5. Click 'Adjust Area' button on the bottom of the Right Panel
-
6. Use the brush to draw the new neighborhood
Removing a Neighborhood
In case an existing Neighborhood needs to be removed, the following steps need to be taken:
- Load or create a project with Neighborhoods in the editor
- From the Ribbon of the editor, select Geo Data > Neighborhoods
- On the Left panel of the Editor highlight the Neighborhood to be removed
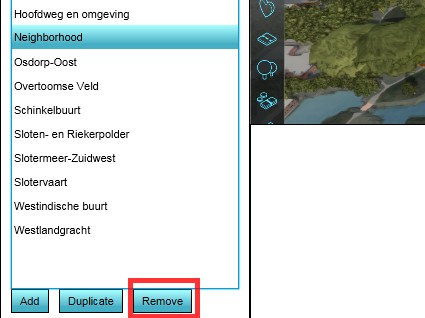
- Click the 'Remove' button on the bottom of the Left Panel
- Confirm the action on the message pop up
-
1. Load or create a project in the Editor
-
2. Select Geodata > Neighborhoods on the Ribbon of the Editor
-
3. Highlight the Neighborhood to be removed
-
4. Click 'Remove' button on the bottom of the Left Panel
-
5. Confirm the action on the warning pop up
Duplicating a Neighborhood
For convenience purposes it is also possible to duplicate a Neighborhood. This duplicates the neighborhood entry and all its attributes, except the actual location in the project area, since neighborhoods are mutual exclusive areas.
- Load or create a project with Neighborhoods in the editor
- From the Ribbon of the editor, select Geo Data > Neighborhoods
- On the Left panel of the Editor highlight the Neighborhood to be duplicated
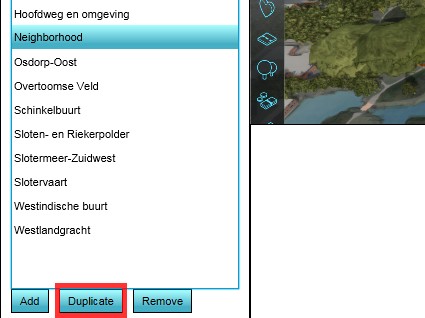
- Click the 'Duplicate' button on the bottom of the Left Panel
- Find the duplicated Neighborhood in the list on the Left Panel
-
1. Load or create a project in the Editor
-
2. Select Geodata > Neighborhoods on the Ribbon of the Editor
-
3. Highlight the Neighborhood to be duplicated
-
4. Click 'Remove' button on the bottom of the Left Panel
-
5. Find the duplicated Neighborhood
