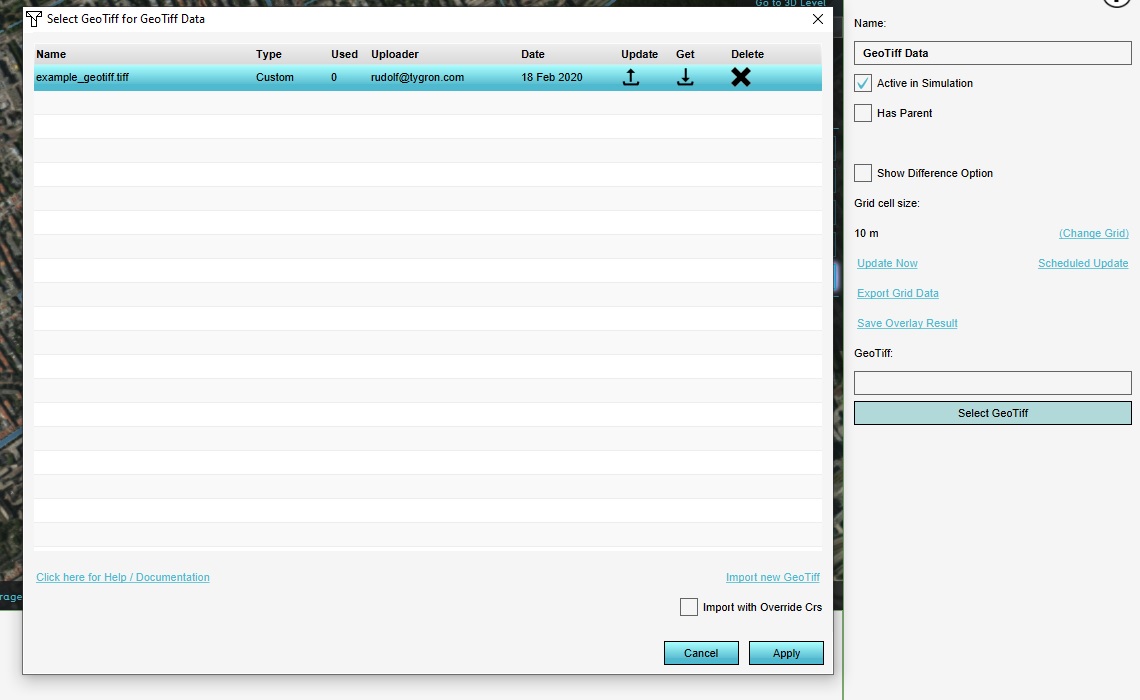
How to select a GeoTIFF for a GeoTIFF Overlay

A GeoTIFF Overlay can be used to visualize the grid data of one or more GeoTIFFs.
How to select one or more GeoTIFFs for a GeoTIFF Overlay:
- Select the GeoTIFF Overlay to configure.
- In the right panel, find the "GeoTIFF(s)" entry, and click on "configure". Alternatively, select the "TIFFs" tab.
- At the bottom of the right panel, select "Add". This will open the GeoTIFF Manager.
- If the desired GeoTIFF is not yet part of the Project's Assets, opt to add a new file at the bottom of the GeoTIFF Manager.
- When the desired GeoTIFF is listed, select it in the list of GeoTIFFs.
- If multiple GeoTIFFs are desired, select all desired GeoTIFFs.
- With the desired GeoTIFF(s) selected, click on "OK". This will close the GeoTIFF Manager.
- The GeoTIFF is now used as input for your GeoTIFF.
Notes
- Multiple GeoTIFFs can be selected by using shift and ctrl.
- GeoTIFFs can be reordered by selecting them in the left panel, and using the "Move Up" and "Mode Down" options to change their order.