How to create AI train data with QGIS
In this how-to, we will use Areas to store our data in. Areas can overlap and be grouped together using a particular attribute, in this case FOLIAGE. The FOLIAGE attribute should contain a single integer number, which represents the classification. For example, we can use the following classification:
- Deciduous Tree
- Pine Tree
- Heath area
- Hedge
- Bush
- Reed
- Flower bed
- Leafless Tree Area
The areas are drawn on top of a particular Overlay or WMS Layer of your project. In this case we will use the original satellite background layer of a Project's WMS service.
How to create AI train data with QGIS:
Setup a Project with an attribute Area and copy the WFS link
How to Setup a Project with an attribute Area and copy the WFS link:
- Open your project in editor mode.
- Hover over Areas in the ribbon bar, and select Add new Empty Area.
- With the Area selected, select the Attribute tab in the Area Detail Panel.
- Under Add new Attribute, type FOLIAGE for name and 1 for value.
- Click Save New Attribute to add the FOLIAGE attribute.
- Click on the Group by Attribute button in the Area Overview Panel.
- Add the same Attribute name as added for the Area in the previous steps.
- Next, hover over Areas in the ribbon bar and select Export Geo Data
- For Filter, select Foliage
- Select any of the GeoJSON options.
- Click on the Copy the URL button next to Web Feature Service (WFS)
Setup QGIS with a Project's Area WFS and a Satellite Background
How to Setup QGIS with a Project's Area WFS and a Satellite Background:
- Open QGIS
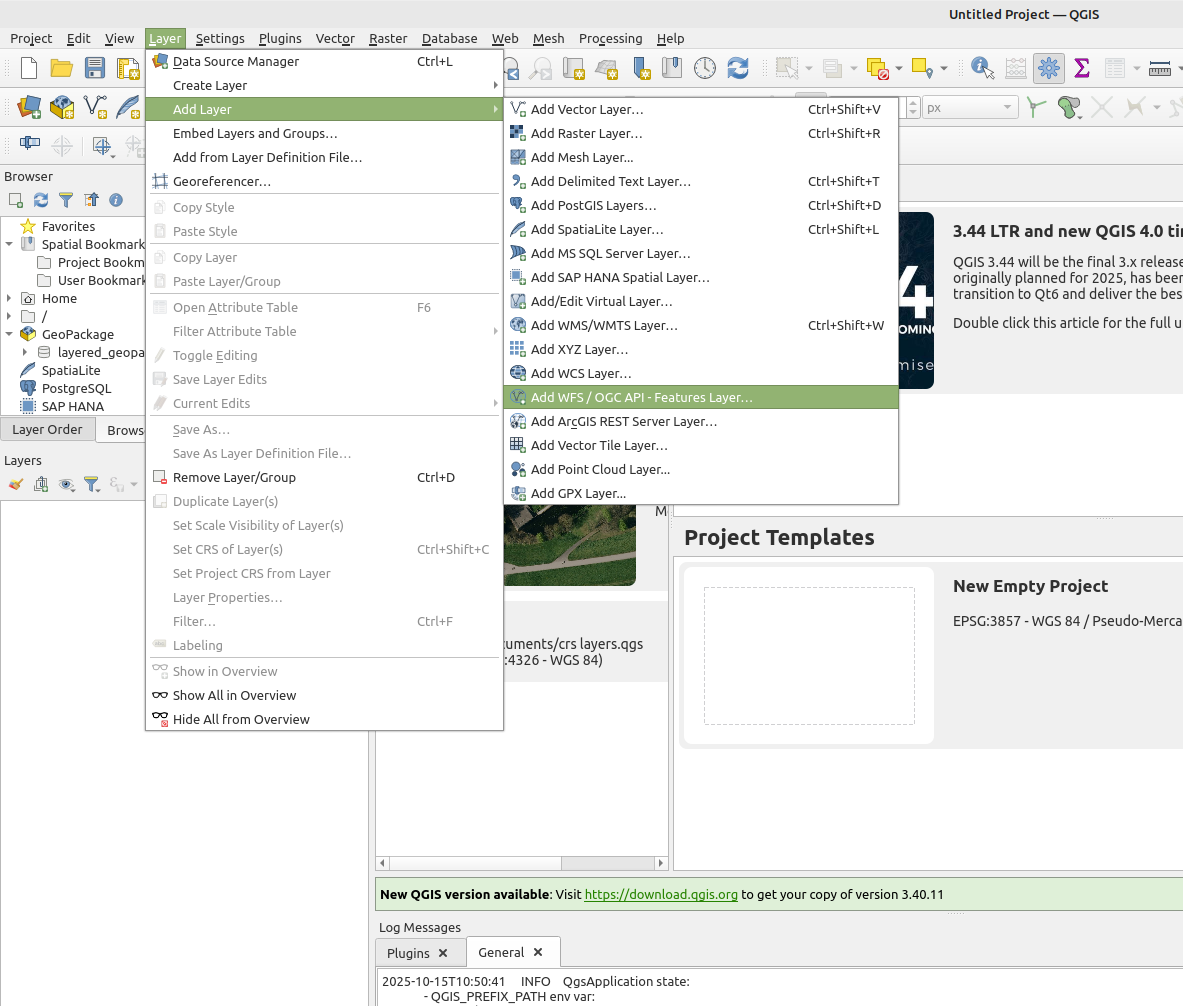
- In QGIS, Hover over Layer in the ribbon bar, and under add new Layer, select add WFS / OGC API Feature Layer
- In the Data Source Manager panel, select New.
- Paste the copied WFS url from the Export Geo Data panel and paste it in the url field.
- Provide an appropriate name, for example Foliage - My Project Name and confirm.
- Click on the Connect button.
- Select the layer named Foliage Areas and click on Add.
- In the Tygron Application again, hover over Overlays and select Export Grid Data
- Click on the Copy URL
- In QGIS, hover over Layer again, and under add new Layer, select add WMS/WMTS.
- Click on add new.
- For the URL field, paste the copied Web Map Service (WMS) URL.
- For the name, write Satellite - My Project Name and click on OK to confirm.
- Click on connect and select the layer named SATELLITE ORIGINAL and click add.
- In the Layers panel in QGIS, drag and drop the Foliage Layer above the Satellite Layer.
-
 Add a WFS Layer of your project session in QGIS.
 -
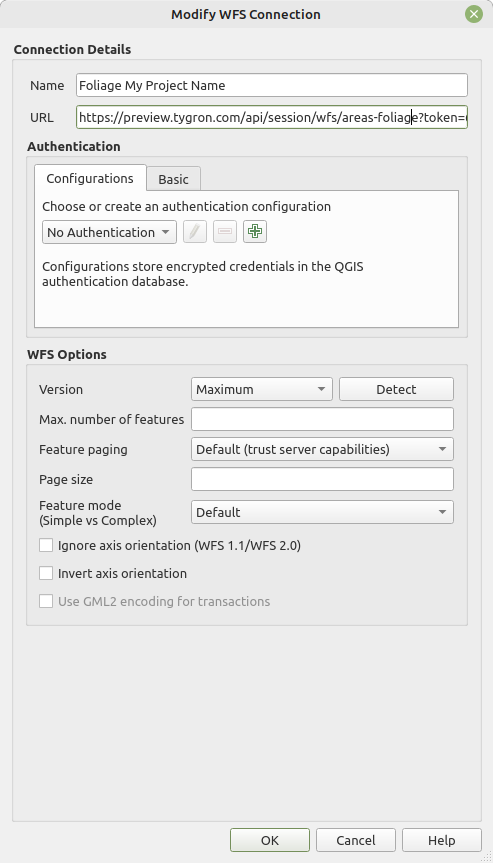 Add a WFS Connection of your project session in QGIS.
 -
 Connect to the WFS and select the Foliage Area layer.
 -
 Add a WMS Layer of your project session in QGIS.
 -
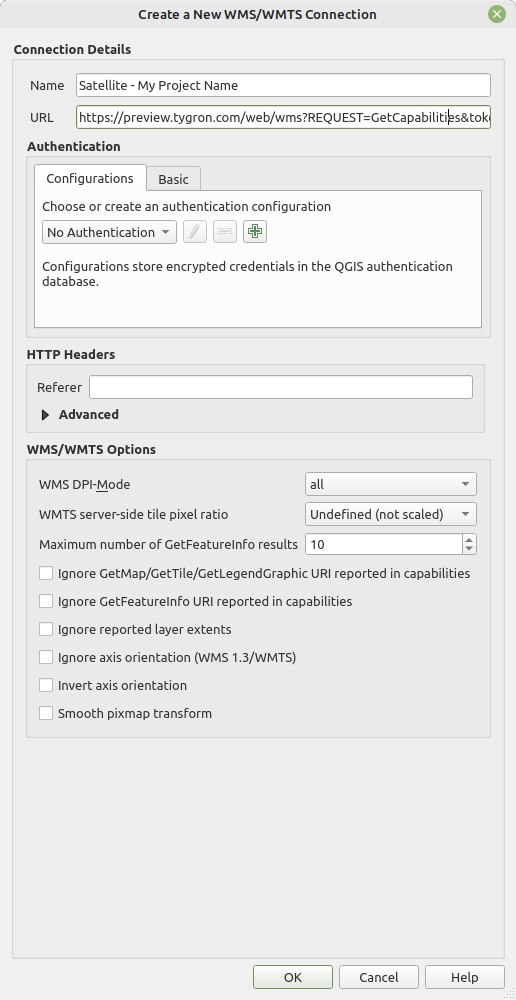 Add a WMS Connection of your project session in QGIS.
 -
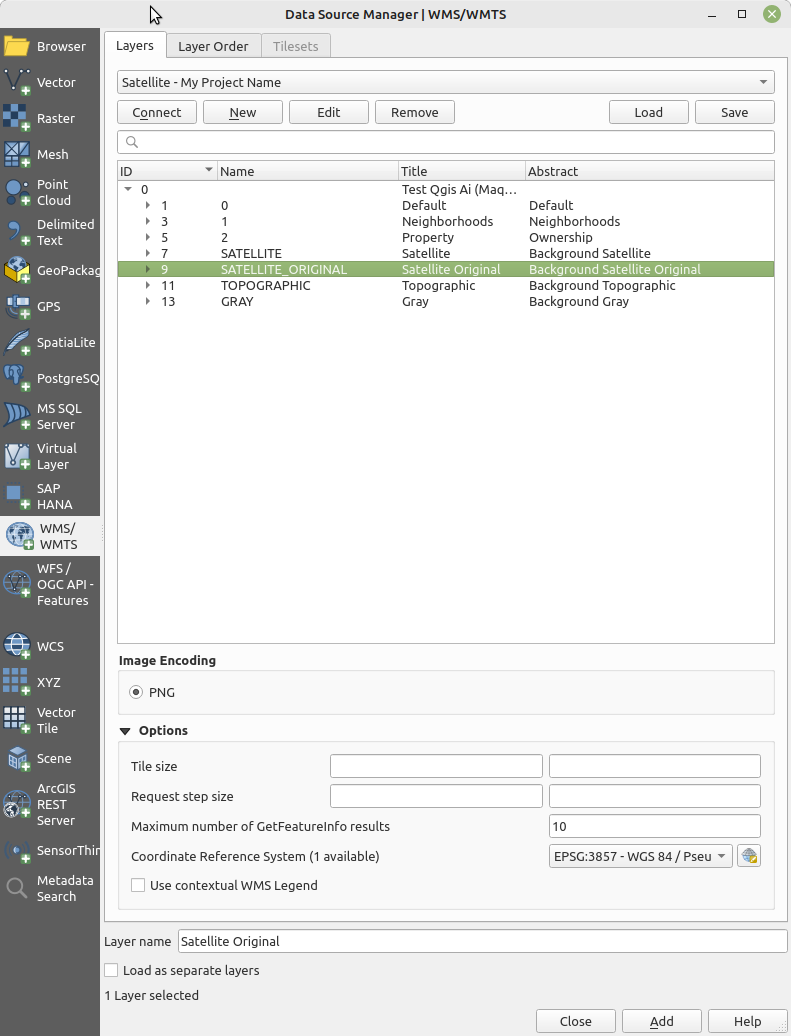 Connect to the WMS and select the Satellite Original layer.


Setup the QGIS WFS Layer with a classification and attribute form
How to Setup the QGIS WFS Layer with a classification and attribute form:
- Right click on the Foliage Areas Layer, and select Properties
- In the Layer's Properties Panel, select the Symbology Tab.
- Changed the type to Categorized.
- Click on the plus button to add 1 category per class and add a final extra one.
- Per type, do the following:
- Add an entry and provide it with an floating point number, such as 1.0.
- Select a color
- Provide the name of the entry with the classification, for example Deciduous.
- Finally, add a final entry with no value and a color that significantly different from the classification colors, such as pink or purple. Name this entry Other.
- Click on the apply button.
- Next select the tab Attributes Form
- Change the option to Drag and Drop Editor.
- Under form Layout, remove all fields except the FOLIAGE field.
- Select the FOLIAGE field, and under general, select the Reuse last entered value option.
- Change the Text Field widget to Classification.
- Select apply to confirm.
-
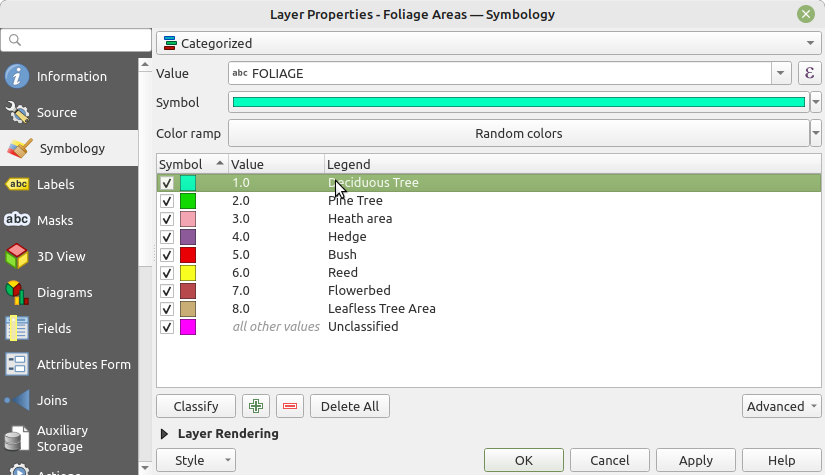 Configured symbology using the categorized option.
 -
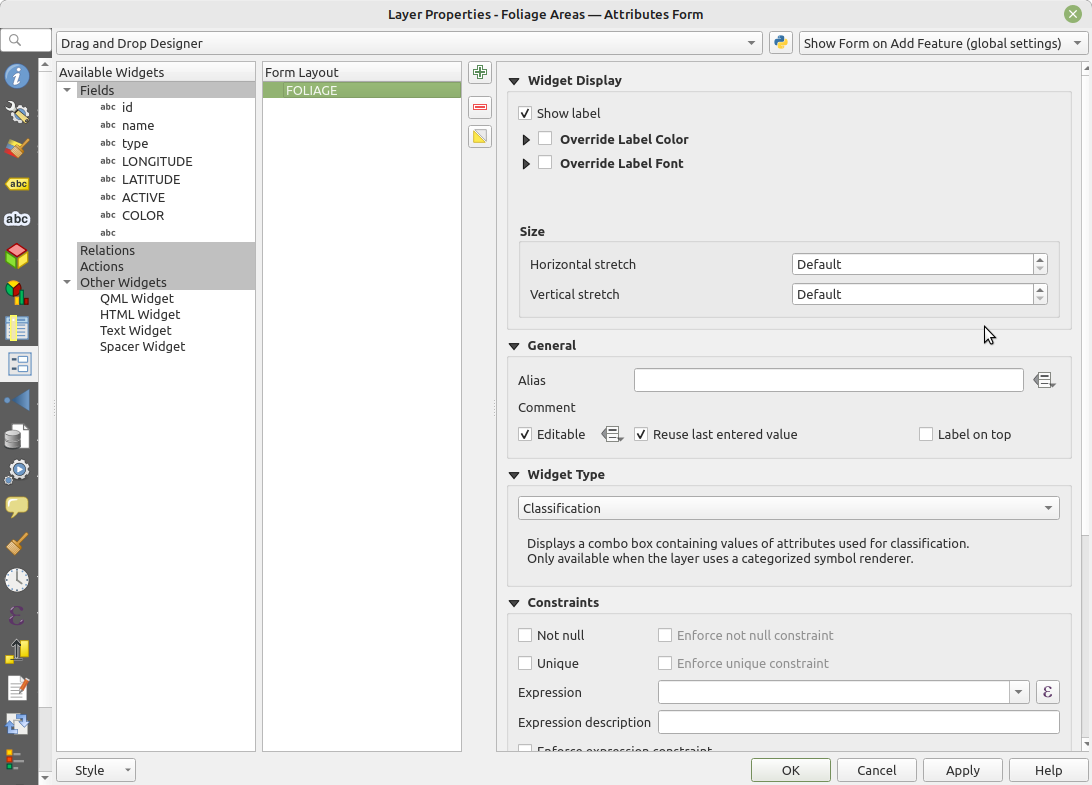 Widget Type set to Classification.
 -
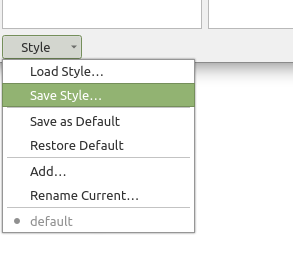 Optionally save the style to a QML file.


Edit the WFS layer and add and edit features and saving the changes
How to Edit the WFS layer and add and edit features and saving the changes:
- Select the WFS layer in the layer panel.
- Select the Pencil option named Toggle Editing
- To add new Features, select the Polygon Star button
- Left click on the 2D View to add a vertices
- Right click to confirm the shape. The feature form appears.
- Provide the correct value and click on the OK button. You can also confirm by pressing the ENTER key, and cancel with ESC.
- To edit a feature's vertices, select the Vertex Tool button
- To edit a feature's form, first activate a Feature Select Option (yellow icons in the top bar), select one or more features and click on the pencil with attribute rows icon to edit the form.
- To delete a feature, use the Vertex Tool and select all vertices from a Feature. When an Area's polygon has no more vertices, it will be removed from the Tygron Project once the edits are saved.
- To save all changes made to the WFS Layer, click on the save button. This sends all changes to the session on the Tygron Platform.
- Optional: Toggle the magnet option when vertices should touch and tweak the pixel distance accordingly.
-
 Edit button in QGIS
 -
 Polygon Start button for adding new features.
 -
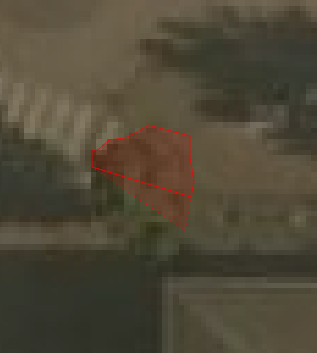 Adding a feature by clicking in the 2D View.
 -
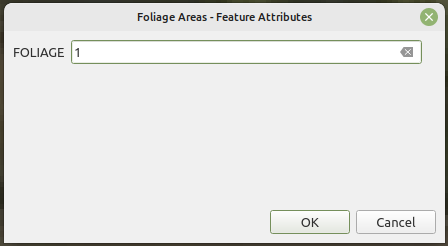 Confirming a new feature with the attribute form.
 -
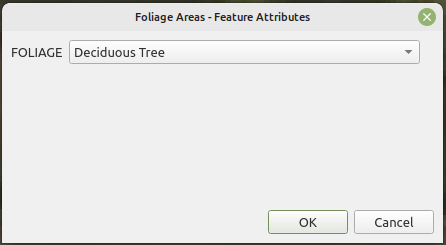 Alternative attribute form using the Classification widget.
 -
 Vertex button in QGIS.
 -
 Feature selection buttons in QGIS.
 -
 Form button in QGIS.
 -
 Click the Save button to send local changes to the session on the Tygron Platform.
 -
 Magnet button in QGIS.


Notes
- You can only access and edit a WFS service of a session that is active on the Tygron Platform.
- You can choose to change the Attribute Form of the WFS Feature Layer to use the Classification instead of a text field with a number, in case the classification numbers are hard to remember.
- We highly advice to save the configured style of a WFS Layer to a QML file. This save option is accessible in the Layer Properties panel in QGIS. The QML file includes the classification legend, as well as the attribute form. A QML File can also be loaded for other WFS services.