Unit Type: Difference between revisions
m (→Changing units) |
|||
| Line 180: | Line 180: | ||
Changing existing units can be done by selecting an already existing unit on the left side of the Unit Data Overrides Panel. The characteristics of the existing unti are displayed and can be edited on the detail panel on the right side of the editor main view. | Changing existing units can be done by selecting an already existing unit on the left side of the Unit Data Overrides Panel. The characteristics of the existing unti are displayed and can be edited on the detail panel on the right side of the editor main view. | ||
{{Editor steps|title=change units|Select | {{Editor steps|title=change units|Select Visuals in the header|Select Units in the bar|Search in the list of unit data overrides panel the unit to be changed|Edit the given options on the right side panel if desired}} | ||
<br clear=left> | <br clear=left> | ||
Revision as of 14:50, 26 July 2017
Units
- Units are the various means of transportation that can be displayed in the 3D world.
How do units relate to the Tygron Engine?
- The available units can be added to the 3D world in order to visualize the dynamic feel of the 3D world. For the vehicles that are situated on the roads, the units not only complete the visualization of the real life situation, they are also used for the traffic density calculations (See also: Traffic Model) of the various types of roads. For example, a highway has more units per hours than a brick road. The amount of units per hour can be edited and is used for calculations and visualization of traffic overlays.
Types of available units
- In the Tygron Engine, there are multiple types of units available. Each type of unit has its own properties consisting of its name, color and if it is active or not in the 3D world.
| Land based units (Road) | Land based units (Rail) | Waterborne units | Airborne units |
|---|---|---|---|
| Pickup | Tram | Canoe | Airplane |
| Bus | Transrapid | Sailboat | |
| Sedan car (multiple color types) | Cargo ship | ||
| Tractor | Riverboat small | ||
| Truck | Riverboat medium | ||
| Scooter | Riverboat large | ||
| SUV | Oil tanker | ||
| Mini Cooper (multiple color types) | Spray boat | ||
| Ambulance | |||
| Street sweeper | |||
| Smokey truck | |||
| Delivery truck | |||
| Small car | |||
| Police car | |||
| Yellow cab | |||
| US ambulance | |||
| US firetruck | |||
| Container truck | |||
| Grain truck | |||
| Oil truck | |||
| Bio truck | |||
| E-car |
Editing units
Adding and removing units
By default some units are present in a new project. This section deals with adding units to the 3D world. Template:Editor ribbon

Adding units
- By selecting the Add button on the bottom of list of units, a new panel with units appears. By selecting the desired unit from the list, and then the 'Apply' button, the unit is added to the project, but not activated yet! By highlighting the newly added unit on the left panel, the unit details become available on the right side. Here is also a checkbox to set the unit Active in Simulation.
- Select Visuals
- Select Units on the ribbon bar
- Select 'Add' from the bottom of the list
- Select the desired unit type from the popup panel and apply
- Notice a new unit has been added to the unit data overrides list
- Select the newly added Unit
- Set the Unit to Active in Simulation
- Menu.png
Select Visuals
- Menu2.png
Select Units from ribbon bar
- Add unit.png
Select 'Add' from the bottom of the list
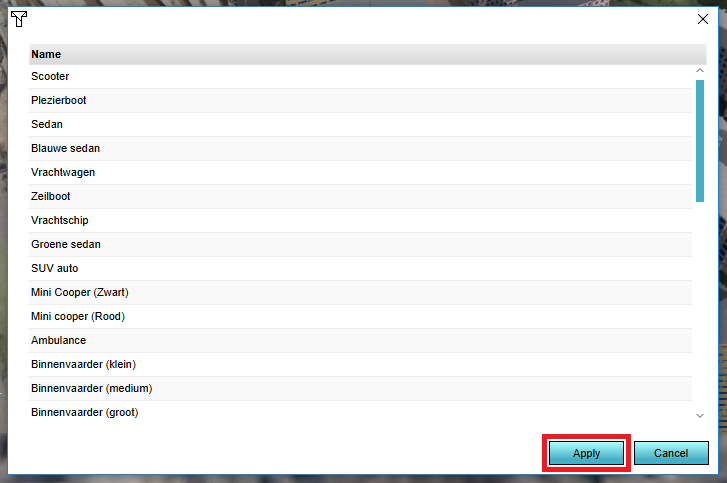
Select desired unit type and apply
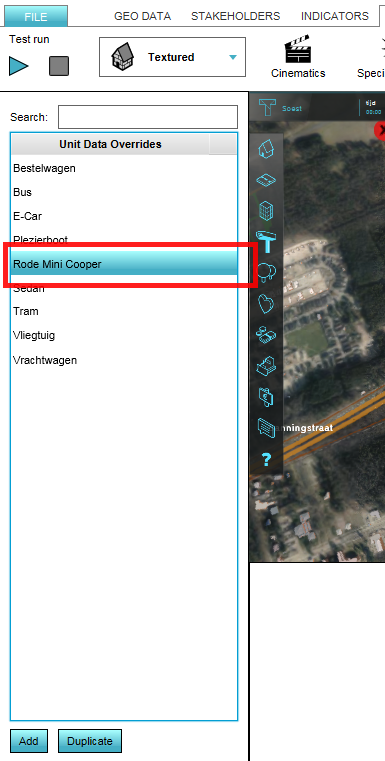
Select the newly added Unit
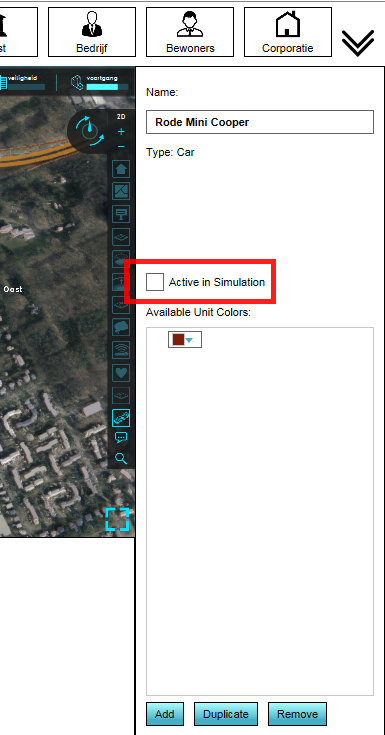
Set the Unit as Active in Simulation


Duplicate units
- By selecting the Duplicate button on the bottom of list of units, a new units appears on the list with the followup number in parentheses. The list is alphabetical per units type. Whether the new unit is active already in the 3D world depends on the parent unit that is duplicated. It will copy the active or inactive state of the original unit.
- Select Visuals
- Select Units on the ribbon bar
- Select 'Duplicate' from the bottom of the list
- Notice the new duplicated unit has been added to the unit data overrides list
- Menu.png
Select Visuals
- Menu2.png
Select Units from ribbon bar
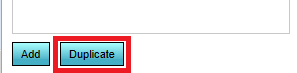
Select 'Duplicate' from the bottom of the list
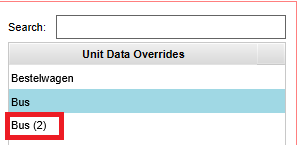
Notice the new duplicated unit

Removing units
- It is not possible to remove a unit, it is however possible to make a unit inactive and therefor not be visualized in the 3D world.
- Select the unit in the left unit data overrides panel
- Uncheck the Active in Simulation checkbox in the right panel
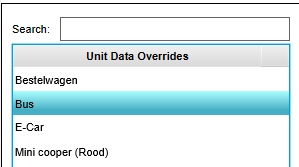
Select unit to be inactivated
Uncheck the Active in Simulation checkbox


Changing units

Changing existing units can be done by selecting an already existing unit on the left side of the Unit Data Overrides Panel. The characteristics of the existing unti are displayed and can be edited on the detail panel on the right side of the editor main view.
- Select Visuals in the header
- Select Units in the bar
- Search in the list of unit data overrides panel the unit to be changed
- Edit the given options on the right side panel if desired
Name

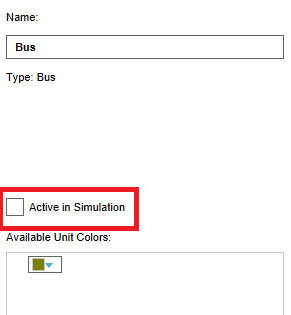
- In the "Name" field, a specific name for the unit can be entered, replacing the default naming. Please note that the default name of a construction often refers to the actual type of the unit.
Active in Simulation
- By checking or unchecking the checkbox the selected unit is vizualized in the 3D world or not.
Available Unit Colors

- In these colors this type unit is displayed in the 3D world.