Underground visualization: Difference between revisions
No edit summary |
No edit summary |
||
| (12 intermediate revisions by 3 users not shown) | |||
| Line 1: | Line 1: | ||
[[File:YoutubeLogo1.jpg|thumb|right|link=https://youtu.be/-wxsCBhqico|Underground visualization clip]] | |||
[[File:Underground.jpg|thumb|right|Example of an underground]] | |||
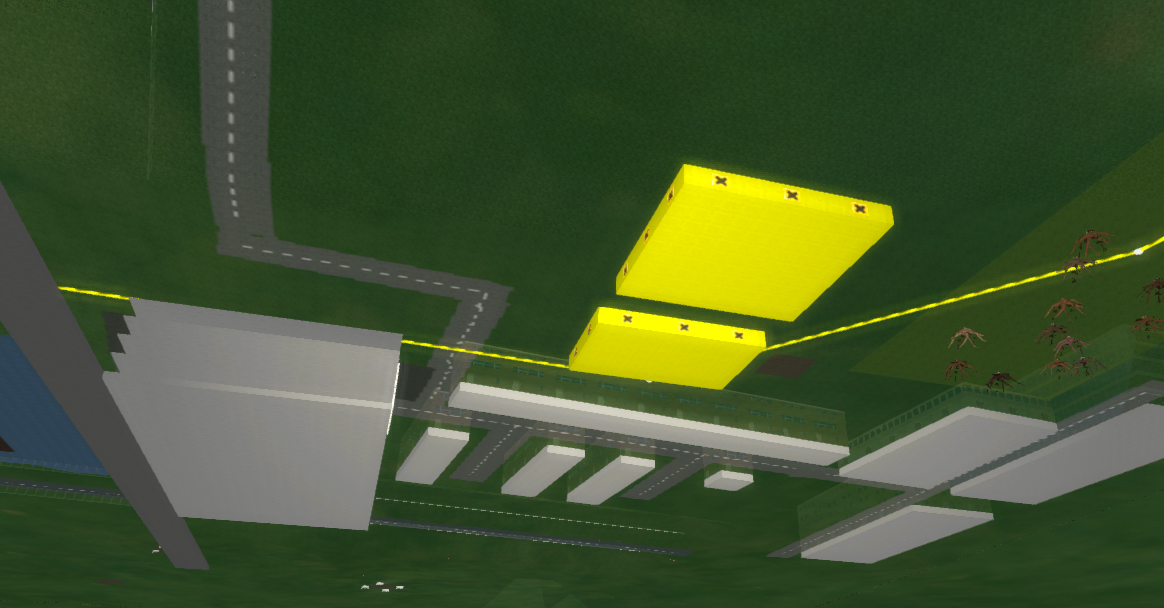
The Underground visualization is used to visualize elements in a [[Project]] which are located below the ground surface. A selection of elements currently visualized: | |||
The Underground visualization is used to visualize elements in | |||
*Subway system | *Subway system | ||
*Underground parking garage | *Underground parking garage | ||
*Tree roots | *Tree roots | ||
* | *[[Net lines]] | ||
*Basements of buildings | *Basements of buildings | ||
*Sub- | *Sub-terranean storage facilities including hazard storage. | ||
*Building foundations like piles | *Building foundations like piles | ||
{{clear}} | |||
==What is it used for?== | ==What is it used for?== | ||
The underground contains a lot of infrastructural and building elements which have impact on spatial planning. For instance, the Underground visualization can be used to visualize net lines which could potentially intersect with for example tree roots. By visualizing this, a planner can choose to circumvent obstacles or use the visualization to discuss potential bottlenecks with stakeholders. | |||
Another example can be the storage of hazardous materials and the planning of a new subway line which passes close by or intersects it | Another example can be the storage of hazardous materials and the planning of a new subway line which passes close by or intersects it. | ||
==How to activate and navigate through the Underground.== | ==How to activate and navigate through the Underground.== | ||
There are currently 3 ways to show the Underground of a | [[File:X-ray_button.png|right|thumb|"X-ray button"]] | ||
# Use the | There are currently 3 ways to show the Underground of a [[Project]]. | ||
# Navigate to streetview and press the "space" button. This will make the camera drop to below level where the underground is visible. The above ground terrain is still | # Use the see-through button in the navigation menu on the right side of the viewer. This will toggle an X-ray view where the Underground is visible through the upper terrain. | ||
# Use the "CTRL-0" combination on your keyboard or the "Free Cam" tool to navigate freely with your camera. This allows you to swing below the surface when | # Navigate to streetview and press the "space" button. This will make the camera drop to below level where the underground is visible. The above ground terrain is still transparently visible. This improves orientation. | ||
# Use the "CTRL-0" combination on your keyboard or the "Free Cam" tool to navigate freely with your camera. This allows you to swing below the surface when dragging the camera to the bottom. This option is best for more experienced users with the camera system.' | |||
[[ | {{article end | ||
|notes= | |||
* [[Network Distance Overlay]] | |||
}} | |||
Latest revision as of 18:59, 22 December 2023


The Underground visualization is used to visualize elements in a Project which are located below the ground surface. A selection of elements currently visualized:
- Subway system
- Underground parking garage
- Tree roots
- Net lines
- Basements of buildings
- Sub-terranean storage facilities including hazard storage.
- Building foundations like piles
What is it used for?
The underground contains a lot of infrastructural and building elements which have impact on spatial planning. For instance, the Underground visualization can be used to visualize net lines which could potentially intersect with for example tree roots. By visualizing this, a planner can choose to circumvent obstacles or use the visualization to discuss potential bottlenecks with stakeholders. Another example can be the storage of hazardous materials and the planning of a new subway line which passes close by or intersects it.
How to activate and navigate through the Underground.

There are currently 3 ways to show the Underground of a Project.
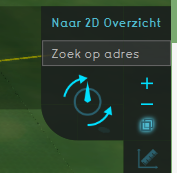
- Use the see-through button in the navigation menu on the right side of the viewer. This will toggle an X-ray view where the Underground is visible through the upper terrain.
- Navigate to streetview and press the "space" button. This will make the camera drop to below level where the underground is visible. The above ground terrain is still transparently visible. This improves orientation.
- Use the "CTRL-0" combination on your keyboard or the "Free Cam" tool to navigate freely with your camera. This allows you to swing below the surface when dragging the camera to the bottom. This option is best for more experienced users with the camera system.'