How to import a foliage height GeoTIFF: Difference between revisions
Jump to navigation
Jump to search
No edit summary |
No edit summary |
||
| Line 3: | Line 3: | ||
|Open the Configuration Wizard | |Open the Configuration Wizard | ||
|Choose the [[Heat_DPRA_Module|DPRA model]] | |Choose the [[Heat_DPRA_Module|DPRA model]] | ||
|Proceed and in step 3 choose Use a foliage height GeoTIFF | |Proceed and in step 3 choose Use a foliage height [[GeoTIFF]] | ||
|In step 3.1 choose select a foliage height GeoTIFF. | |In step 3.1 choose select a foliage height GeoTIFF. | ||
|Click on the Import button | |Click on the Import button | ||
Revision as of 15:34, 3 March 2022
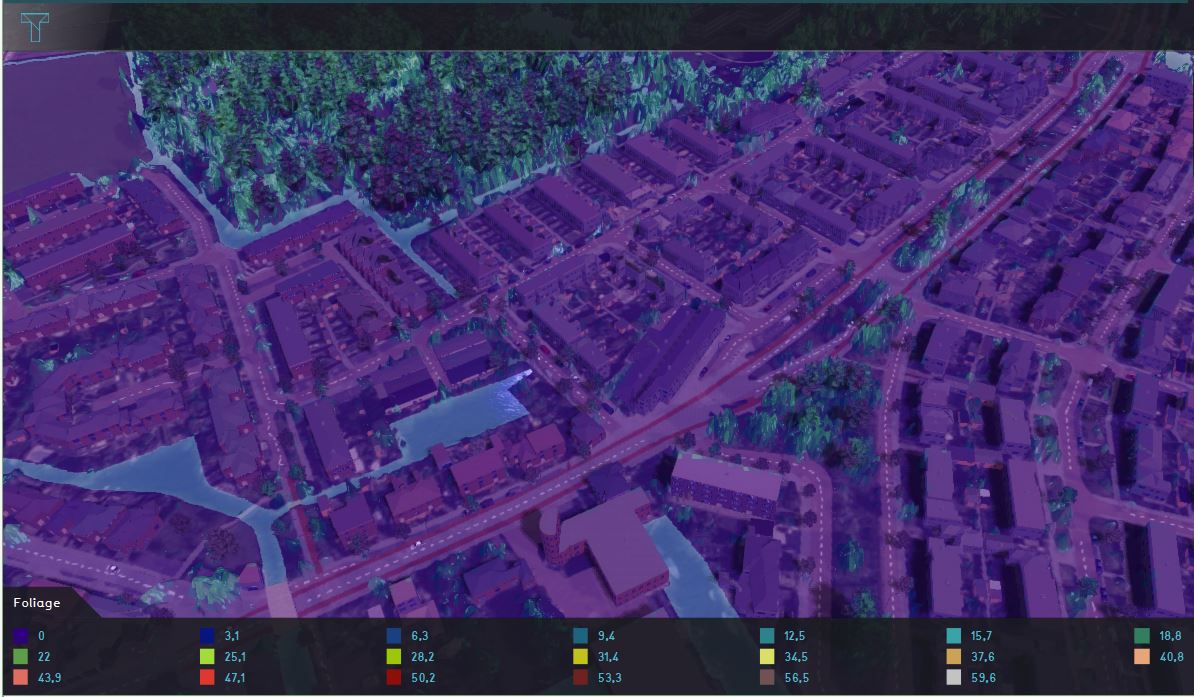
How to import a foliage height GeoTIFF:
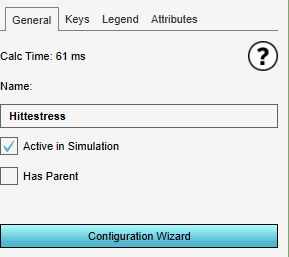
- Add the Heat Stress overlay
- Open the Configuration Wizard
- Choose the DPRA model
- Proceed and in step 3 choose Use a foliage height GeoTIFF
- In step 3.1 choose select a foliage height GeoTIFF.
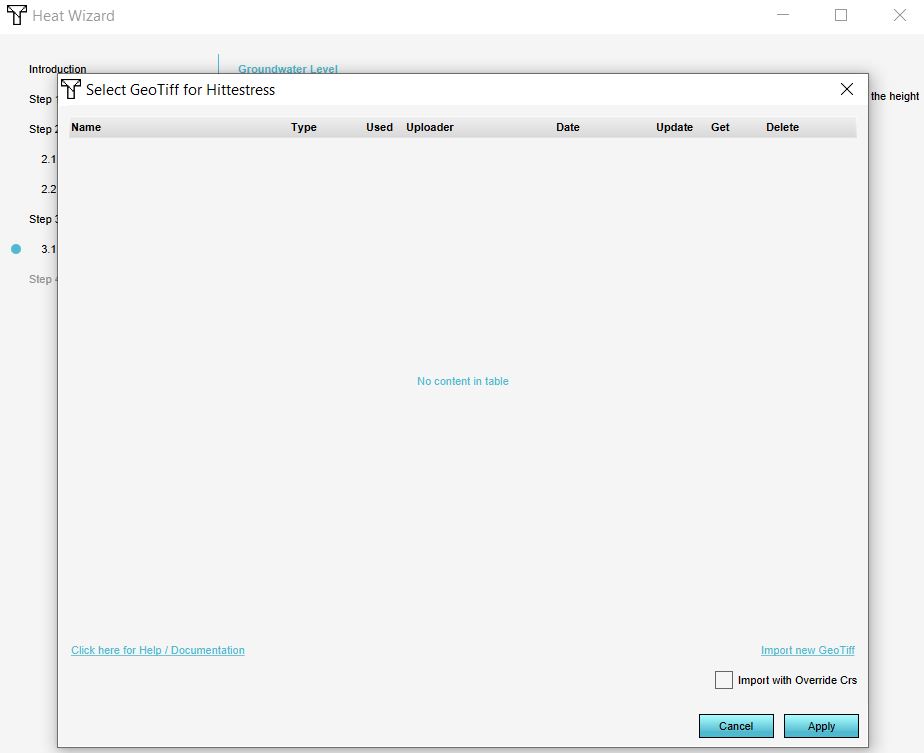
- Click on the Import button
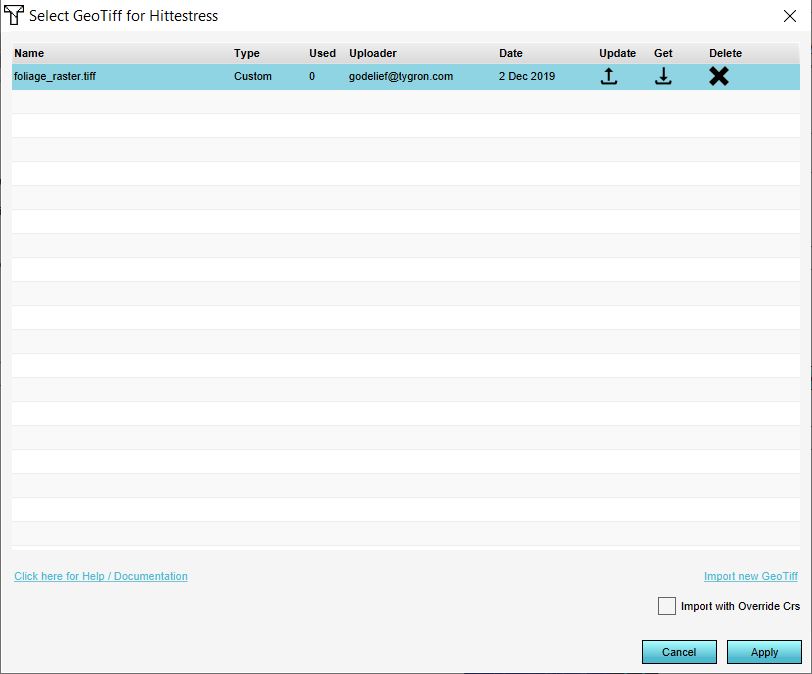
- In the new panel that pops up, import your GeoTIFF. When the file is uploaded, click on the Apply button.
- Proceed with the Heat wizard.
Notes
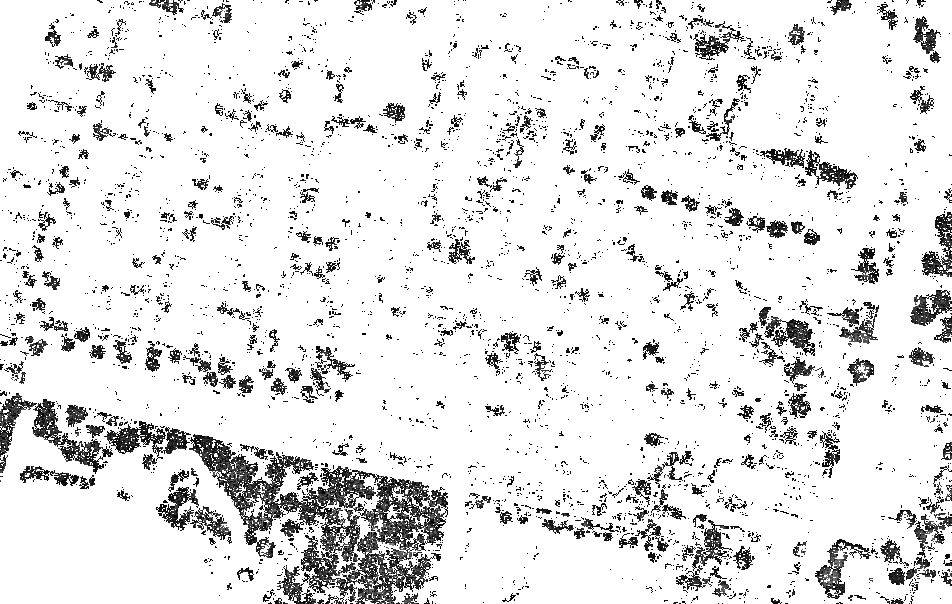
- The GeoTIFF needs to contain the foliage height, relative to the terrain height. Use a value of 0, <0 or a nodata value for the pixels where there is no foliage.
- The height of the already present tree constructions are ignored when choosing to import and use the foliage height GeoTIFF.
See also
- See also the Foliage height calculation model to know more about how the foliage height is used in the DPRA heat module.
- For the tutorial on configuring the default heat stress overlay, see the heat stress overlay tutorial.
