Layered camera: Difference between revisions
Jump to navigation
Jump to search
No edit summary |
No edit summary |
||
| Line 17: | Line 17: | ||
; Space | ; Space | ||
: Switch directly between a high and low perspective. | : Switch directly between a high and low perspective. | ||
{{article end | |||
|notes= | |||
* You can switch between these modes by clicking on the corresponding icon in the [[navigation panel]]: [[File:camera_standard_icon.png]][[File:camera_top_down_icon.png]] | |||
}} | |||
{{Camera nav}} | {{Camera nav}} | ||
Revision as of 13:23, 7 February 2023


This is the default camera mode. ![]()
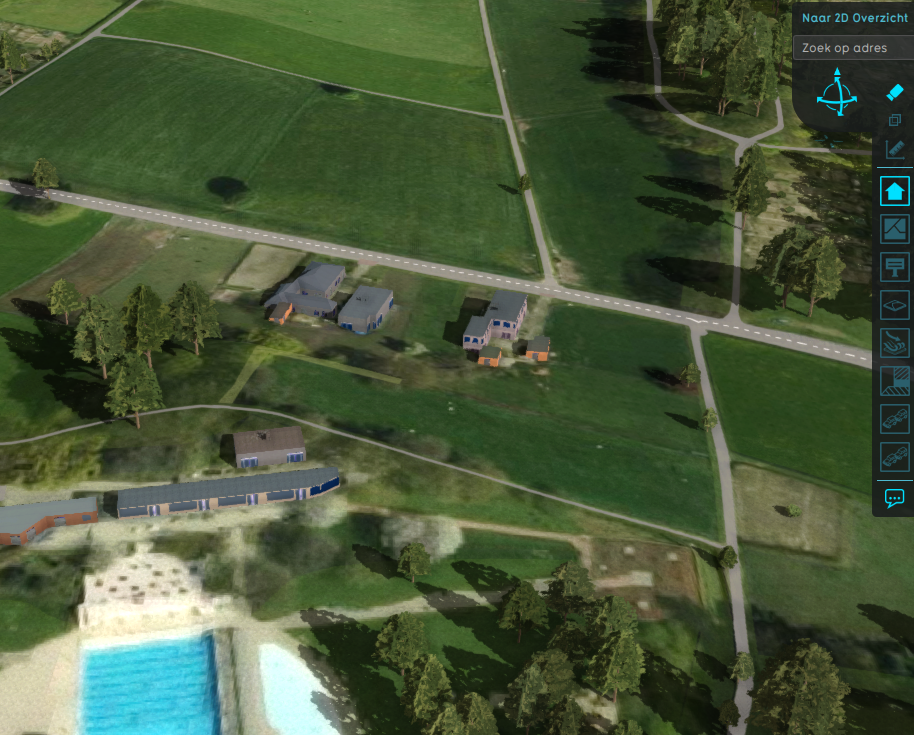
It provides different views based on the zoom level this camera is in. Close to the ground the camera is angled to provide a perspective in the 3D Visualization. When zooming out the camera will slowly settle into a cardinally-locked top-down perspective.
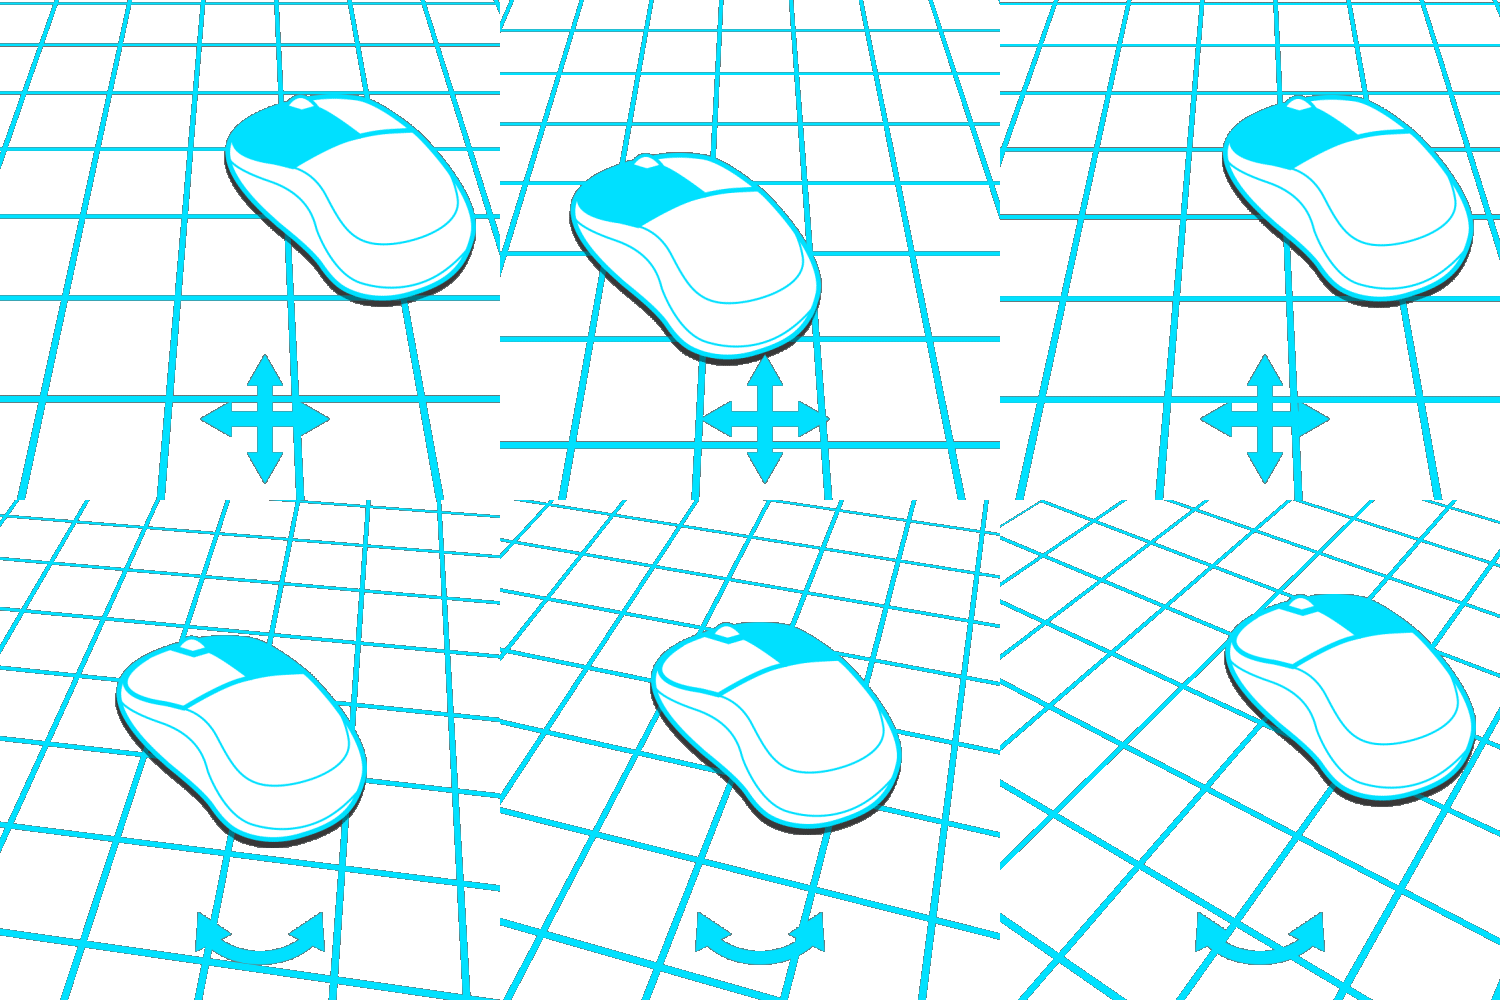
- Left mouse button (hold)
- Drag the camera along a flat plane, depending on the location the left mouse button was pressed.
- Right mouse button (hold) or scroll wheel (hold)
- Move the mouse left and right to rotate the camera around the upward axis defined by point the camera is currently looking at.
- Move the mouse up and down to change the perspective angle. The perspective angle can be limited, depending on the zoom level of the camera.
- Scroll wheel up-down
- Zoom in and out one zoom level respectively.
- Arrow keys
- Move the camera in the direction of the arrow key used.
- Space
- Switch directly between a high and low perspective.
Notes
- You can switch between these modes by clicking on the corresponding icon in the navigation panel:

