Flood wave use case (Water Overlay)
Please note: This page is currently being updated.
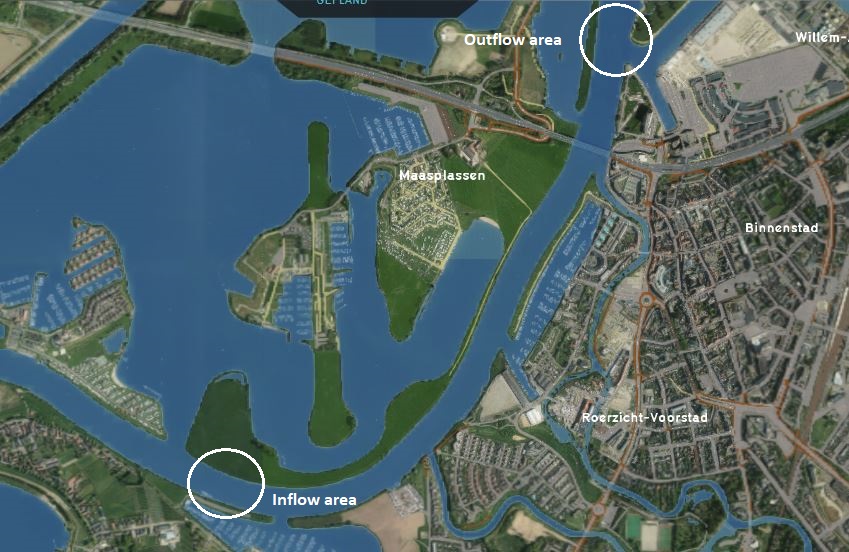
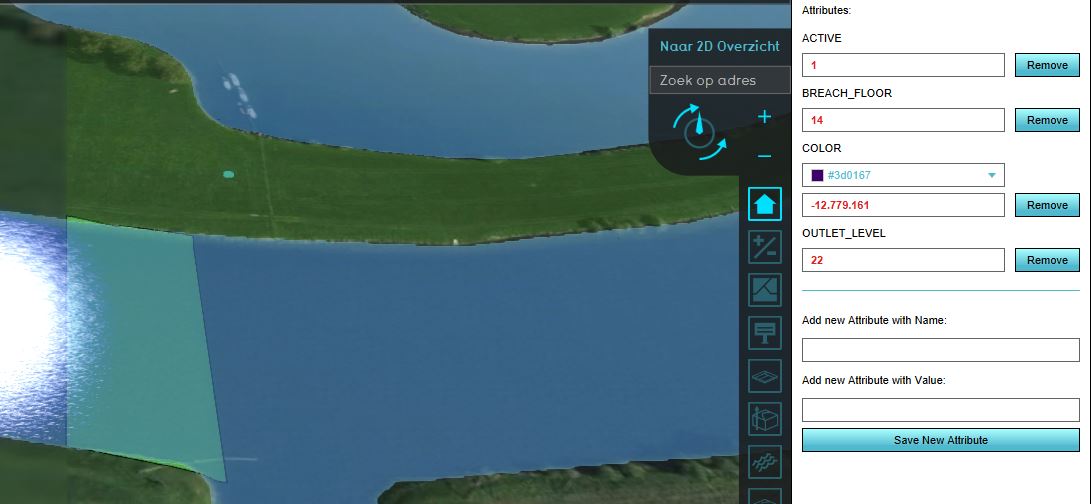
To simulate a scenario of for example a flood wave in a river, you can create in- and outlet areas. These are basically breach areas. The inlet area demonstrates the inflow of water, the outlet area demonstrates the outflow of water. The images show an example with invented values for the attributes.
How to set up a flood wave scenario:
- Draw two areas, one at one side of the river where the water will flow in and one at the other side of the river where the water flows out. It is also possible to import a GeoJSON file with these areas.
- The areas should have a breach floor attribute. Give the inlet area an outlet level and/or outlet Q. This depends on the data you have of the scenario. If you know for example the water level of a flood wave, use the outlet level. If you know the flow rate, use the outlet Q. Using both is also possible, then the outlet level has precedence over the outlet Q. For the outlet area, enter a negative outlet Q value and/or an outlet level.
- Add a Flooding Overlay and go to the Configuration Wizard of the Flooding Overlay.
- In step 2.1 either select the attribute that specifies your breach floor or import your GeoJSON file.
- Click on Next.
- In the dropdown menu, check if the attributes of the areas correspond with what you have set as attributes.
- In step 2.2 import your water level areas with at least a water level attribute.
- Finish the Wizard and refresh the Overlay.
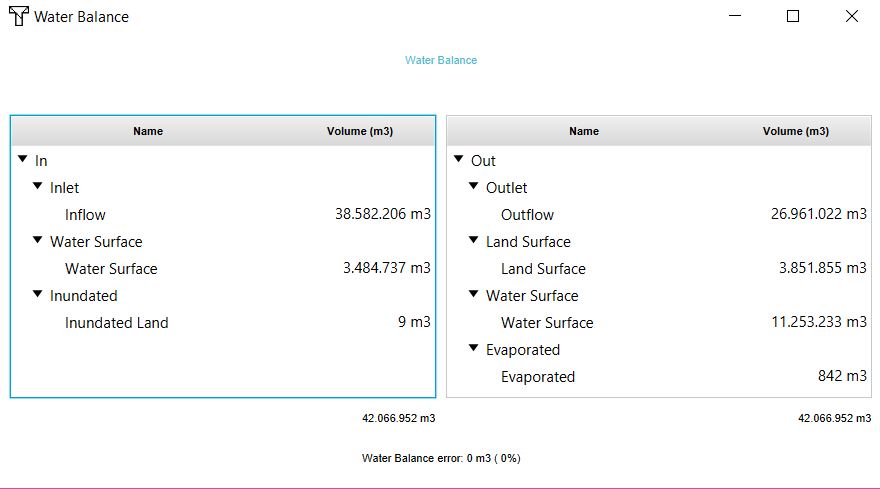
- After the flooding is calculated, check the Water Balance to get more insight in the scenario.


