GeoJSON
What is GeoJSON
GeoJson is a file format, which is meant to store data about geographical features (GIS data). It is a simple text-based format which can be inspected by humans, but is also readable by most GIS software.
How GeoJSON relates to the Tygron Engine
Projects in the Tygron Engine consist of a number of spatial data layers, such as constructions, zones, and land. When a project is newly created using the wizard, much of this data is already aggregated from available data. However, it may be desirable to load additional data into the project. The Tygron Engine can read GeoJSON files for this purpose.
When to use GeoJSON files
The Tygron Engine creates projects using the wizard with a number of default data sources. However, some users or organisations may have data which is preferable or complementary to the data already present in the project. This may be for a number of reasons:
- The project takes place in a location for which there are no data sources connected by default
- The default data sources are not accurate or up-to-date enough
- The project's intended starting situation is not the same as the real, current situation
- There is some form of data which is not covered by the Tygron Engine by default
In these situations, data in the Tygron Engine can be overwritten or supplemented by the user.
Data in the Engine
When loading a GeoJSON file, it can take the form of a number of data types. Currently, it is possible to use GeoJSON files to automatically create or update a number of types of data in the world. Data can be loaded in as:
- Constructions (Constructions placed based on the shapes defined in the file)
- Areas (Areas placed based on the shapes defined in the file)
- Zoning (Zones placed based on the shapes defined in the file)
- Construction values (Constructions are modified based on the attributes in the file)
How to prepare a GIS file
A GIS file can be converted into a GeoJSON file, so that it can be loaded by the Tygron Engine. Any GeoJSON file must conform to a number of prerequisites before it can be loaded properly. Files which do not conform to these prerequisites may not be loaded properly by the Tygron Engine.
- The file must be saved in GeoJSON format.
- The file must use coordinate system EPSG:3857, WGS 84 / Pseudo Mercator.
- The file must use character encoding UTF-8.
- All desired shapes must be polygons. Not lines or points. Non-polygon shapes are ignored.
- All desired attributes must be numerical, so that they can be loaded as valid attribute values. Non-numeric attributes are ignored when attempting to load them as attributes.
To convert a GIS file so that it meets these requirements, almost any GIS application can be used. ArcGIS Desktop is one example. An open-source alternative is QGIS. Whichever application is selected should allow for inspecting the existing shapes, and transforming them into polygons. This can often be done by, for example, creating a buffer around any shape which is not yet a polygon. They should also allow for inspecting and adding attributes to the shapes. Any attribute information which is to be uploaded should be numerical. If any attribute is not numerical, the values of that attribute must either be changed to be valid numbers, or a new attribute must be created with a numerical value based on the desired attribute. When this is done for all desired shapes and attributes, the file must be saved with the proper format. It must be saved in the coordinate system specified above, as a GeoJSON file with UTF-8 character encoding. This results in a single ".geojson" file, which can be loaded into the Tygron Engine.
- Open the GIS file in a GIS application, such as QGIS
- If necessary, turn non-polygon shapes such as lines or points into polygons
- If necessary, make sure all desired attributes are numeric
- Save the file in GeoJSON format, using EPSG:3857, WGS 84 / Pseudo Mercator, with encoding UTF-8
How to prepare a GIS file using QGIS
Loading
To start, a GIS file must be loaded into QGIS. It's possible to load a file either by dragging it directly into the QGIS window, or by selecting it in the "Browser" panel in the QGIS window. The file will appear in the "Layers" panel, and its contents will be displayed as shapes or polygons in the main view.
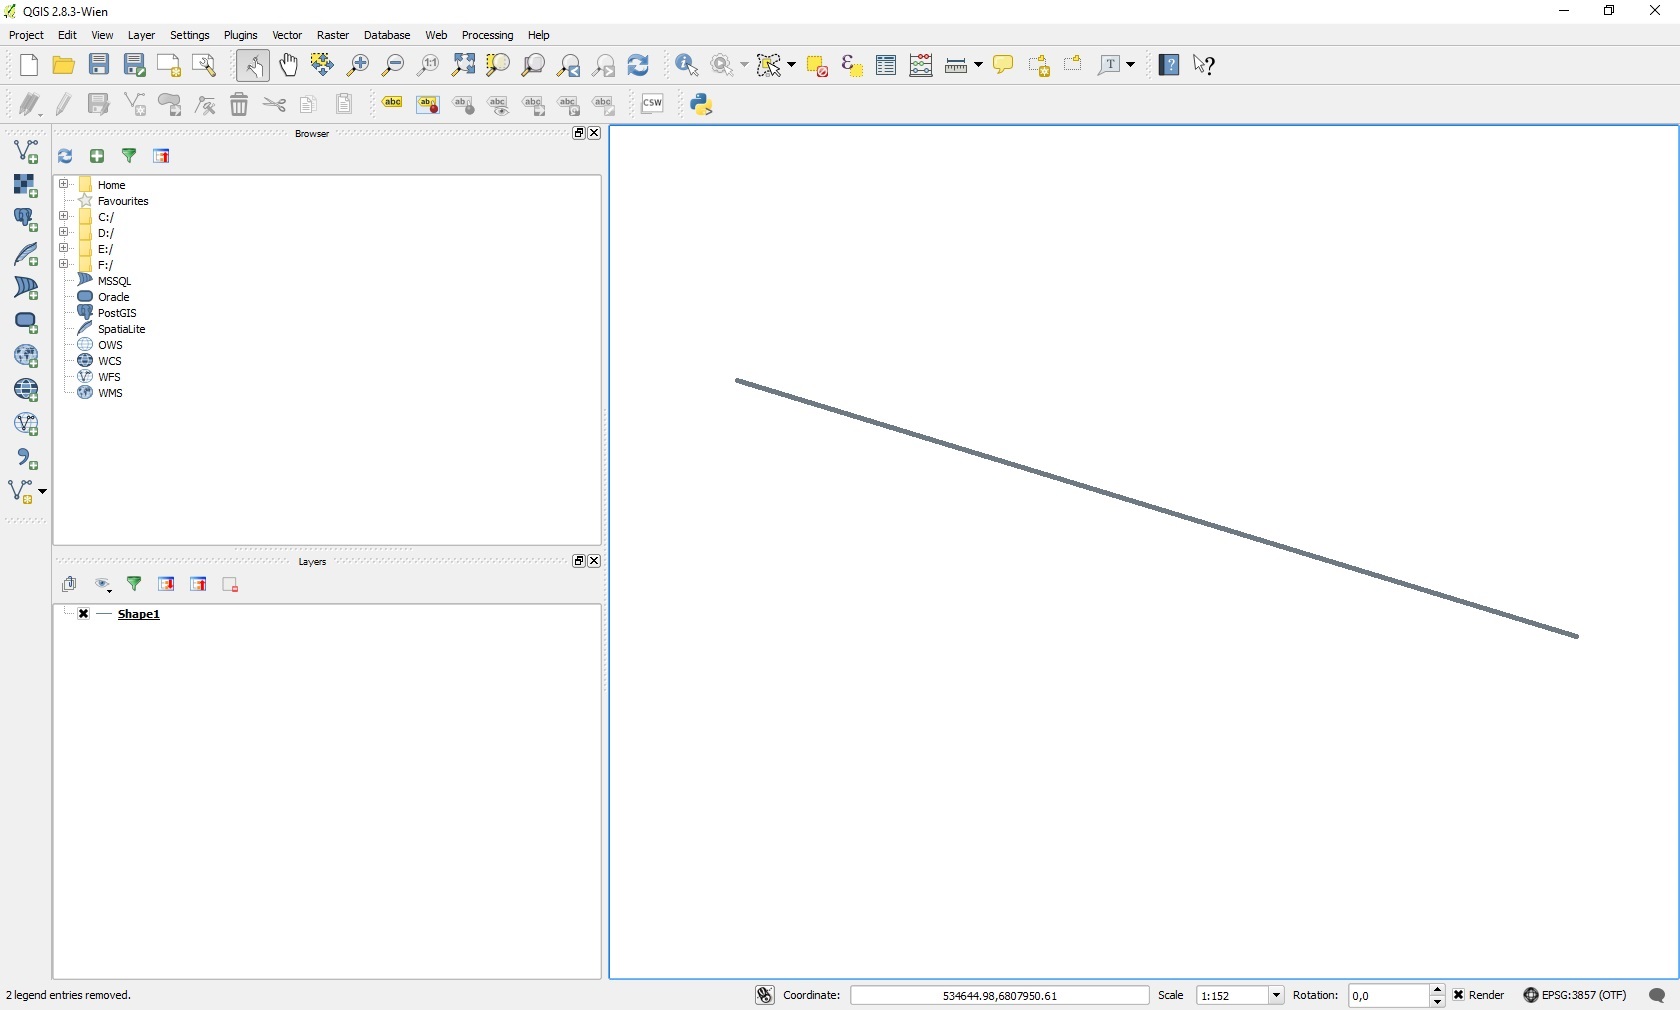
An overview of the QGIS interface
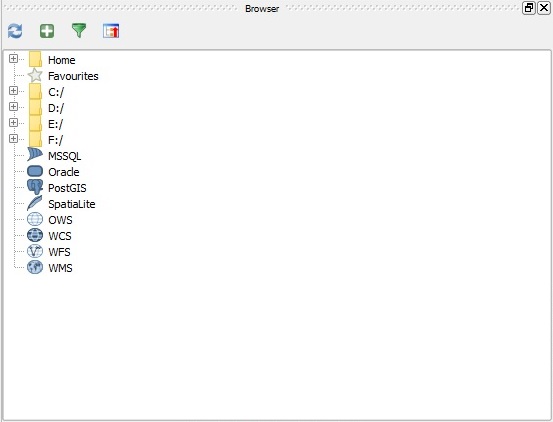
The "Browser" panel in the QGIS interface
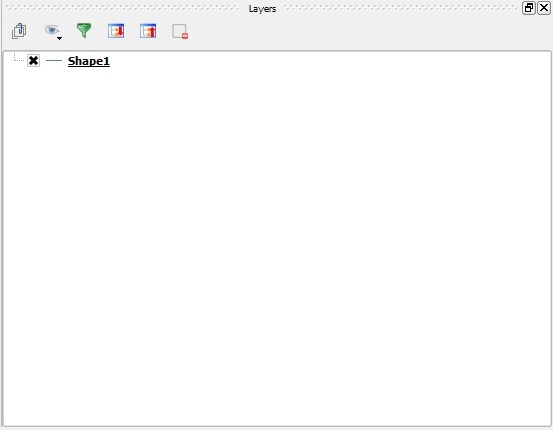
The "Layers" panel in the QGIS interface


Creating buffers
If the GIS file contains non-polygon shapes, such as dots or lines, it is necessary to transform these into polygon shapes. The easiest method for this is by adding buffers to the shapes. Using the "Buffer(s)..." geoprocessing tool, its possible to add buffers to all shapes in a layer. A precise layer and buffer distance can be selected, or a buffer distance can be based on the attributes of the shapes. The resulting shapes are output to a new shapefile.
- QGISLineShape.jpg
Lines must be transformed into shapes
- QGISVectorMenu.jpg
The "Buffer(s)..." option in the menu
- QGISBufferPopup.jpg
The window to configure the buffers to create
- QGISBuffered.jpg
The line has now been changed into a polygon
Modifying attributes
If the GIS file contains attributes that need to be imported as well, those attributes need to be valid numbers, conforming to the requirements of attributes in the Tygron Engine. If there are attributes that need to be imported which are not numeric, those attributes can be recalculated in new attributes. A new attribute can be calculated, with its data type set to either "integer" or "real" (with some precision), and a value based on the value of the original attribute. This process must be repeated for each attribute that needs to be imported. When this is done, the result will be a set of attributes which can be imported into the engine.
- QGISAttributeMenu.jpg
The "Open Attribute Table" option in the menu
- QGISAttributeTable.jpg
The Attribute Table shows the attributes of all shapes
- QGISFieldCalculatorMenu.jpg
The "Field Calculator" option in the menu
- QGISFieldCalculator.jpg
The "Field Calculator" window
- QGISAttributeTableDone.jpg
The Attribute Table now contains a new numeric attribute
Saving
How to load a GeoJSON file into the engine
The Tygron Engine can be provided with a GeoJSON file, either by dragging-and-dropping the relevant file into the Tygron Engine, or by selecting "Import GeoJSON File" from the relevant Ribbon dropdown menu in the Tygron Engine.
- When using the dropdown menu, a file-selection screen will appear, so that the relevant GeoJSON file can be selected.
- When a GeoJSON file is dragged-and-dropped into the Engine, a window will appear, so that the type of import can be selected (i.e. what kind of component to create based on the data in the file).
Import options
After selecting a data type, a new window will appear, which allows configuring how the data will be interpreted. Some options are present for all data types. A few are only applicable for specific data types.
File selection
A GIS file can contain a number of features, but when importing them into the Tygron Engine, only the features which lie within the 3D world. When importing a file, at least one feature of the GIS file should be present in the 3D world, or it is not possible to load data from that file.
Merge polygons
It is possible to merge all features into a single polygon. This can be useful when the there just needs to be a test for the presence of the data itself, and any subdivision in that data is not relevant for the project. Be carefull when using this options, as it may lead to very large polygons, which may result in a decrease in performance.
Filter polygons
When desired, it is possible to filter which features to import into the project. When the filter option is selected, some additional fields become available, which allow for the selection of an attribute and a value to filter on. Only features, the indicated attribute of which has the value entered, will be included in the import. There will be a display of how many features are selected based on the currently selected attribute and value. To help input a valid value, there is also an option to display all valid values for that attribute.
Name
Some components in the project can be named, such as constructions and areas. For these components, it is possible to select an attribute which will dictate the names of the imported features. If no specific attribute is selected to base a name on, the components are named after the file currently being imported.
Datatype-specific options
Depending on the desired data type, some additional options are available or required to import the file.
Function
- Relevant when importing as constructions.
When importing data as constructions, a function must be selected for the created constructions. If no function is selected, the "Send" button will not be available. All constructions resulting from this import will have this function with its default values. If any construction values need to be imported as well, it's possible to perform a second import for the construction values, after completing this import.
Construction Value
- Relevant when importing as construction values.
When importing data as construction values, its necessary to indicate which construction value is updated based on which attribute in the GeoJSON file. The first selection box allows for the selection of an attribute from the file. The second selection box allows for the selection of a specific construction value which needs to be changed. It's also possible to set a multiplies. The value from the file will be multiplies by the multiplier, and then used to update the construction value.
Attribute
- Relevant when importing as areas.
When importing data as areas, it may be desirable to not just load the proper shapes into the project, but to provide them with their attributes as well. For each attribute found in the GeoJSON file, it's possible to select whether the attribute should be imported or not. The desired name of the attribute as it appears in the project can be changed, and a multiplier can be set for the attribute.
Send
When all options have been set properly, the "Send" button can be used to start the actual import process. When this option is selected, the selected features in the GeoJSON file will be imported into the project. When importing new components, they will appear in the appropriate menus. When updating existing data (such as construction values), the properties of those components will be changed to reflect the values in the file.