How to edit Neighborhood properties: Difference between revisions
Jump to navigation
Jump to search
(Created page with "When a Neighborhood is present in a Project area, when selected, it can be edited on the Right Panel of the Editor. On this panel two tabs are available when a Neighborhood is selected - the general tab and a custom attributes tab. On the general tab two standard attributes can be adjusted; the name of the Neighborhood, and its Overlay color. On the Attributes tab custom pairs of an attribute name and its value can be added to the Neighborhood. {{Editor steps|title=...") |
No edit summary |
||
| Line 1: | Line 1: | ||
When a Neighborhood is present in a Project area, when selected, it can be edited on the Right Panel of the Editor. On this panel two tabs are available when a Neighborhood is selected - the general tab and a custom attributes tab. On the general tab two standard attributes can be adjusted; the name of the Neighborhood, and its [[Overlay]] color. On the Attributes tab custom pairs of an attribute name and its value can be added to the Neighborhood. | When a [[Neighborhood]] is present in a Project area, when selected, it can be edited on the Right Panel of the Editor. On this panel two tabs are available when a Neighborhood is selected - the general tab and a custom attributes tab. On the general tab two standard attributes can be adjusted; the name of the Neighborhood, and its [[Overlay]] color. On the Attributes tab custom pairs of an attribute name and its value can be added to the Neighborhood. | ||
{{Editor steps|title=edit a Neighborhood from a project|Load or create a project with Neighborhoods in the editor|From the Ribbon of the editor, select Geo Data > Neighborhoods|On the Left panel of the Editor highlight the Neighborhood to be edited|Adjust color and name on the General tab on the Right Panel|Add or adjust a custom attribute on the Attributes tab of the Right Panel}} | {{Editor steps|title=edit a Neighborhood from a project|Load or create a project with Neighborhoods in the editor|From the Ribbon of the editor, select Geo Data > Neighborhoods|On the Left panel of the Editor highlight the Neighborhood to be edited|Adjust color and name on the General tab on the Right Panel|Add or adjust a custom attribute on the Attributes tab of the Right Panel}} | ||
| Line 10: | Line 10: | ||
File:Neighborhoods-AttributesTabNeighborhood-161102-VVD-0.1.jpg|5. Add or adjust a custom attribute on the Attributes tab | File:Neighborhoods-AttributesTabNeighborhood-161102-VVD-0.1.jpg|5. Add or adjust a custom attribute on the Attributes tab | ||
</gallery> | </gallery> | ||
[[Category:How-to]][[Category:Neighborhood]] | |||
Revision as of 09:12, 6 October 2022
When a Neighborhood is present in a Project area, when selected, it can be edited on the Right Panel of the Editor. On this panel two tabs are available when a Neighborhood is selected - the general tab and a custom attributes tab. On the general tab two standard attributes can be adjusted; the name of the Neighborhood, and its Overlay color. On the Attributes tab custom pairs of an attribute name and its value can be added to the Neighborhood.
How to edit a Neighborhood from a project:
- Load or create a project with Neighborhoods in the editor
- From the Ribbon of the editor, select Geo Data > Neighborhoods
- On the Left panel of the Editor highlight the Neighborhood to be edited
- Adjust color and name on the General tab on the Right Panel
- Add or adjust a custom attribute on the Attributes tab of the Right Panel
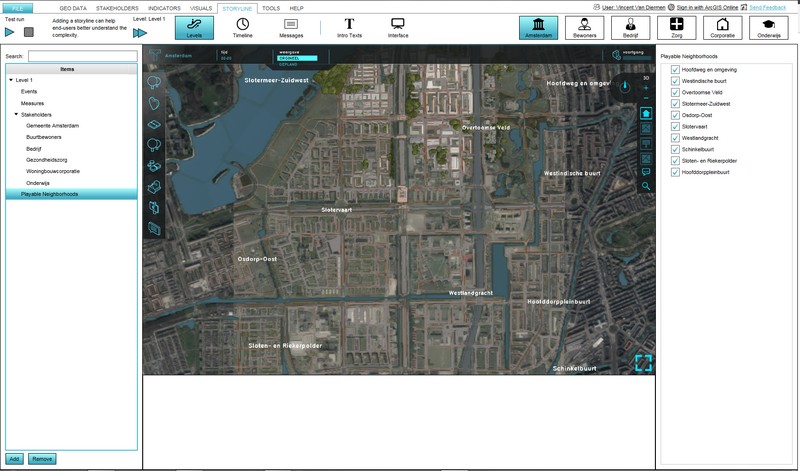
1. Load or create a project in the Editor
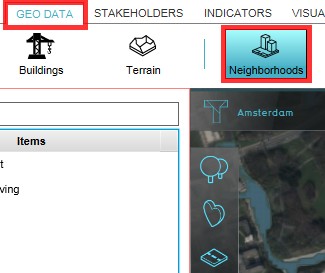
2. Select Geodata > Neighborhoods on the Ribbon of the Editor
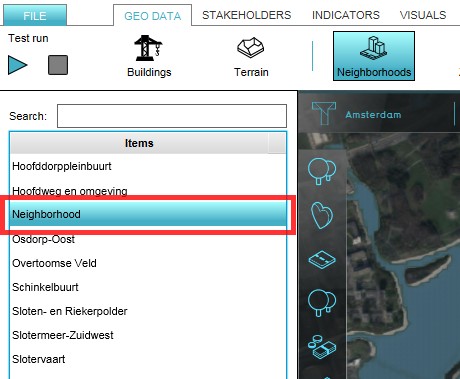
3. Highlight the Neighborhood to be edited
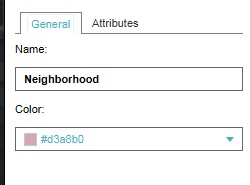
4. Adjust name or overlay color on the General tab
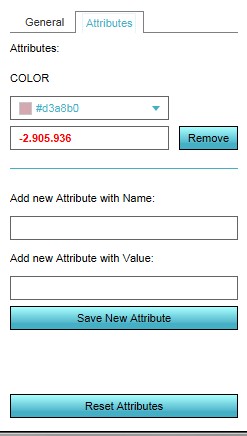
5. Add or adjust a custom attribute on the Attributes tab


