Sight Distance Overlay: Difference between revisions
No edit summary |
|||
| Line 4: | Line 4: | ||
==What the Distance Sight Overlay is== | ==What the Distance Sight Overlay is== | ||
[[File:Sight_Distance_overlay.jpg|thumb|450px|left|Distance Sight Overlay]] | [[File:Sight_Distance_overlay.jpg|thumb|450px|left|Distance Sight Overlay]] | ||
This Distance Sight Overlay combines the Distance Zone as defined by [[constructions]] with the direct line of sight for these constructions. The distance zone is always a circle situated around the affected construction(s). <br> The radius of this circle can be adjusted in the function value table.The Distance Sight Overlay becomes available for all stakeholders when added to a project. This overlay can be activated by clicking the corresponding icon on the minimap. When activated the Distance Sight Overlay displays 3 colors, red, yellow and green. Different colors mean different distances of the object with the distance zone to other objects in the 3D World. <br> <br> | This Distance Sight Overlay is an [[Grid overlay|overlay]] that combines the Distance Zone as defined by [[constructions]] with the direct line of sight for these constructions. The distance zone is always a circle situated around the affected construction(s). <br> The radius of this circle can be adjusted in the function value table.The Distance Sight Overlay becomes available for all stakeholders when added to a project. This overlay can be activated by clicking the corresponding icon on the minimap. When activated the Distance Sight Overlay displays 3 colors, red, yellow and green. Different colors mean different distances of the object with the distance zone to other objects in the 3D World. <br> <br> | ||
;Color Red | ;Color Red | ||
Revision as of 09:58, 7 January 2019
What the Distance Sight Overlay is
This Distance Sight Overlay is an overlay that combines the Distance Zone as defined by constructions with the direct line of sight for these constructions. The distance zone is always a circle situated around the affected construction(s).
The radius of this circle can be adjusted in the function value table.The Distance Sight Overlay becomes available for all stakeholders when added to a project. This overlay can be activated by clicking the corresponding icon on the minimap. When activated the Distance Sight Overlay displays 3 colors, red, yellow and green. Different colors mean different distances of the object with the distance zone to other objects in the 3D World.
- Color Red
Nearby = - 217
- Color Yellow
Average distance = 0
- Color Green
Far away = 127
Additional information displayed in hover panel

When clicking on a specific location on the map, the hover panel gives additional information of the distance from the clicked location to the object which has a distance zone.
Adding and removing the Distance Sight Overlay
- Select in the editor 'Geo Data' from the ribbon
- Select 'Overlays' from the ribbon bar
- Select the Distance Sight Overlay from the drop down menu
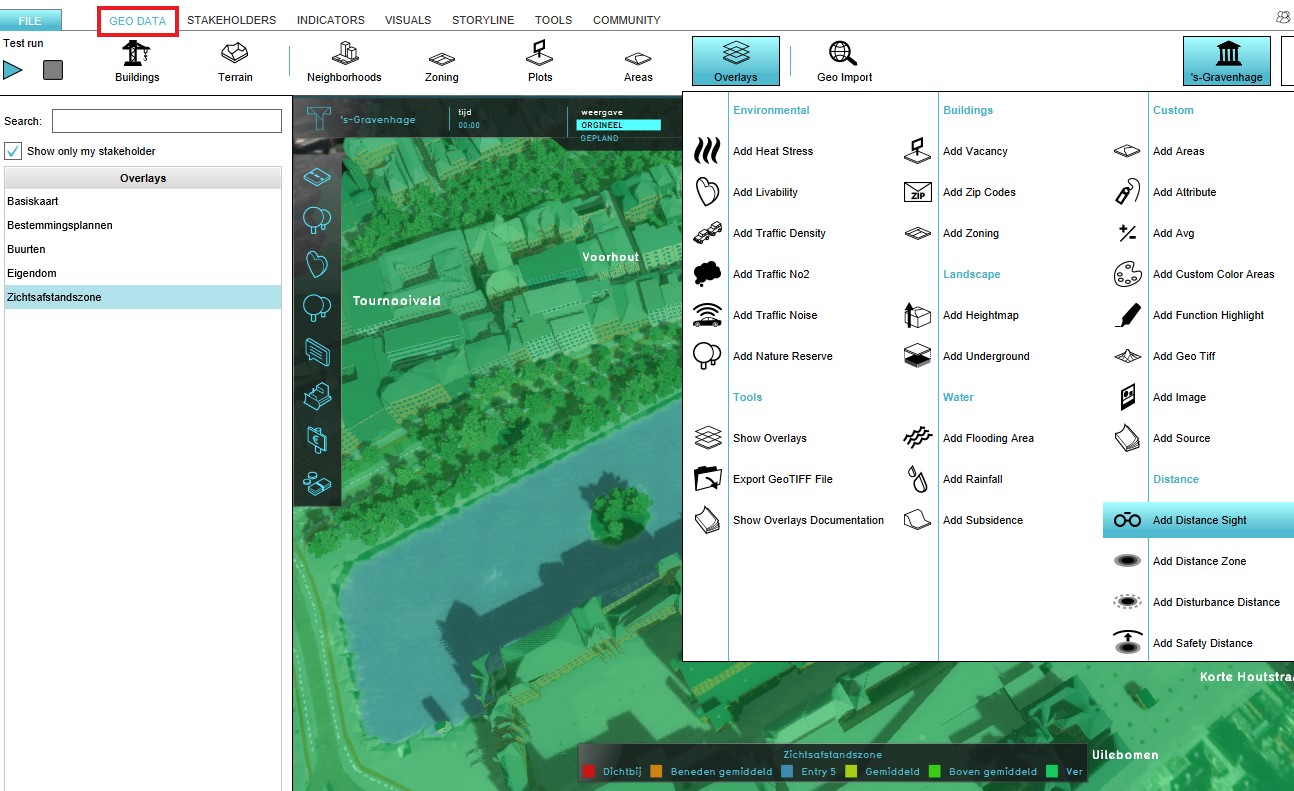
Select Geo Data
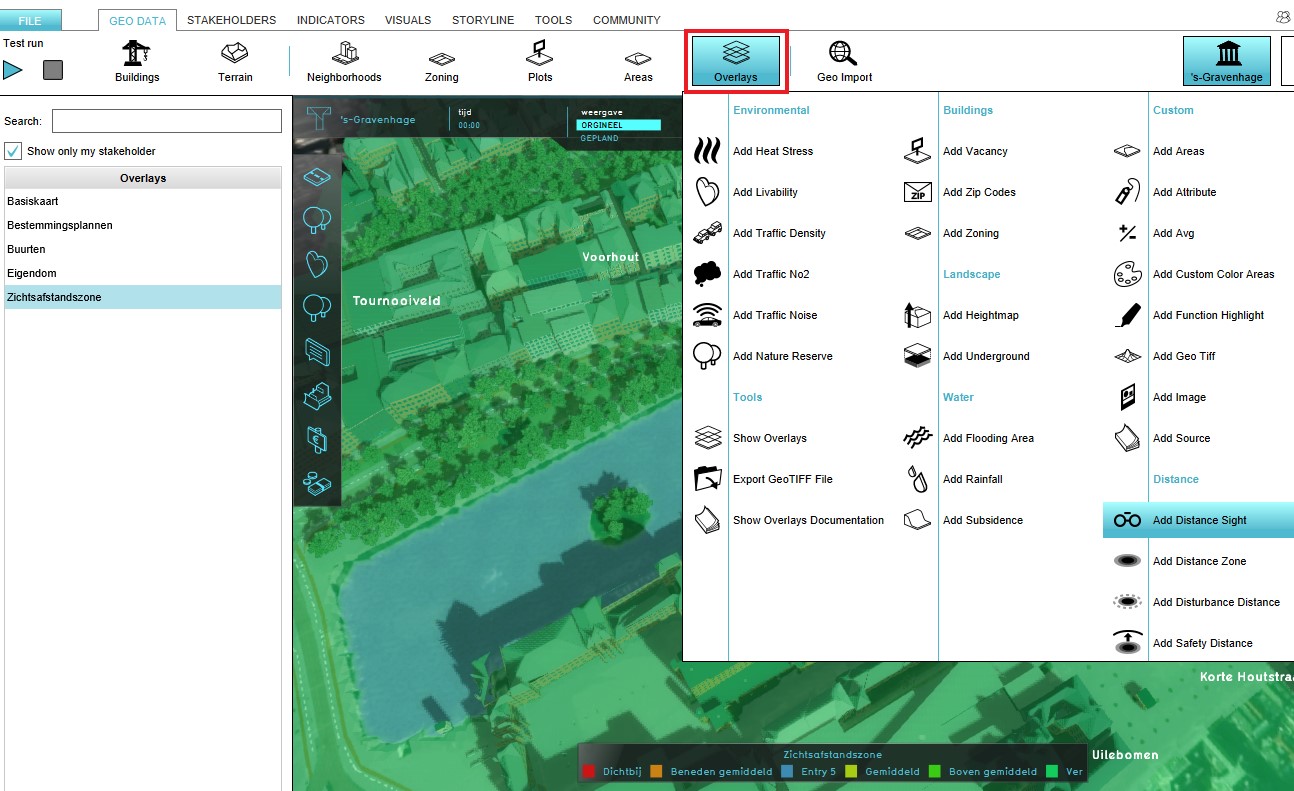
Select Overlays
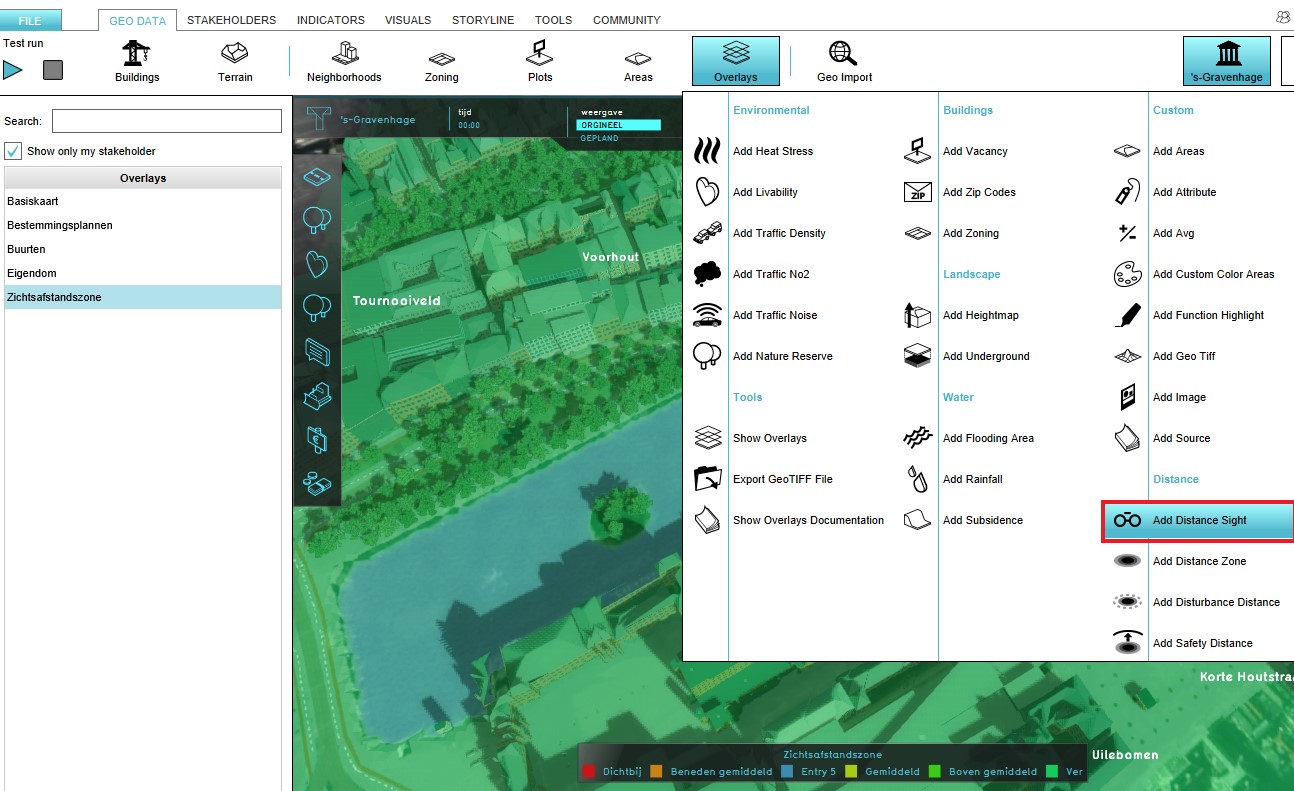
Select the Distance Sight Overlay


- Select in the editor 'Geo Data' from the ribbon
- Select 'Overlays' from the ribbon bar
- Select the Distance Sight Overlay from the list of active overlays on the left panel
- Select 'remove' from the bottom of the left panel
- Confirm the removal in the pop up confirmation message
Select Geo Data
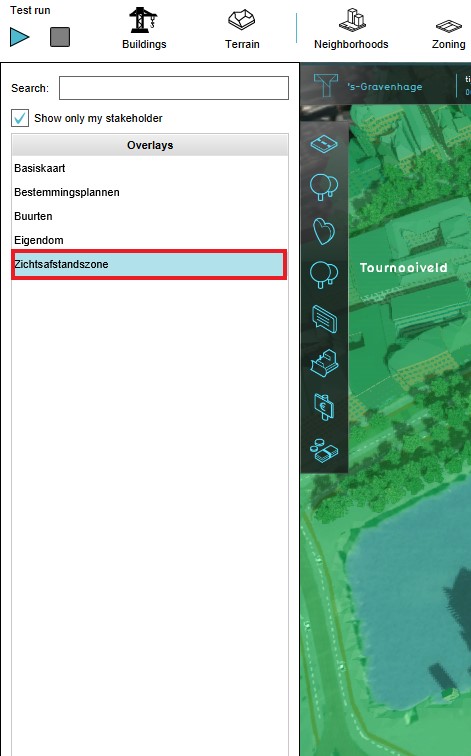
Select the desired overlay from the list in the right panel
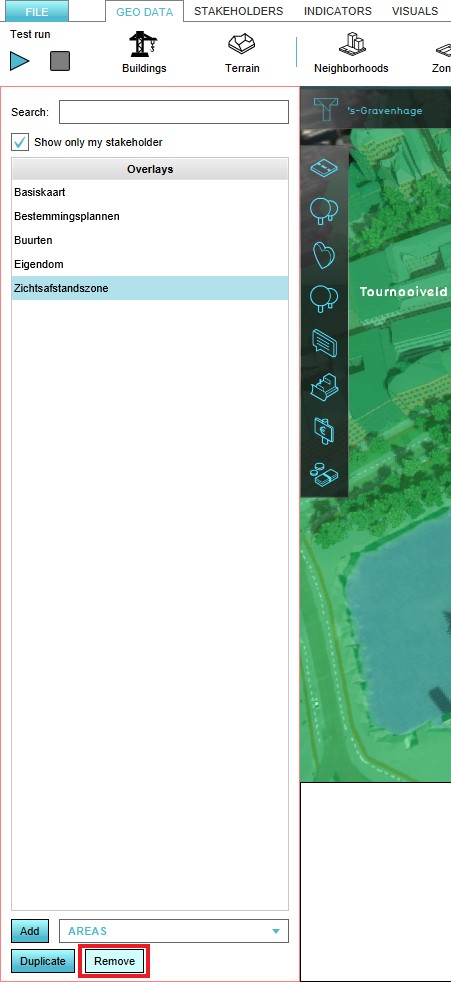
Select Remove from the bottom of the left panel
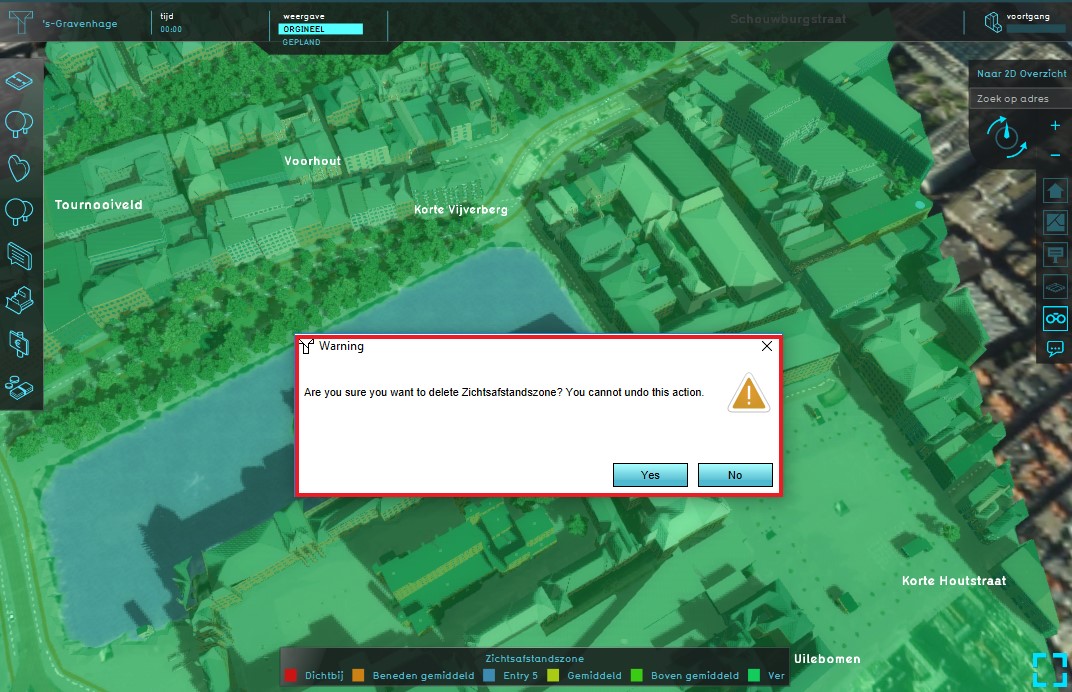
Confirm the removal


Modifying the Legend of the Distance Sight Overlay
- Select the Distance Sight Overlay from list of overlays in the right panel
- Select the Legend bar in the left panel
- Notice the distance values with corresponding colors
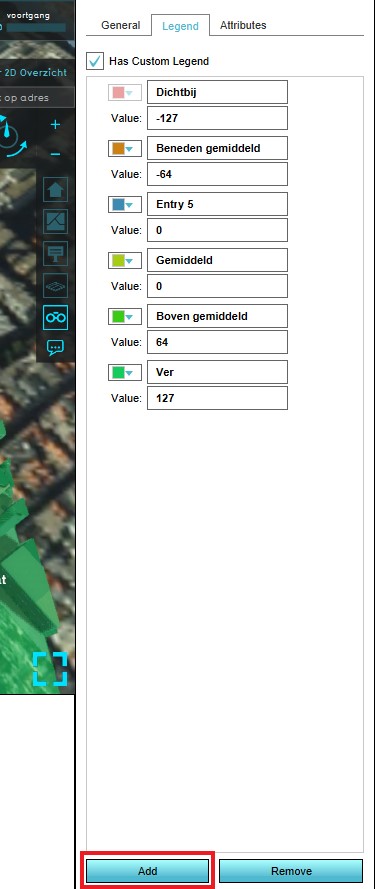
- Select the "Has Custom Legend" option
- Select "Add" at the bottom of the left panel
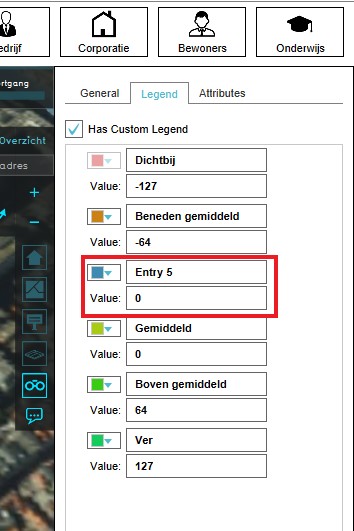
- A new Entry will appear
- Edit the name, value and color of the new entry
- Notice that the entry is automatically sorted
Select Distance Sight Overlay
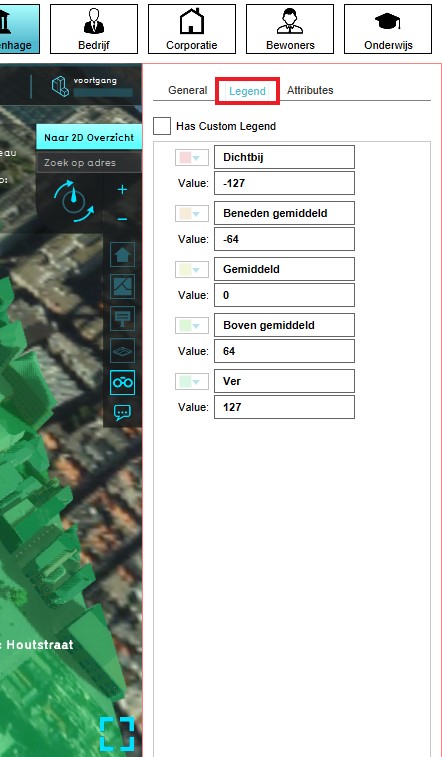
Select Legend bar
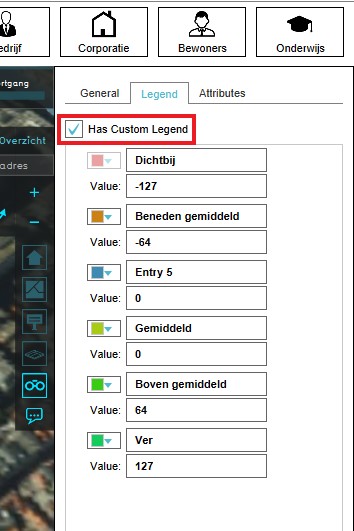
Select "Has Custom Legend"
Add new entry
Edit the name, value and color of the entry


