Water Module getting started: Difference between revisions
| Line 47: | Line 47: | ||
==Configuring the overlay== | ==Configuring the overlay== | ||
[[File:GridOverlayRightSidePanel1.png|thumb|400pc| | [[File:GridOverlayRightSidePanel1.png|thumb|400pc|left|Grid overlay right side panel]] | ||
To make the overlay calculations more accurate and better suitable for the actual situation at hand, some configurations can be made to the overlay. Some are directly accesible from the editor, but most configurations can be done in the dedicated wizards. | To make the overlay calculations more accurate and better suitable for the actual situation at hand, some configurations can be made to the overlay. Some are directly accesible from the editor, but most configurations can be done in the dedicated wizards. | ||
===Grid cell size=== | ===Grid cell size=== | ||
[[File:GridCellWarning1.png|Grid cell warning]]<br> | [[File:GridCellWarning1.png|right|Grid cell warning]]<br> | ||
When a grid based overlay is added to a project, the default size of 10m x 10m is usually not acurate enough. This will be indicated by a (yellow flashing) warning on the right side panel when the overlay is selected. This grid size can be adjusted by selecting the "Change grid" option on the right side panel. Selecting this option opens a new panel. When adjusting the grid size, please note that the smaller the grid size, the longer the calculations will take. If the new grid size is set to 5m x 5m, the amount of cells quadruples. A grid of 4 cells will now contain 16 cells!<br> | When a grid based overlay is added to a project, the default size of 10m x 10m is usually not acurate enough. This will be indicated by a (yellow flashing) warning on the right side panel when the overlay is selected. This grid size can be adjusted by selecting the "Change grid" option on the right side panel. Selecting this option opens a new panel. When adjusting the grid size, please note that the smaller the grid size, the longer the calculations will take. If the new grid size is set to 5m x 5m, the amount of cells quadruples. A grid of 4 cells will now contain 16 cells!<br> | ||
[[File:GridSize1.png|left|Changing grid size from 10m to 5m]]<br> | [[File:GridSize1.png|left|Changing grid size from 10m to 5m]]<br> | ||
Revision as of 11:17, 11 April 2019

Getting started with the water module in the Tygron Platform can seem to be a difficult process. By following a few basic steps and completing the wizard belonging to the selected water overlay(s), completing this process will be much easier.
To use the water module and its calculations in the three dimensional world of the Tygron Platform, a couple of overlays are available. These overlays use the water module to calculate and simulate the water model in the project area. Results will be visualized as a two dimensional layer imposed over the 3D world.
It is possible to map the results of a simulation over time, by using the timeframes function. This will enable the overlay to "play" the simulation over time, independent of the session time settings.
Preparing the project
To be able to use the water module, a valid project needs to be loaded in the editor of the Tygron Platform.
Start the Tygron Platform client.Create or load a project at the required location.
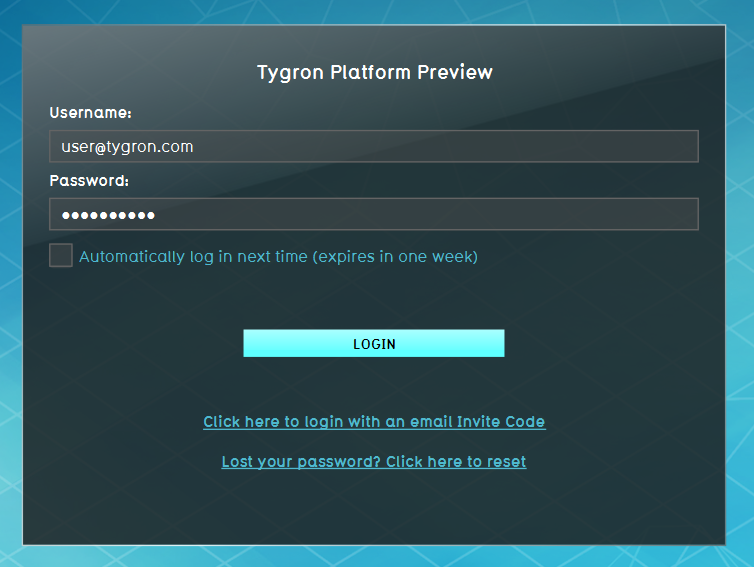
Start the client and log in
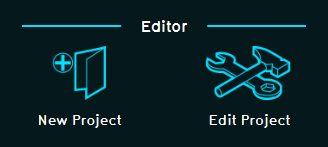
Load or create a project in the Editor

Project is loaded and ready in the Editor


Selecting the overlay
When the project is loaded in to the editor, we are ready to start using the water module. To do so, we need to select the water overlay that best suits the needs of our project.
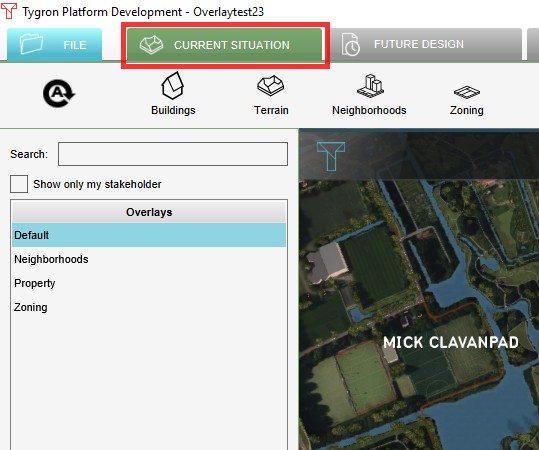
1. Select 'Current Situation'
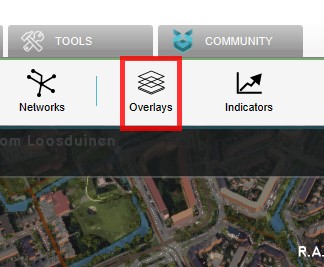
2. Select Overlays
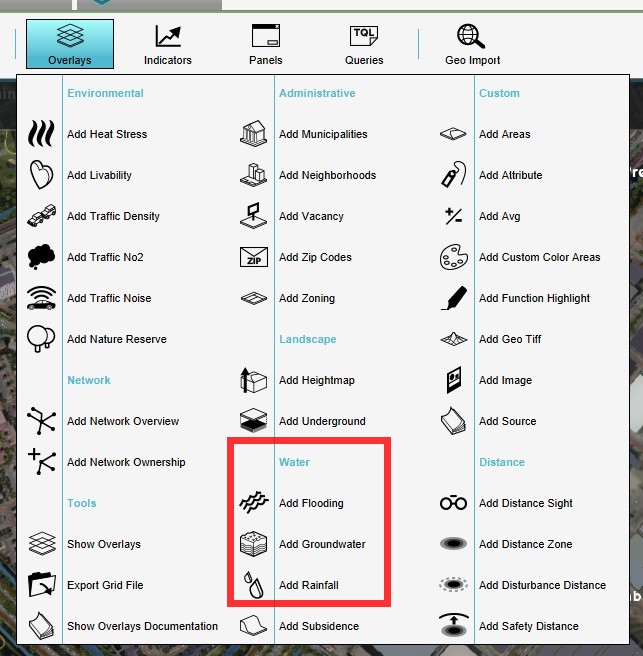
3. Select desired Water Overlay from pop up menu


The table below shows all available water overlays and a short description of these overlays.
| Rainfall Overlay | provides insight into the water stress and impact caused by (excessive) rainfall | |
| Flooding Overlay | provides insight into water stress and impact caused by breaches in levees or other sources causing excessive water inflow | |
| Groundwater Overlay | provides insight into long-term processes of water flow both on the surface and underground |
When the overlay is added, the water module will immediately calculate the results. Based on the size of the project area and the size of the grid cell, this can take a while. The results of this initial calculation are based on default settings of the overlay, which are often not that accurate.
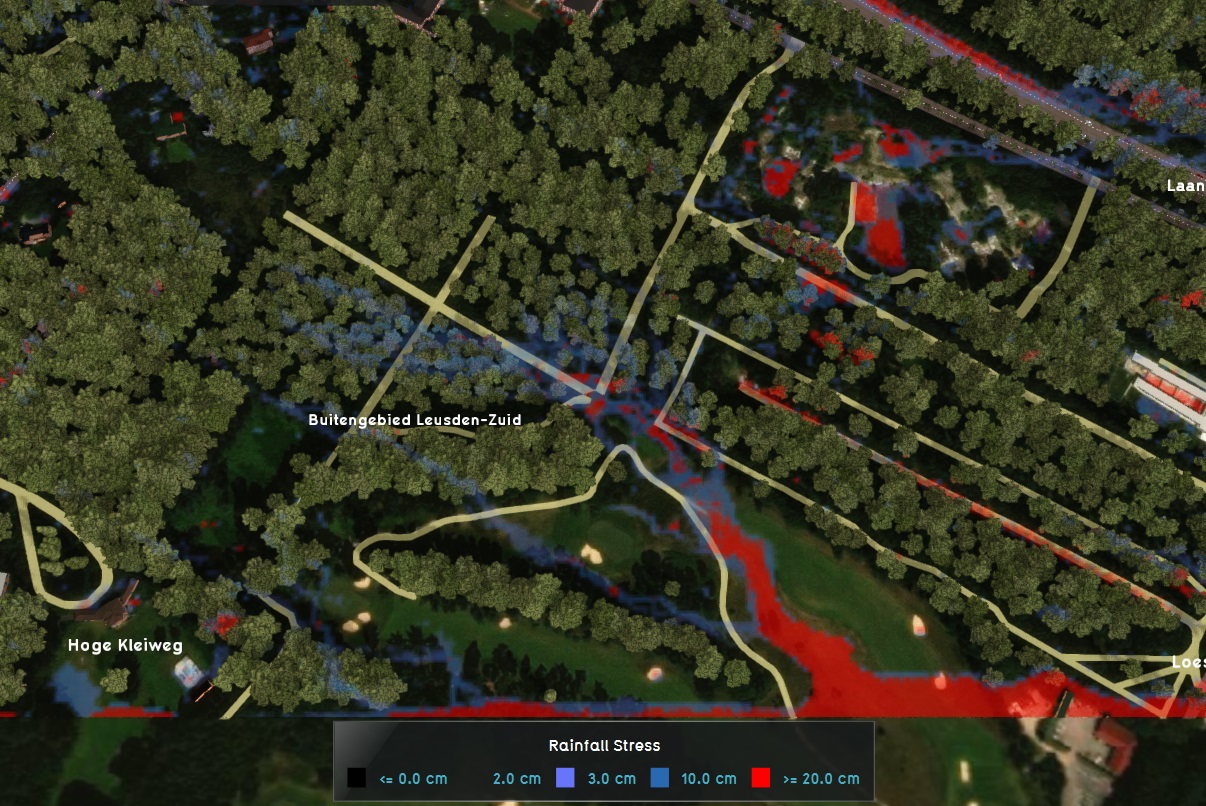
Rainfall overlay
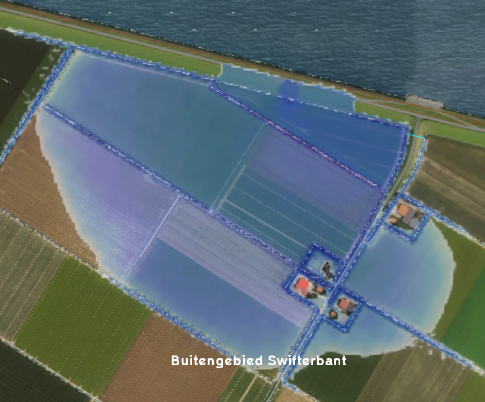
Flooding overlay
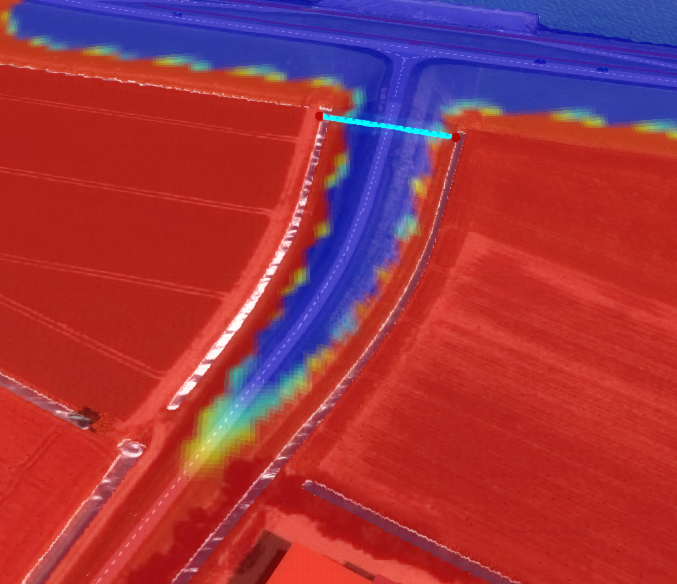
Groundwater overlay


Configuring the overlay

To make the overlay calculations more accurate and better suitable for the actual situation at hand, some configurations can be made to the overlay. Some are directly accesible from the editor, but most configurations can be done in the dedicated wizards.
Grid cell size
When a grid based overlay is added to a project, the default size of 10m x 10m is usually not acurate enough. This will be indicated by a (yellow flashing) warning on the right side panel when the overlay is selected. This grid size can be adjusted by selecting the "Change grid" option on the right side panel. Selecting this option opens a new panel. When adjusting the grid size, please note that the smaller the grid size, the longer the calculations will take. If the new grid size is set to 5m x 5m, the amount of cells quadruples. A grid of 4 cells will now contain 16 cells!


Result type
Calculation preference
Overlay wizards
| Water Overlay Wizards | |||||
|---|---|---|---|---|---|
| Rainfall Overlay Wizard | Flooding Overlay Wizard | Groundwater Overlay Wizard | |||
How-to's