Water Module getting started: Difference between revisions
Jump to navigation
Jump to search
| Line 17: | Line 17: | ||
====Overlays==== | ====Overlays==== | ||
*[[How-to manually configure a Water Overlay|How to manually configure a Water Overlay]] | *[[How-to manually configure a Water Overlay|How to manually configure a Water Overlay]] | ||
====Buildings==== | ====Buildings==== | ||
| Line 36: | Line 34: | ||
*[[How to import sewers|How to import sewers]] | *[[How to import sewers|How to import sewers]] | ||
*[[How to import sewer overflows|How to import sewer overflows]] | *[[How to import sewer overflows|How to import sewer overflows]] | ||
====Evaporation==== | ====Evaporation==== | ||
Revision as of 10:37, 18 November 2019
There are several approaches for getting started with the Water Module, which are listed below.
Tutorials
- If you want to start by practising with the basics of the Water Module in a real situation, follow the Rainfall Overlay Tutorial
- If you want to start by practising with the basics of the Water Module in a theoretical setting, follow the Testbed Tutorial.
Test beds
- If you would like to get familiar with the different components of the Water Module first, check out the Water Module Testbed. This Testbed is available to you as a project in the Tygron Platform.
How-to's and instructions for specific configurations
- If you prefer to get started with setting up the water model in a project area of your own choice, follow the steps in How to create a Basic Water Model.
- More examples of specific configurations of the water overlays are found on our 'How to' Instructions Page
Overlays
Buildings
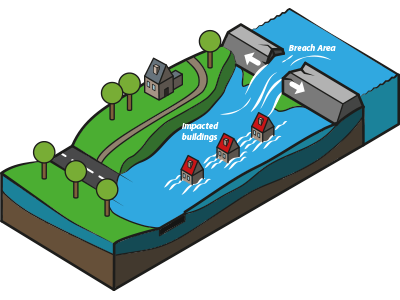
Breach
- How to add a breach with external area manually
- How to add a breach with input area manually
- How to import a breach with external area
- How to import a breach with input area
- How to set dynamic breach height
- How to visualize multiple sequential breaches
Sewers
Evaporation
Rainfall
Groundwater
- How to upload and use a groundwater GeoTiff (Water Overlay)
- How to use a default groundwater GeoTiff
See also
Getting started with the Tygron Platform.


