Getting started
Getting Started with the Tygron Engine
Creating your first Tygron Engine project is done in 2 simple steps: Installing the Tygron Engine and configuring your first project using the Wizard. In this article, you'll learn some basics about how to configure your first project and about the Tygron Engine.
Before you start
- Main article:Requirements
The Tygron Engine is a standalone application which means you need to download and install the software on your computer. Make sure your computer meets the minimum system requirements. You also need an account to use the Tygron Engine. If you don't have an account yet, you can always request a Free trial.
1. Installing the Tygron Engine
- Main article:Install
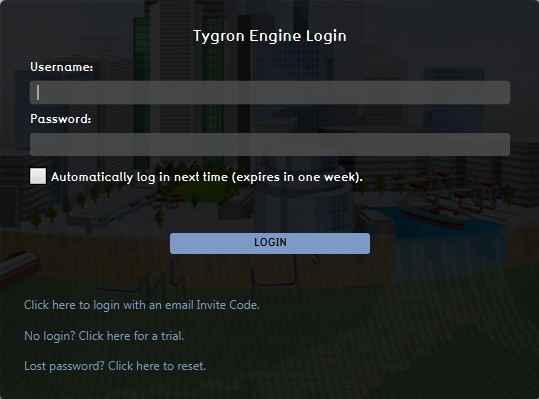
Installing the Tygron Engine is easy. Download the application from [1]. Use the download link "Download Windows (64 bit) Installer". The Tygron Engine application will start downloading. Once the download has finished downloading, install it using the installer. When the installation has been completed, use the desktop icon to launch the Tygron Engine. When the Tygron Engine has launched, the Login screen will be presented.
Log on to the Tygron Engine
- Main article:Log on to the Tygron Engine

To use the Tygron Engine Application you need to login. After logging in you get access to the Tygron Engine and can start working on your project. You need a username and a password before you can login. You can request a 1 month Free Trial if you don't already have an account.
See: step-by step guide on creating a Free Trial documented on our website.
After entering your credentials, select the 'LOGIN' button to proceed to the main menu. To start with your first project, select "New Project" from the main menu. The Wizard will appear.
2. Wizard
- Main article:Wizard
The Wizard helps you configuring the basics for your project.
Navigating the wizard
The first step of the Wizard is configuring the basic parameters for your project. Start by filling in a name for your project. Select a Language, a currency and a Unit System afterwards.
When satisfied click "Empty Project" to proceed to the next step.
Choose your location

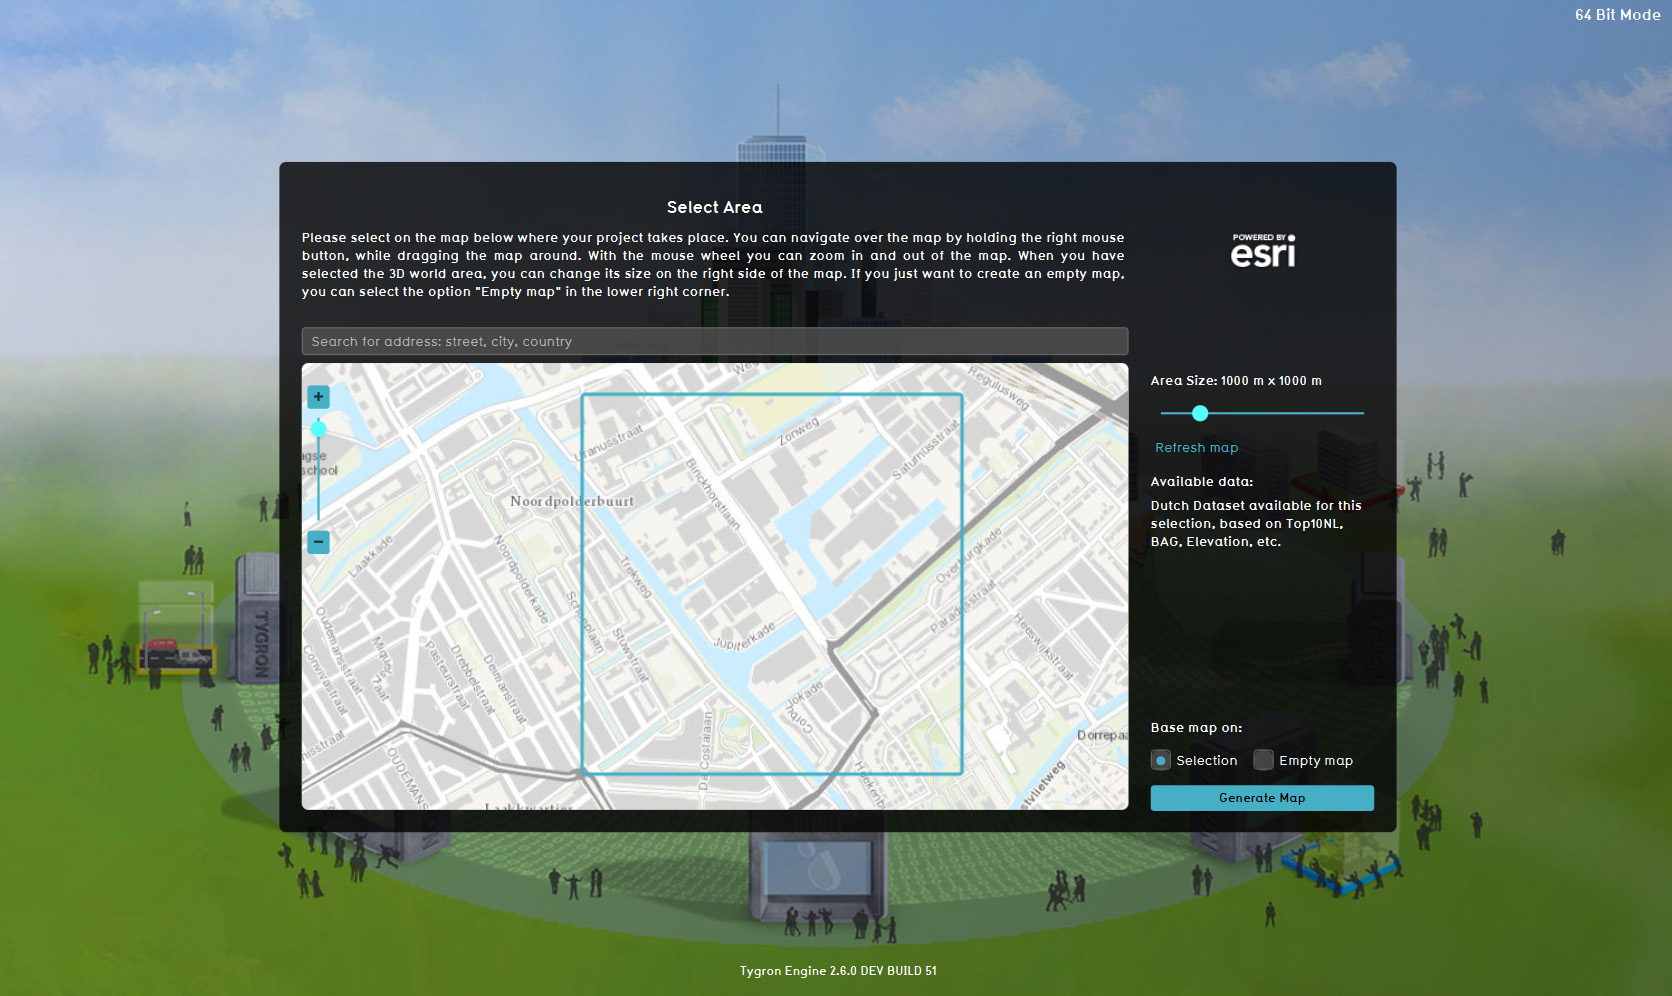
The second step of the Wizard is searching and selecting a location for your project and choosing the Area Size. An interesting location could be your home or your work location! Best results will be in "The Netherlands" or "New York". Start by filling in an address (street, city, country) in the search bar. Change the Area Size by dragging the slider.
When satisfied click "Generate Map" to proceed to the next step. Magic will happen and your project will be ready shortly.
3. The Tygron Editor
Once your project has been generated you will be presented with the default layout of the Tygron Editor.
Editor layout
The editor is composed of several sections: the Ribbon, the left panel, the Virtual 3D World, the right panel, and the bottom panel. Each editor panel has its own distinct functionality.
Navigation in the Tygron Editor
- See:Wizard
