How to remove a waterway from the heightmap
This How-to contains the steps on how to create aset of Grid Overlays that calculate a leveled terrain height around waterways. The resulting Grid Overlay can be used to either directly adjust the terrain height of the Current Situation, or applied to the Future Design with a Measure using Grid Spatials
-
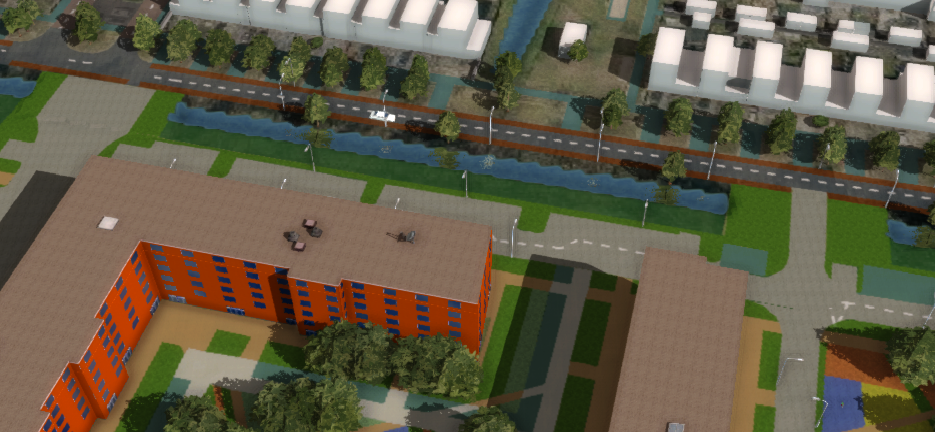
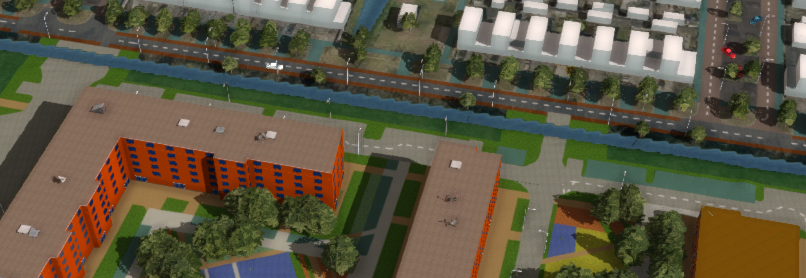 Original Measure of City Plan with bridge connections situated under water and on sloped terrain.
 -


How to level terrain in Measures:
- Select Future Design.
- Click on Measures to open the Measures panel.
- Select an existing Measure or add a new Measure by clicking on the Add button.
- With the measure selected, click on the Add Grid button to add a Grid Spatial.
- In the Grid Spatial's Detail Panel, click on the Add button to select a Grid Overlay to apply.
- Select the Grid Overlay that represents the leveled terrain. (See this How-to).
- Uncheck the option Calculate Area from Grids Automatically.
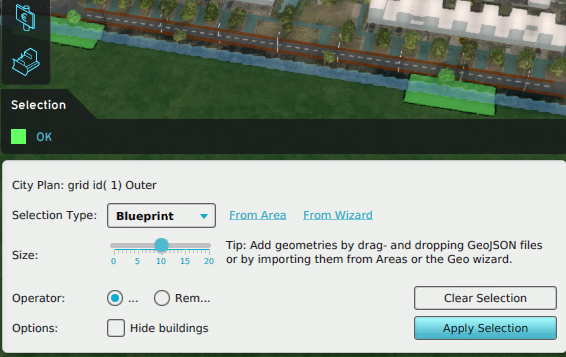
- Click on the Draw Area button to start drawing a manual selection.
- With the Brushes panel opened, draw a selection.
- Click on Apply Selection to finalize the selection
- Optionally select a Terrain Type to override the existing Terrain. (Advisable in case of Water)
-
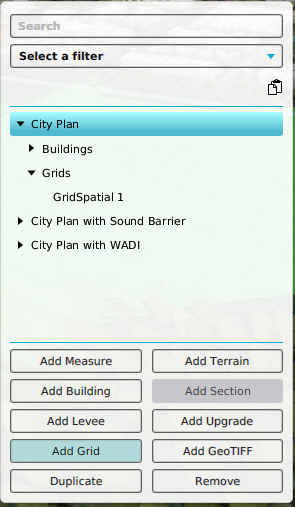 Add a Grid Spatial to a selected Measure
 -
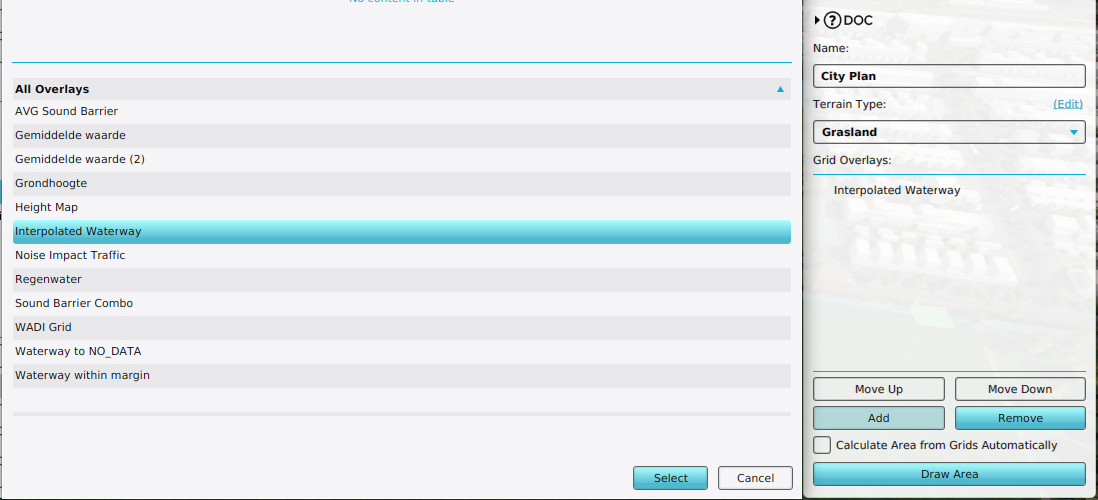 Add a Grid Overlay to a Grid Spatial
 -
 Uncheck the option Calculate Area from Grids Automatically and click on Draw Area
 -
 Draw a manual selection for the Grid Spatial
 -
 Adjust the Terrain Type


