How to correct inlets on land


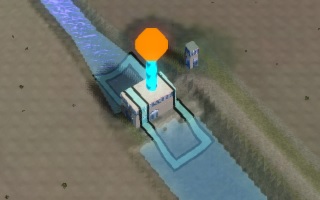
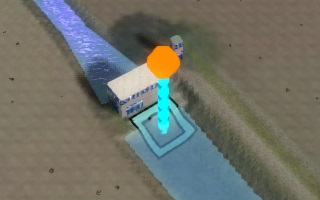
Inlets are pumps which allow water to flow into or out of a (water level) area. Commonly, in data these structures are modeled either as a line connecting two separate waterways, or as a point on land between the relevant waterways, potentially with some attribute indicating its geographical angle. For Pumps this is adequate, and the data is either directly properly interpreted or automatically extrapolated. However, if the structure is at the (conceptual) edge of the relevant calculation area or Project area, the structure would be modeled as an Inlet or Outlet, which is not treated in the same way. Likely, the centerpoint of the Inlet will end up on land, rather than in the waterway it should operate on.
If the Inlets cannot be placed in the waterways properly as a preparatory step, the following steps can be followed to correct the data in the Tygron Platform:
- Select the Inlet in the editor.
- At the bottom of the right panel, select "Draw area".
- Set the brush to "Remove" mode.
- Draw a selection overlapping with the Inlet's current polygon.
- Select "Apply selection" in the bottom panel. The polygon of the Inlet is now removed.
- Select "Draw area" again.
- Set the brush to "Add" mode.
- Draw a polygon in the 3D Visualization in the location where the Inlet should be. Ensure the centre of the polygon is in the waterway.
- Select "Apply selection". The Inlet is now moved to the correct location.
Notes
- Via the configuration wizard of the Water Overlay, it is easy to access a list of all Inlets in the Project. Open the wizard, continue to the step regarding Inlets, select an Inlet, and select "Show in Editor". The Inlet will be selected in the Editor.
- In the Editor, while the list of buildings is open and the Water Overlay is selected in the navigation panel, you can click on an Inlet in the 3D Visualization. That Inlet will then be selected in the Editor.
- After the Inlet is moved, the Water Overlay may need to be re-selected or recalculated before the Inlet is visualized in the new location.