Template Project tutorial: Difference between revisions
| Line 60: | Line 60: | ||
Restart the application, and log in if applicable so that the main menu is presented. | Restart the application, and log in if applicable so that the main menu is presented. | ||
Proceed to "Options", and then to "Projects". Note that this option is only available to [[Domain Admin]]s. | |||
[[File:TemplProjTutorial-options-projects.jpg|350px|frame|center|The Projects overview option in the Options menu.]] | |||
Find the Project previously created in the list of Projects, and check the "Template" option. This has the following effects: | Find the Project previously created in the list of Projects, and check the "Template" option. This has the following effects: | ||
* The Project can now be selected as a [[Project Template]] for the creation of new [[Project]]s at the start of the [[New Project Wizard]]. | * The Project can now be selected as a [[Project Template]] for the creation of new [[Project]]s at the start of the [[New Project Wizard]]. | ||
* The [[access rights]] for the [[Project]] are capped at READ. Any rights set to WRITE are set to READ instead. Any rights set to READ or NONE remain unchanged. | * The [[access rights]] for the [[Project]] are capped at READ. Any rights set to WRITE are set to READ instead. Any rights set to READ or NONE remain unchanged. | ||
[[File:TemplProjTutorial-template-checkbox.jpg|350px|frame|center|When this checkbox is checked, the [[Project]] is marked as available for use as a [[Project Template]].]] | |||
Return to the main menu, and again select the option to create a new [[Project]]. | Return to the main menu, and again select the option to create a new [[Project]]. | ||
Revision as of 07:59, 31 October 2022
Prerequisites
The following prerequisites should be met before starting this tutorial:
- This tutorial can be started based on any arbitrary Project in the Netherlands, however it is assumed that a new Project is created to start off with. Note that multiple new Projects will be created during this tutorial.
- To work with Project templating functionality fully (specifically, to assign Project Template status to a Project), either Domain Admin access rights are required, or the assistance of a Domain Admin for your organisation is required.
Preparations
Take the following steps as preparation for following this tutorial:
- Start the Tygron Platform application, and if necessary log in so you are in the main menu.
Introduction to Templates
The Tygron Platform allows for the creation of multiple Projects, each intended to fulfill some use-case for the end-user. Any Project is generally composed of two types of content:
- Data pertaining to the relevant location
- Calculation models for analyzing such data and presenting results.
Generally, organisations have certain specialized knowledge of specific fields which they apply in repeated (and sometimes tailored) fashion to multiple situations, plans, or locations. In terms of the Tygron Platform, this would mean that the data may change, but the calculations models stay the same.
This is the functionality which Project Templates offer. For any given Project, it is possible to apply it as a Template to a new location. This will apply the calculation models as they were configured to the (new) data of the newly selected location, allowed for quicker, repeated, reproducible and comparable analyses of different project sites.
In common vernacular related to the Tygron Platform, the term Template is commonly used to mean Project Template.
Creating a Project Template
A Project Template is always a Project which has been assigned the status of a Project Template. To create one, the first step is always to have a Project upon which to base one. A common approach is to select a Project in which calculation models are already available, to copy it, and to modify it to be generically applicable. Instead, for the purpose of this tutorial, it is recommended to create a new Project based on which a Project Template can be created.
Setting up a Project to make a Project Template
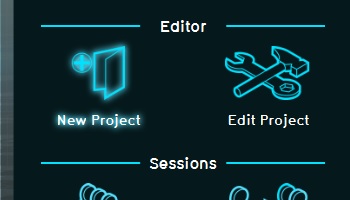
In the Main Menu, select the option to create a new Project.
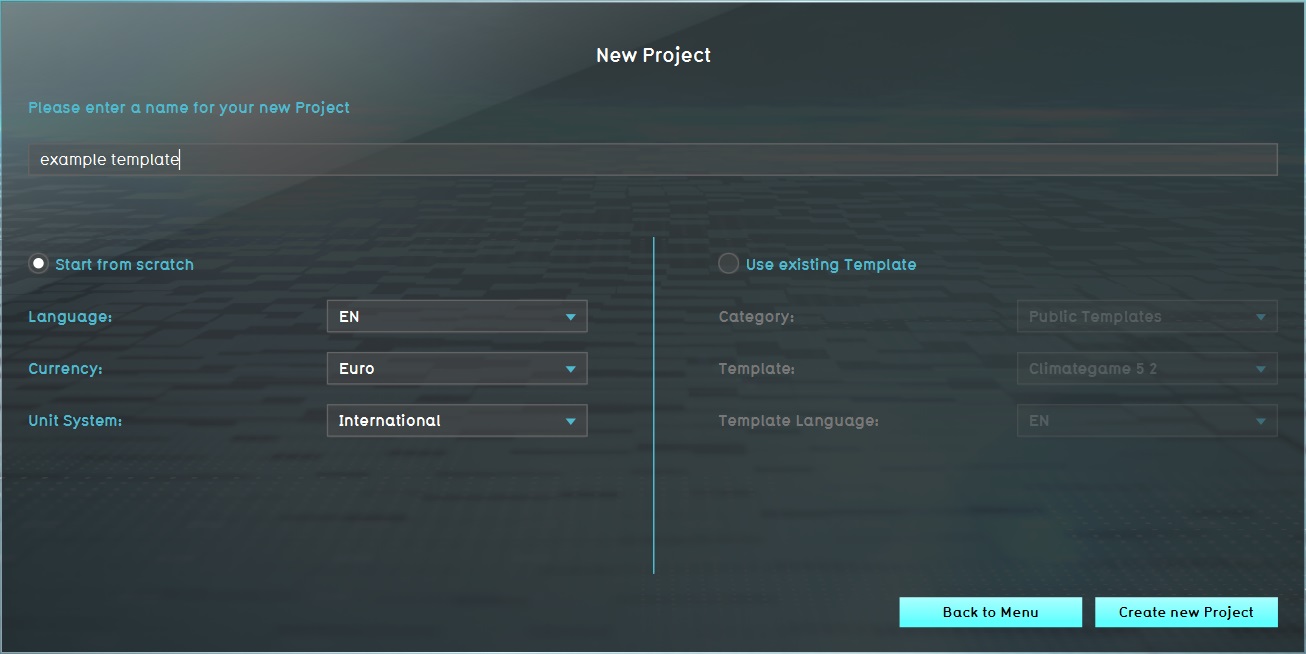
Enter a name for your Template, as well as project details such as language and currency. Note that the project details selected here will be an immutable part of your Project Template.
Continue to the location selection screen.
In the location selection screen, rather than selecting a specific location, set the size to the smallest option available, and select the option for generating an empty map.
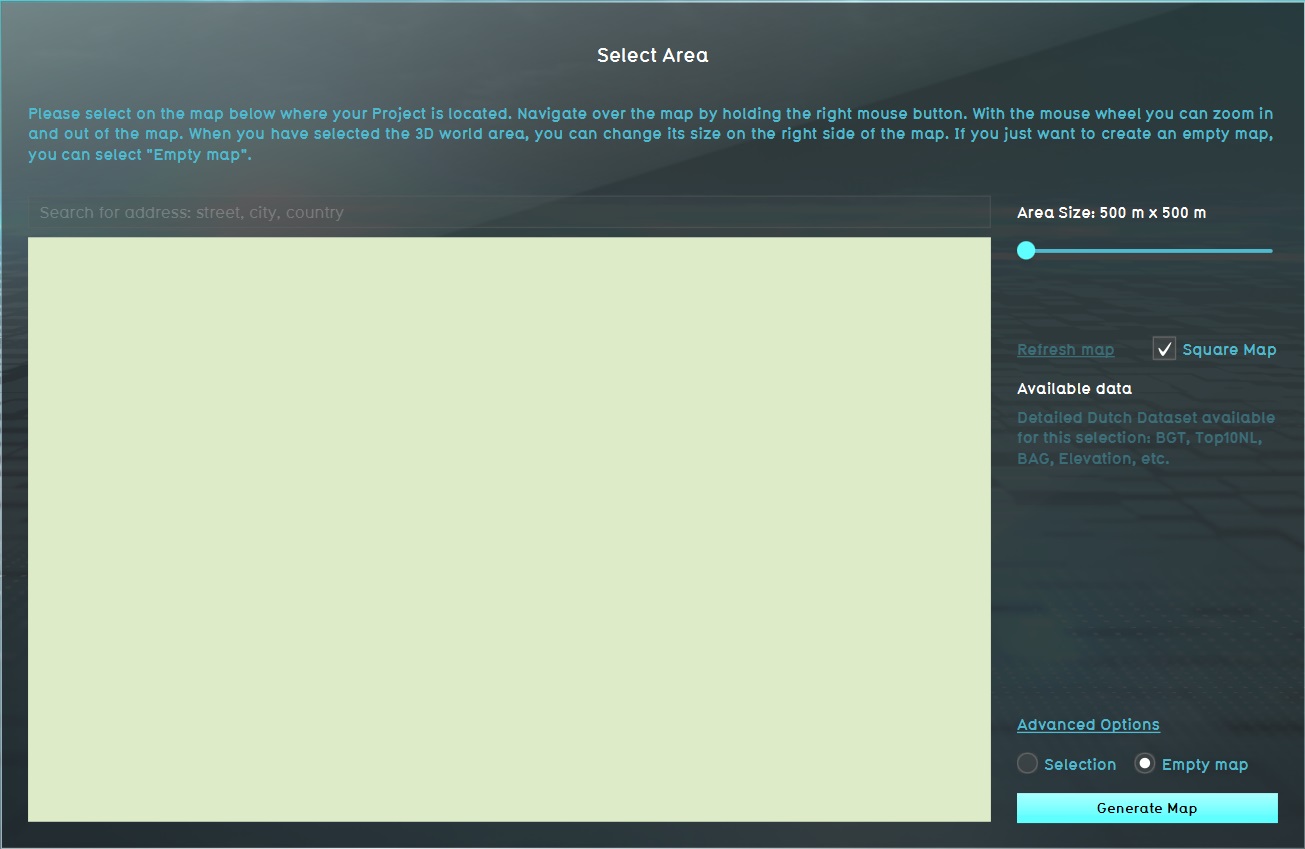
Click on the button to start the creation process. The data-importing loading screen will be skipped, and the application will immediately begin loading the editor interface.
When the editor has loaded, notice the following about the data in this Project (by virtue of having opted for an empty Project):
- There is no background satellite map.
- There are no buildings in the map.
- There is only one Stakeholder.
- There is only one Neighborhood, named generically.
As a Project for calculations, this Project contains nothing of particular use. But because it is so empty it serves as a clean base for a Project Template.
Add an Overlay to the Project, specifically an Average Overlay:
- Name the Average Overlay "Green Locations".
- Set the Cell Averaging Distance of the Average Overlay to 25.
- Set the targeted Attribute of the Average Overlay to GREEN_M2.
- Recalculate the Overlay by clicking "Update now".
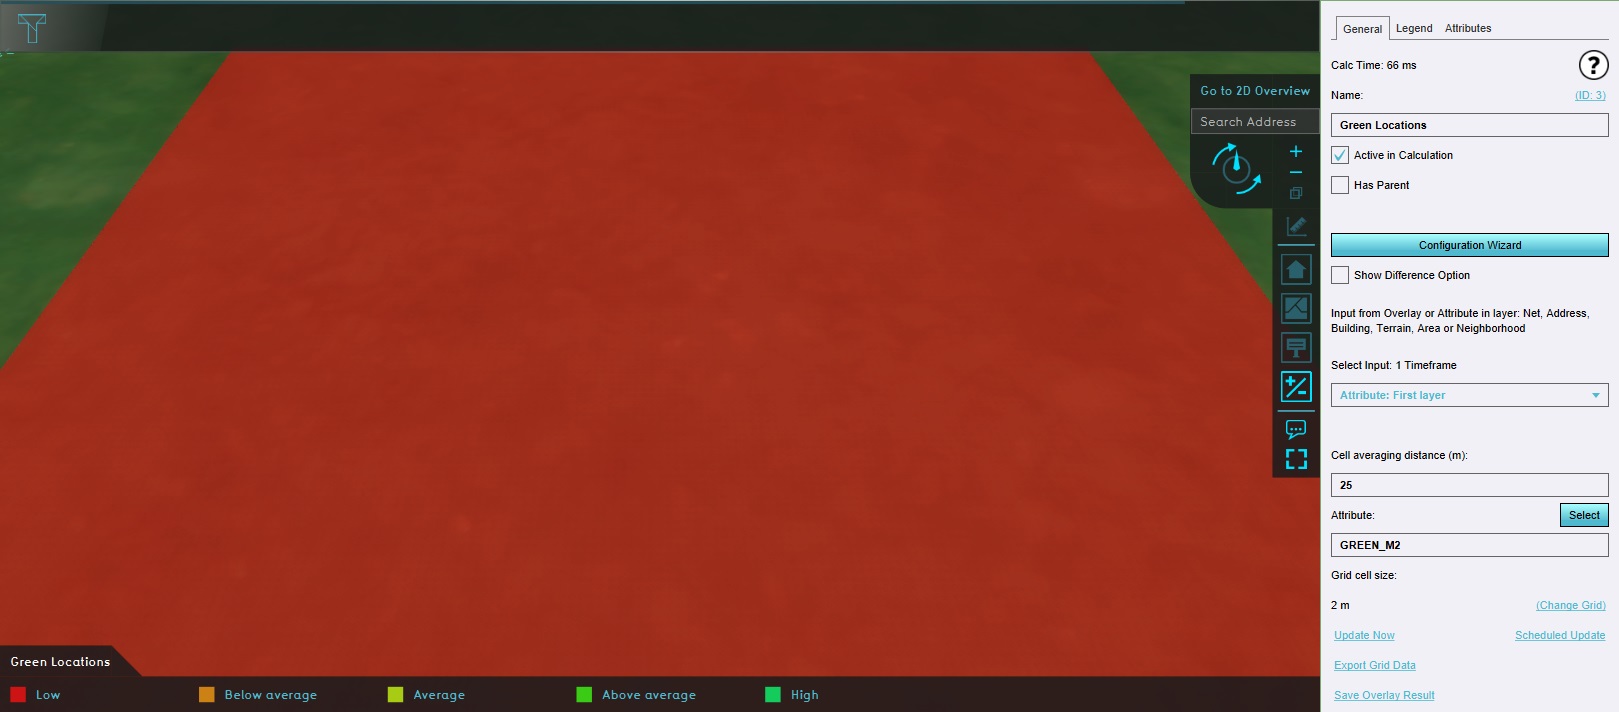
Save the Project and exit the Editor. This will close the application.
Turning a Project into a Project Template and using it
Restart the application, and log in if applicable so that the main menu is presented.
Proceed to "Options", and then to "Projects". Note that this option is only available to Domain Admins.
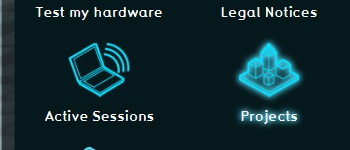
Find the Project previously created in the list of Projects, and check the "Template" option. This has the following effects:
- The Project can now be selected as a Project Template for the creation of new Projects at the start of the New Project Wizard.
- The access rights for the Project are capped at READ. Any rights set to WRITE are set to READ instead. Any rights set to READ or NONE remain unchanged.

Return to the main menu, and again select the option to create a new Project.
Enter a name for your Project, and select the option to use an existing Template.
In the dropdown for the Template, find the Project you created earlier and marked as a template, and select it.
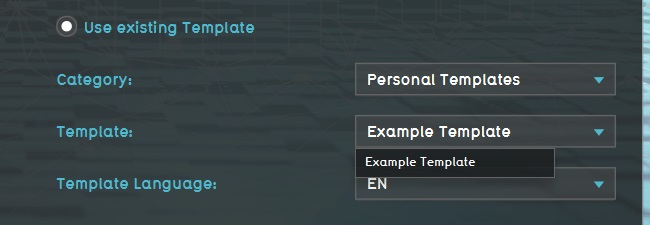
Continue to the location selection screen.
Select any location in the Netherlands, which features some amount of land. Any urban environment is sufficient. Keep the size of the project area small, as it is not necessary to have a large project area for the demonstration of the functionality.
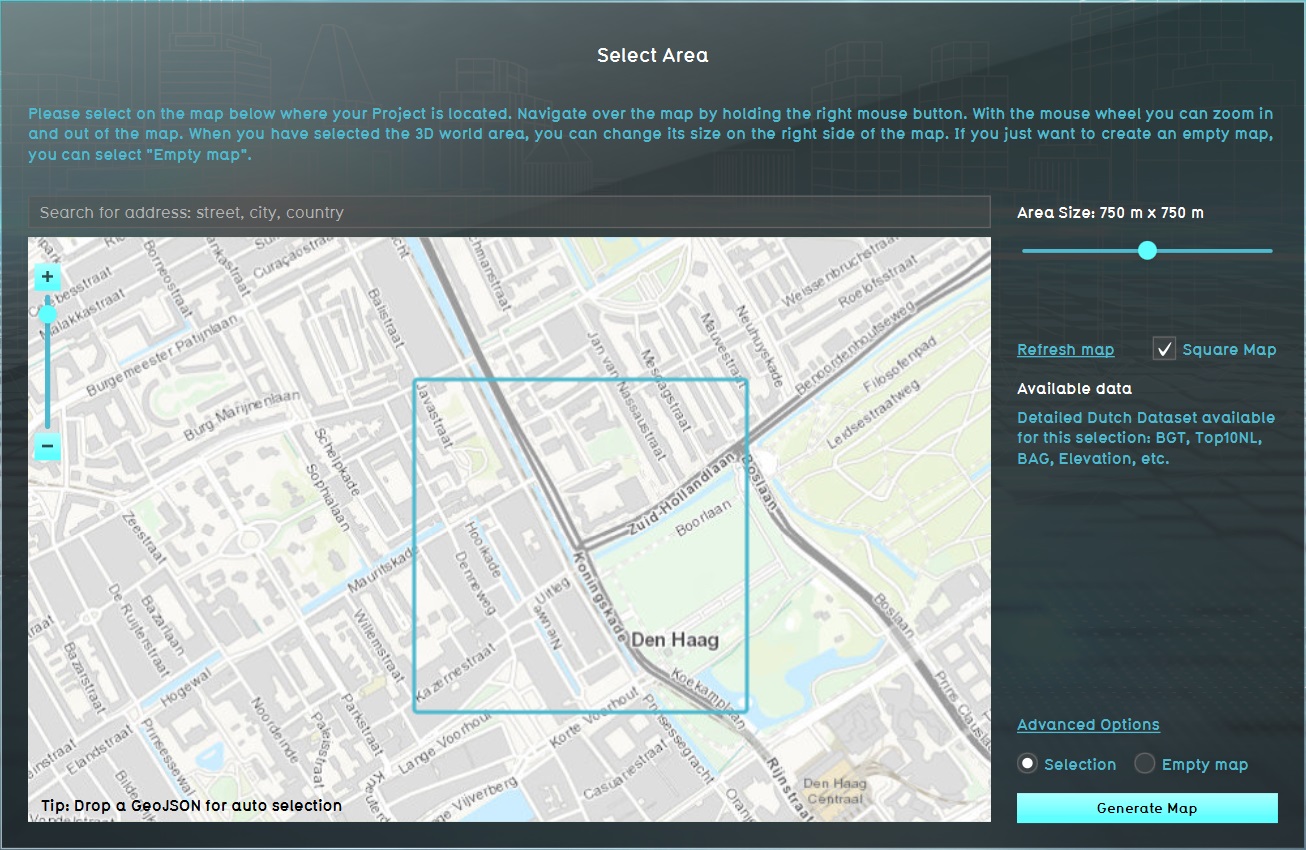
Click on the button to start the creation process. The data for the location will be collected which will take a few moments. Afterwards, the editor proper will be loaded.
In the now created Project, notice the following about the data in the Project:
- There are Buildings, more Stakeholders, and a satellite image in this Project.
- There are one or more Neighborhood(s) in this Project.
- There is an Overlay named "Green Locations".
Select the "Green Locations" Overlay. Notice the Overlay matches the configuration that was set up earlier, and that it immediately functions to highlight the presence of green locations through the GREEN_M2 attribute.
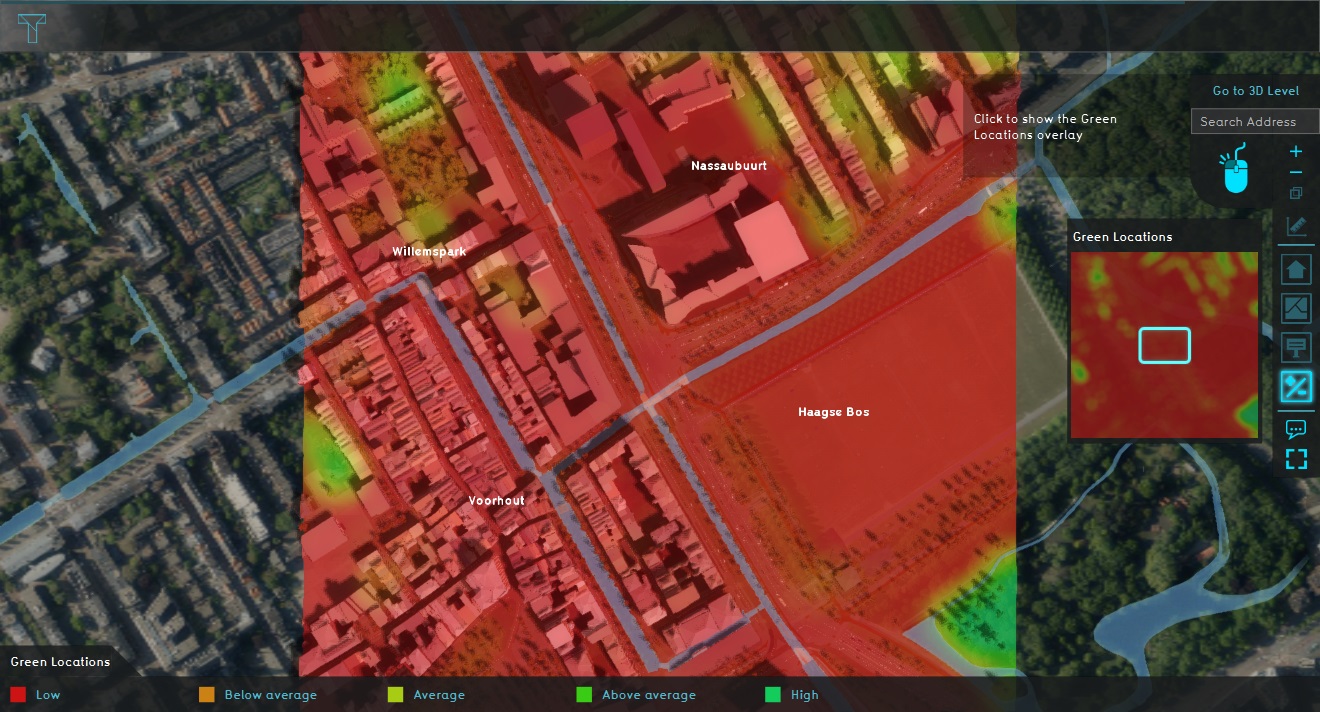
From these observations, the following can be concluded:
- Geographical data, such as Neighborhoods, are not carried over from a Project Template to the new Project.
- Non-geographical data, such as the definitions of Overlays, are carried over from the Project Template to the new Project.
- When creating a new Project based on a Project Template, geographical data of the new location is loaded in as expected.
Emptying a Project to create Project Template
Although geographical data is automatically removed when a Project Template is used to create a new Project, the less data exists in a Project Template, the better. When applying a Project Template, it is started as a Project in full, duplicated, and emptied. This means all data which is part of the Project Template, even if it does not carry over to the new Project, must be processed before the new Project is created. For this reason, building a Project Template from the ground up is best done starting with an empty Project. However, a Project can also be emptied explicitly so that it is lighter and more performant as a Project Template.
In the editor, still in the Project with real world data, go to:
The Template Settings window will open.
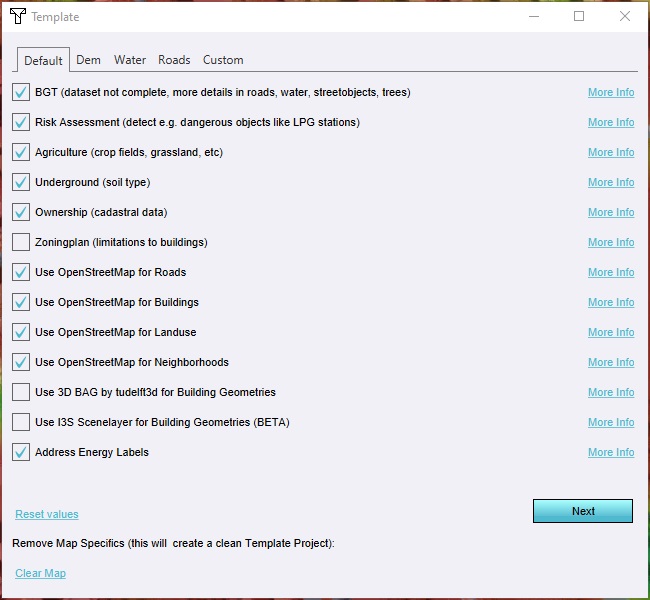
In this window, it is possible to change the Advanced Options which are selected by default in the New Project Wizard. Any settings changed during the New Project Wizard are reflected here, and any settings changed here are reflected in the New Project Wizard. For example, setting the DEM resolution higher in this overview means that, by default, when this Project is used as a Project Template to create a new Project, the DEM resolution is set to that higher level, unless the user explicitly changes that setting in the Advanced Options of the New Project Wizard.
Find the "Clear Map" option at the bottom of the window. Click it, and read and approve all the resulting confirmation prompts.
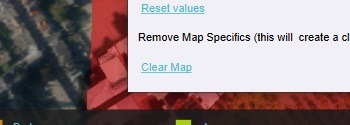
Notice that the 3D World is cleared of all geographical data, making the Project more closely resemble the empty Project setup.
Close the Project without saving.
Editing a Project Template
Restart the application, and log in if applicable so that the main menu is presented.
Select the option to edit an existing Project.
Select the Project created at the start of the tutorial, which was set to function as a Project Template.
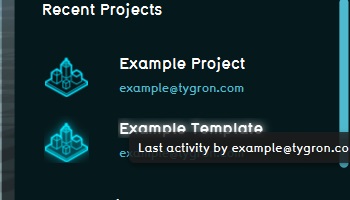
When the editor proper has loaded, open the "File" menu, and take note of the permissions. As stated earlier, when the Project was set to function as a Template the permissions were automatically capped at "READ". This means the Project can be started, but cannot be saved. In order to edit the Project and allow the saving of any changes, the applicable rights must be set to "WRITE".

.]]
Change the rights for the owner to "WRITE".

The Project can now be saved again. However, it is recommended to set the rights of the Project back to "READ" again after all desired changes have been made and saved. Normally, when a Project is opened in the Editor, it is not possible to start a second Editing Session for the same Project at the same time, which means it also cannot be used to create a new Project with until the running Editing Session is closed. A Project which is set entirely to be read-only can have multiple Editing Sessions running in parallel, thus allowing it to be used as a Project Template for the creation of a new Project while the Editing Session is still running.
Assignments
These assignments serve as small experiments to get a better sense of the data which carries over from a Project Template to a new Project.
- Make the following changes to the Project:
- Change the name of the Municipal Stakeholder to "Primary Stakeholder", and their short name to "Primary".
- Add an Area to the Project
- Add an Indicator to the Project.
- Add a Text Panel to the Project, and another Text Panel which also has a location in the 3D World.
- Add a Template Text Panel to the Project. Set it as applicable to Neighborhoods, and set the text content to "This is Neighborhood $NAME."
- Set the template setting for satellite resolution to "HIGH".
- Now save the Project and close it.
- Create a new Project based on the Project Template with read data, and check all the Items listed above.
- In this new Project, make the following changes:
- Add a Heat Overlay.
- Clear the map.
- Save, exit, and via the main menu set the Project to be usable as a Template.
- Create a new Project, based on the new Project Template with real data, and check all Items listed above again.
Tutorial completed
Congratulations. You have now completed this tutorial. In it, you have learned how to create and configure Project Templates. The next tutorial in this series is Geo Plugins, which will provide more knowledge about Geo Plugins, and how to automatically add additional data to a Project created via a Project Template..
