How to level terrain in Measures
Jump to navigation
Jump to search
This How-to contains the steps on how to add a Grid Spatial to a Measure, that will adjust the DTM when the Measure is applied. Additionally, the Terrain Type can be altered. The region where this Grid Spatial is applied can be determined automatically or supplied manually.
-
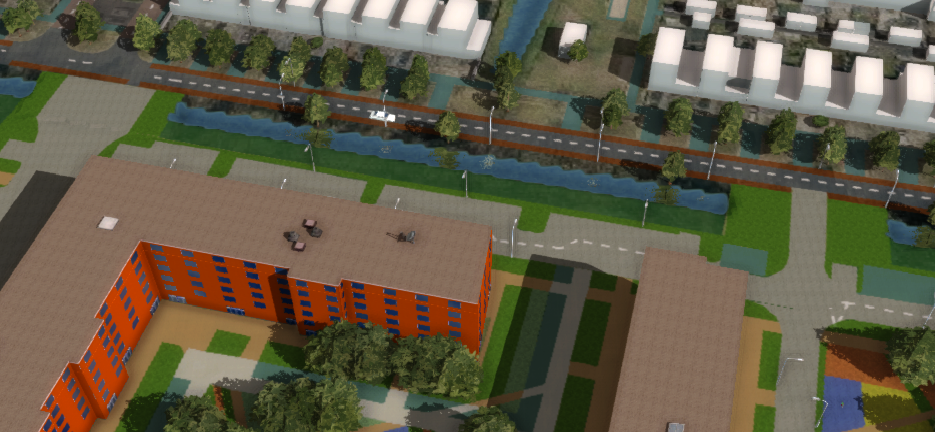
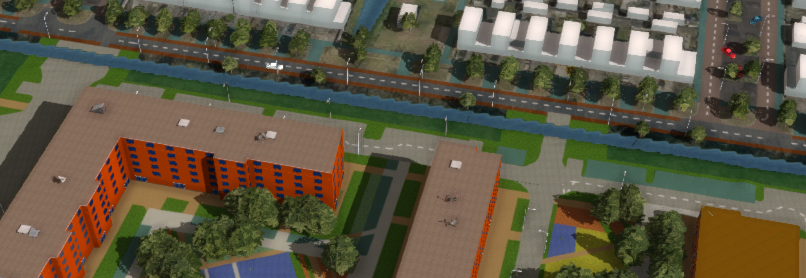 Original Measure of City Plan with bridge connections situated under water and on sloped terrain.
 -


How to level terrain in Measures:
- Select Future Design.
- Click on Measures to open the Measures panel.
- Select an existing Measure or add a new Measure by clicking on the Add button.
- With the measure selected, click on the Add Grid button to add a Grid Spatial.
- In the Grid Spatial's Detail Panel, click on the Add button to select a Grid Overlay to apply.
- Select the Grid Overlay that represents the leveled terrain. (See this How-to).
- Uncheck the option Calculate Area from Grids Automatically.
- Click on the Draw Area button to start drawing a manual selection.
- With the Brushes panel opened, draw a selection.
- Click on Apply Selection to finalize the selection
- Optionally select a Terrain Type to override the existing Terrain. (Advisable in case of Water)
-
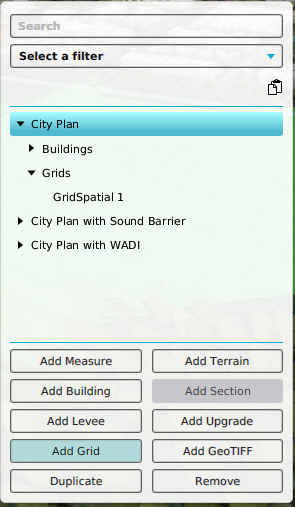 Add a Grid Spatial to a selected Measure
 -
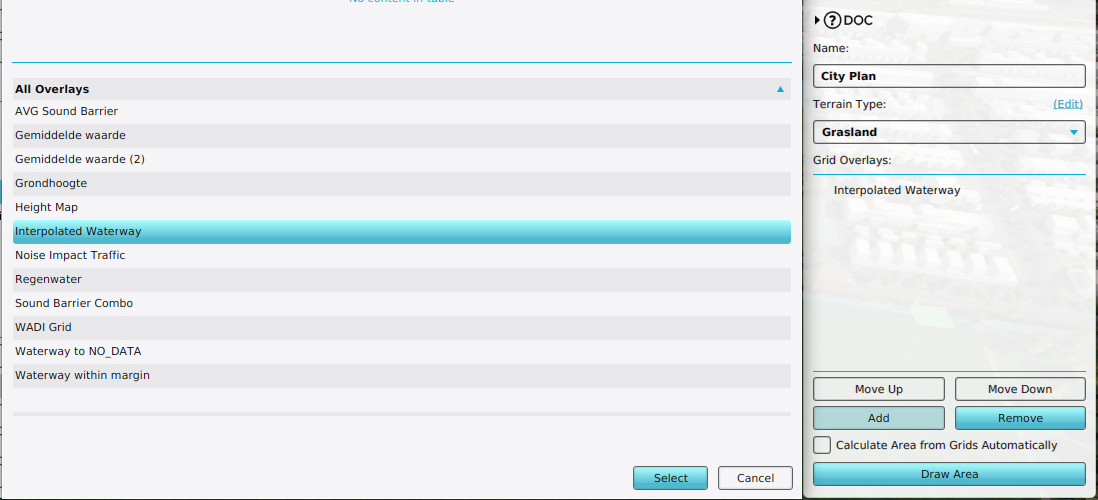 Add a Grid Overlay to a Grid Spatial
 -
 Uncheck the option Calculate Area from Grids Automatically and click on Draw Area
 -
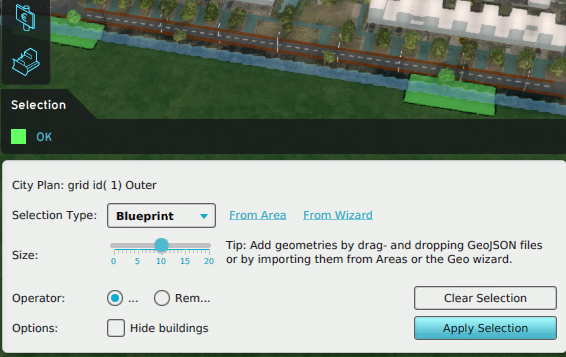 Draw a manual selection for the Grid Spatial
 -
 Adjust the Terrain Type


