How to add a Grid to a Measure
Jump to navigation
Jump to search
When creating and applying a Measure to test a future situation, multiple elements can be part of that plan. Besides the features of Buildings and Water Terrains, another element that is frequently relevant is an updated heightmap. This affects things like water-runoff, soil volumes, and even shade. To facilitate these effects, it is possible to add a GridSpatial to a Measure, which relates any Grid Overlay (most commonly a Combo Overlay or a GeoTiff Overlay to a Measure.
How to add a Grid to a Measure:
- Ensure a Grid Overlay, such as a Combo Overlay or GeoTiff Overlay exists with the desired future change.
Ensure that Grid Overlay only has values where a height change should occur. Ensure it has NO_DATA values where it should not effect a change.
Ensure the Grid Overlay is set to inactive. - Create or select the measure the height map change is to be added to.
- At the bottom of the left panel, click "Add Grid".
- In the right panel, find the (empty) list of related Grids, and at the bottom click on "Add"
- In the Grid selection window, select the Grid to relate to the Measure
- Ensure a Grid Overlay, such as a Combo Overlay or GeoTiff Overlay exists with the desired future change.
-
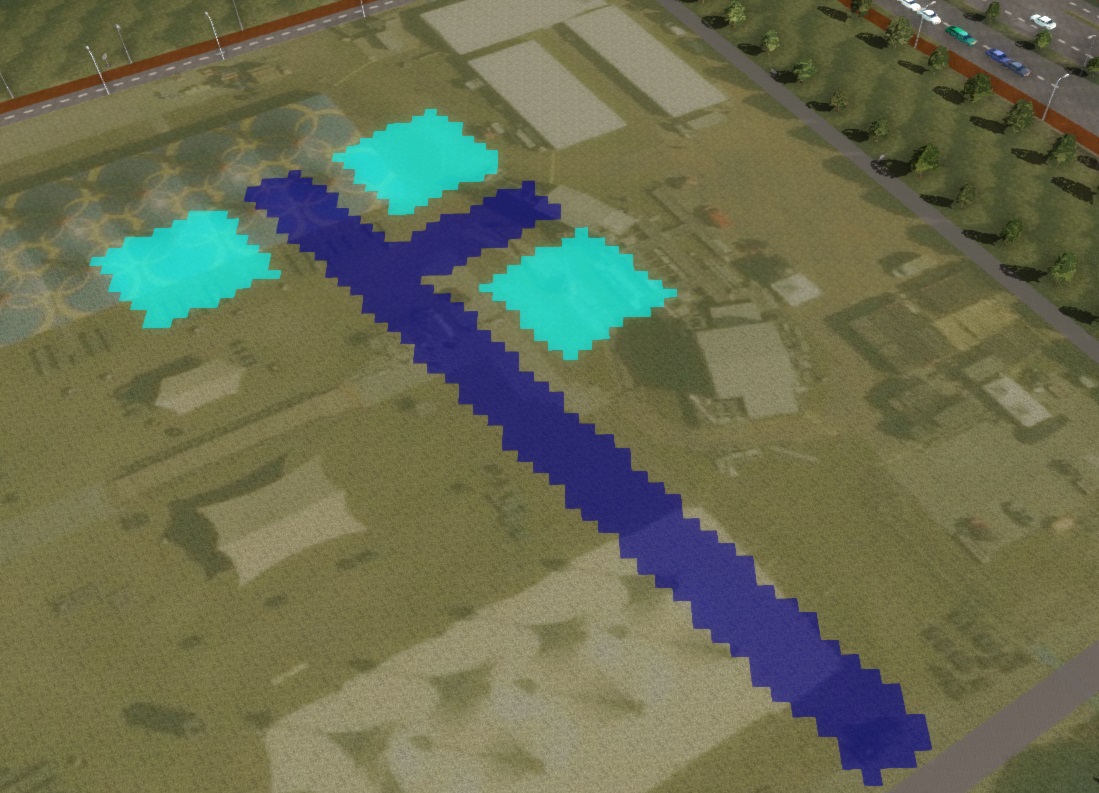 A Grid Overlay with height increases and height decreases defined
 -
 The Grid Overlay added in the list of GridSpatials of the Measure
 -
 The locations of the main road and buildings had different elevations defined. The side roads are placed on the height map as-is.


Notes
- All changes effected in this way are to be considered absolute values, specifying a new height relative to datum.
- The Grid Overlay must be inactive, as otherwise there can be uncertainty about which calculated result of the Grid Overlay should be applied.
- It is possible to have the Measure position highlighting include or not include the related GridSpatials. However, the effect of a GridSpatial is still applied whereever it has a value, regardless of whether that place is included in the highlighting or not.
- Hight changes are exact, meaning that hard edges in height definitions are used as such. For smoother height transitions, include an Average Overlay or other distance-dependant effect in the Grid Overlay calculation.