How to combine multiple calculations into a single result
Jump to navigation
Jump to search
How to combine multiple calculations into a single result:
- Hover over Overlays in the ribbon bar.
- Hover over Grid Calculation under Add New, and select Combo.
- For Grid A, select a Grid Overlay
- For Formula, write AT if you want to collect all timeframes, A if you only want to collect the last timeframe.
- Click on the update link to initialize the Combo Overlay
- Select the Attributes tab
- In the Add new Attribute name field, write SKIP_NO_DATA
- In the Add new Attribute value field, write 1
- Click on the Save new Attribute button.
- Hover over the Calculation Cloud in the ribbon bar.
- Select the option Reset Excel X-Queries.
- The Combo Overlay is now setup to accumulate overlay results.
-
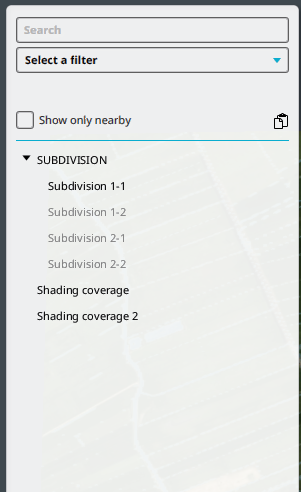
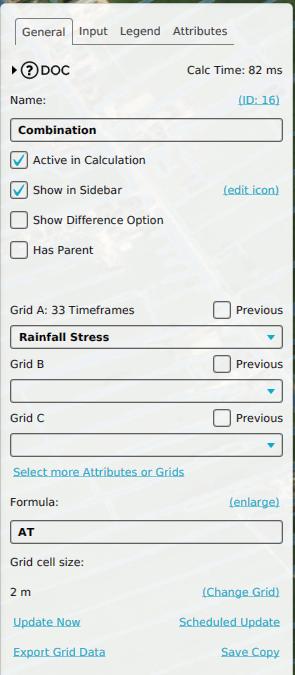 General setup for accumulating all timeframes of a Grid Overlay.
 -
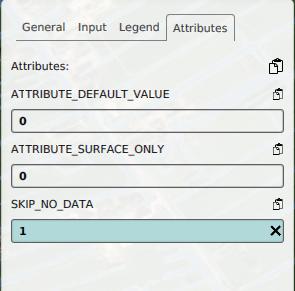 Adding the attribute named SKIP_NO_DATA.
 -
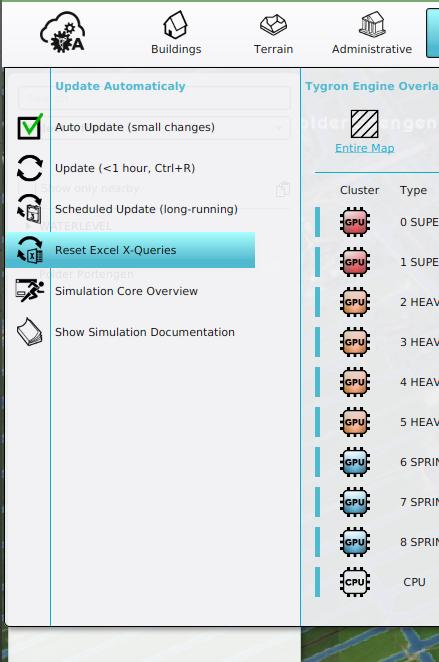 Reset Excel X-Queries under Calculation Cloud.


Subdivision Areas with Margin
Some Overlays require a Margin around the limited area to be calculated correctly. For Example, for an Average Overlay calculation the margin should be set to average distance. Note however that the calculated values that lie within the margin, but outside of the subdivision area, should be ignored by the accumulating Combo Overlay.
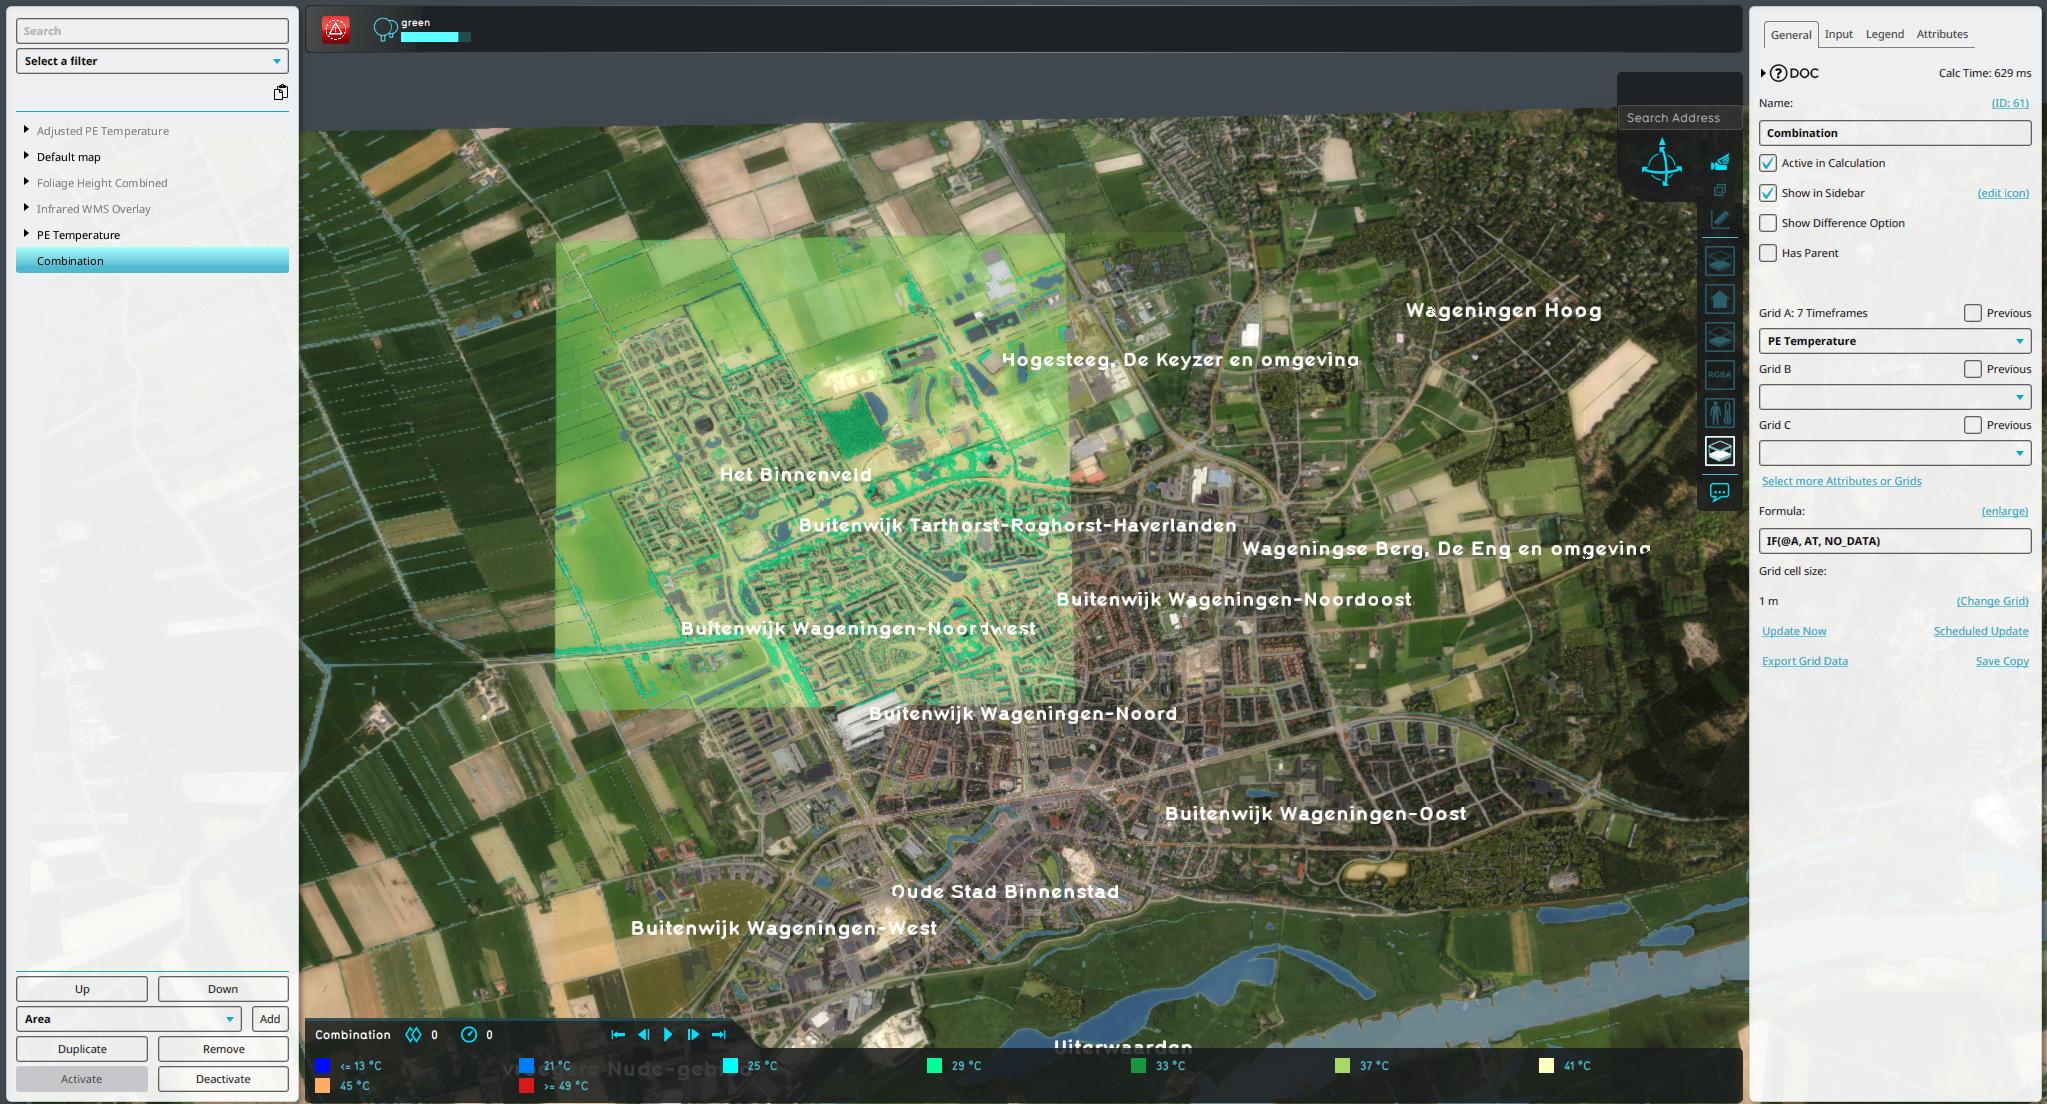
This can be achieved by configuring an Area Input Attribute for the Combo Overlay on the Subdivision Attribute. Secondly, the user must deactivate all subdivisions except the one that should be calculated during limited calculation. Thirdly, the Combo Overlay formula must take into account the active Subdivision, which can be achieved by using the following formula:
IF(@A, AT, NO_DATA)
How to Combine multiple calculations with a margin:
- Select the Combo Overlay constructed using the howto above.
- In the Input Tab, with the input option set to Attirbute:Specific Layer, select AREAS.
- For Attribute A, select the SUBDIVISON attribute.
- Select the General Tab
- Adjust the formula to IF(@A, AT, NO_DATA).
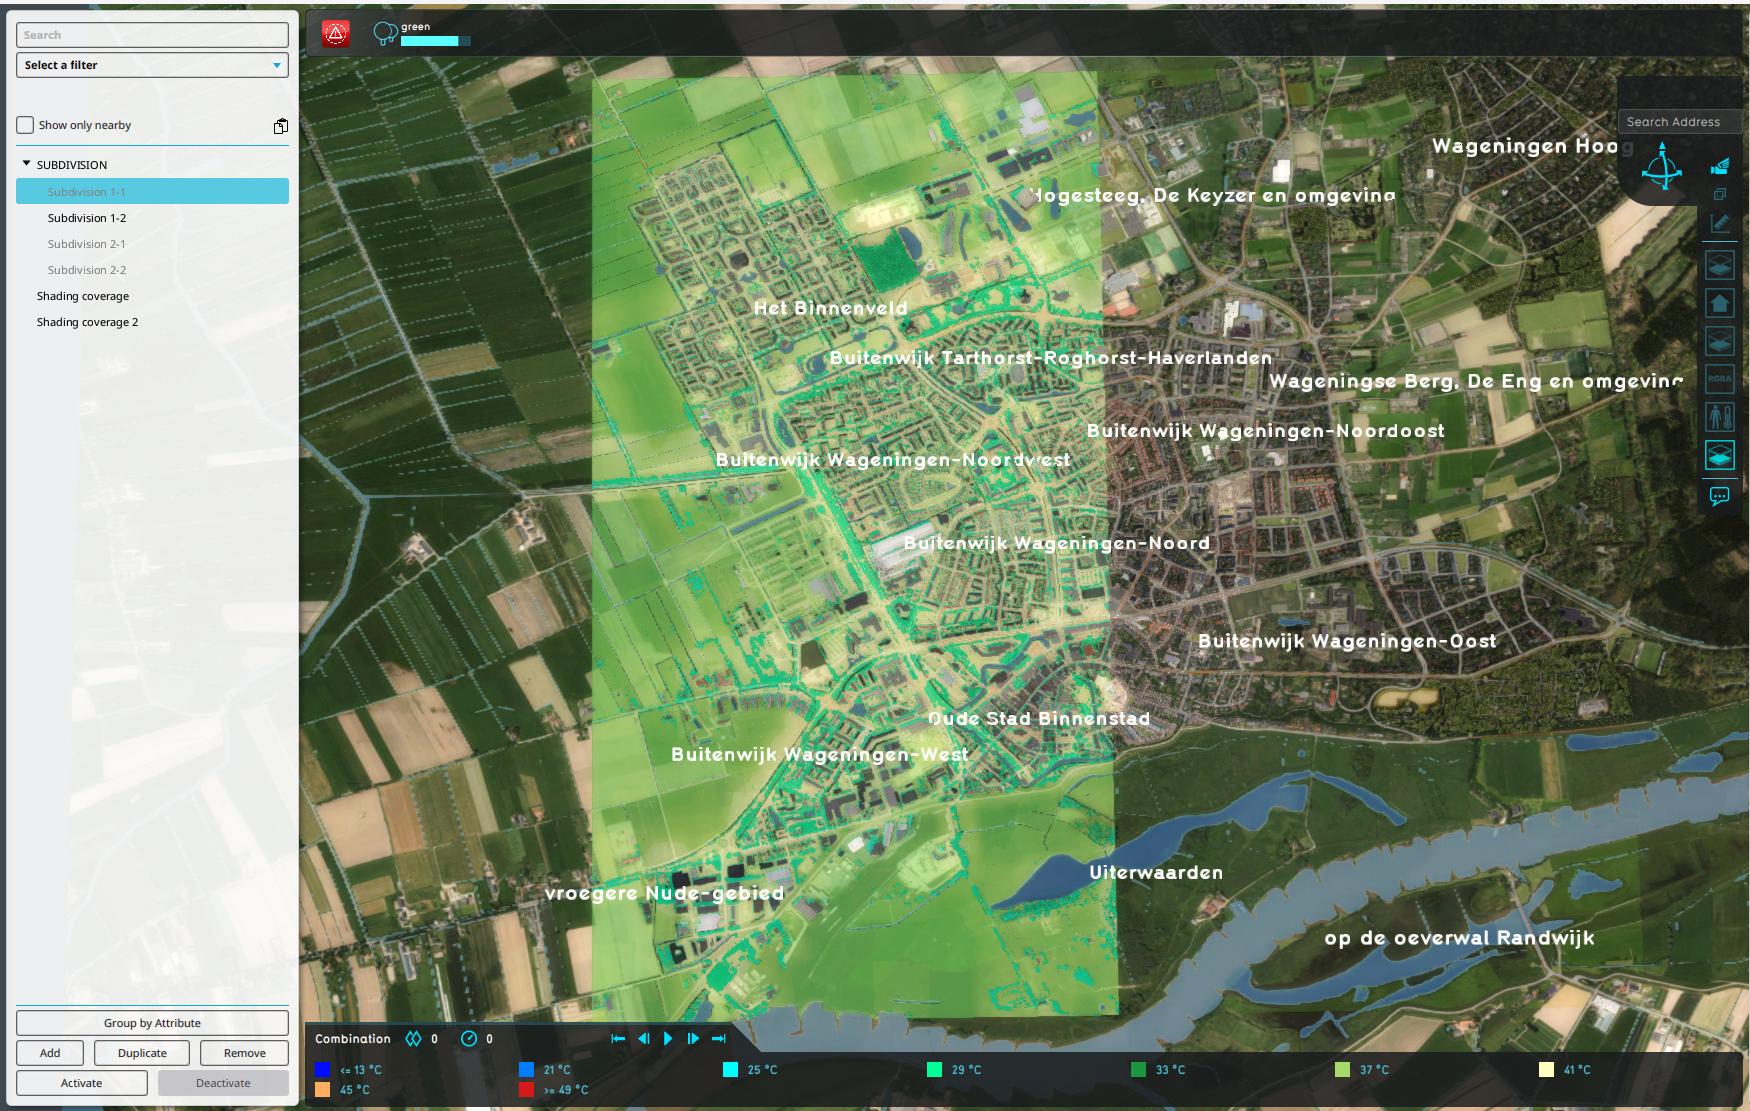
- For each calculated subdivision, follow these steps:
- Deactivate all Subdivision areas.
- Activate one specific Subdivision Area.
- Hover over the Calculation Cloud and select the option Limited Box (or Entire Map when it is the first time)
- In the Popup, select to adjust the limitation.
- Adjust the limit margin if not yet set.
- Select the activated Subdivision Area, chosen in a previous step.
- Click on the Calculation Cloud to calculate that subdivision.
-
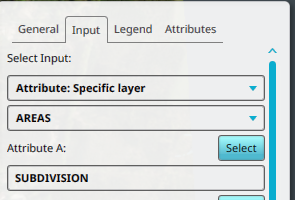 Setting the Input Attribute for the Combo Overlay to the Area Attribute SUBDIVISION.
 -
 Activating one Subdivision Area at a time.
 -
 The Heat Stress Overlay calculated for the subdivision with margin.
 -
 The result of the first calculation stored in the Combo Overlay, which is without the margin.
 -
 The combined result of the first and second calculation stored in the Combo Overlay.
 -
 The four parts calculated and stored in the Combo Overlay.


