How to edit Key Points: Difference between revisions
Jump to navigation
Jump to search
m Frank@tygron.nl moved page How to edit Keypoints to How to edit Key Points |
|||
| Line 44: | Line 44: | ||
<br clear=all> | <br clear=all> | ||
{{article end | |||
|howtos= | |||
* [[How to create an HD Movie or Video Recording from the cinematic]] | * [[How to create an HD Movie or Video Recording from the cinematic]] | ||
* [[How to create or remove Cinematics]] | * [[How to create or remove Cinematics]] | ||
| Line 50: | Line 51: | ||
* [[How to edit the Camera Position]] | * [[How to edit the Camera Position]] | ||
* [[How to couple cinematics to stakeholders]] | * [[How to couple cinematics to stakeholders]] | ||
}} | |||
{{Editor tools nav}} | |||
[[Category:How-to's]] | |||
Latest revision as of 14:11, 30 January 2024
The most important property of a cinematic is the keypoints. These determine the path that the cinematic takes. Additionally, a keypoint can also determine what happens when that point is reached, such as the activation of events or the display of text. A cinematic should have at least 1 keypoint.
Creating and removing keypoints

How to add a new keypoint:
- Select "Visuals" in the ribbon header.
- Select "Cinematics" in the ribbon bar.
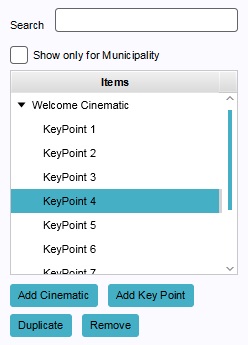
- Select the cinematic you want to add the keypoint to in the left panel.
- If there is already at least one keypoint present, select the keypoint you want the new keypoint to be added after.
- Select "Add Key Point".
How to remove an existing keypoint:
- Select "Visuals" in the ribbon header.
- Select "Cinematics" in the ribbon bar.
- Select the cinematic from which you wish to remove a keypoint.
- Select the keypoint you wish to remove.
- Select "Remove".
Changing keypoint properties
Editor → Tools (Ribbon tab) → Cinematics (Ribbon bar) → The Cinematic to edit (Left panel) → The keypoint to edit (Sub-option)

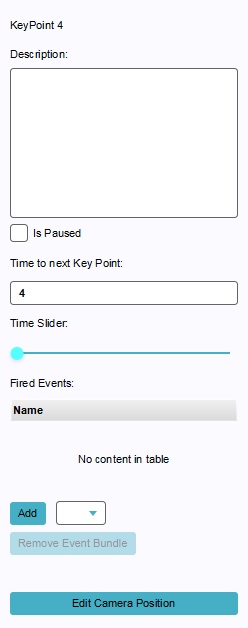
When a specific keypoint is selected, you are able to edit its properties in the right panel. Upon selecting a keypoint, the camera will also orient itself to that keypoint, by assuming its location and direction. The camera will match the exact orientation the camera will have as it passes this keypoint when the cinematic is played.
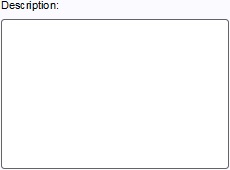
Description

- The description of the keypoint. This is the text that will be displayed to the user when the cinematic reaches this point. You can change this by altering the text in the text area.
Paused

- The pausing property of the keypoint. When this checkbox is checked, the cinematic will pause when it reaches this point, until the user chooses to continue. You can change this setting by checking or unchecking the checkbox.
Time

- The time in seconds to travel between this keypoint and the next keypoint. A lower number means the camera will travel faster between the two key points. You can change the time by altering the number in the text field. Note that if the provided time would cause the camera to move too quickly, the time is automatically adjusted to a higher number so that the camera travels with a lower speed.
Time Slider

- This slider allows you to see the orientation and location of the camera at any time between this keypoint and the next. By moving the slider, you move the camera between the selected keypoint and the next by the same relative amount. This is not an editable property.
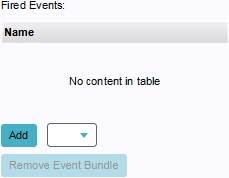
Fired Events

- Main article: Events
- The event bundles which will be fired when this keypoint is reached. This allows events to take place at given points during a cinematic. Event bundles can be added by selecting an event bundle from the dropdown box and selecting "Add". An event bundle can be removed by selecting the event bundle in the list, and selecting "Remove Event Bundle".
Edit Camera Position

- This button activates the camera editing mode. In this mode, it is possible to move the camera, and orient it in any direction. The camera's location and orientation can then be stored as the orientation for the camera when the cinematic reaches the selected keypoint.